Understanding 2026 ADU Costs for Backyard and Attached Units
Accessory Dwelling Units, known as ADUs, backyard cottages, or granny flats, provide versatile options for expanding living space or creating rental opportunities. These structures attach to primary homes or stand independently on the property. In 2026, construction costs reflect rising material prices, labor demands, and regulatory updates, making informed planning essential for homeowners.
This guide details the factors influencing ADU expenses, provides realistic price estimates, and outlines a structured approach to project execution. Readers gain insights into budgeting, timelines, and decision-making between professional services and partial self-build efforts.
Essential Cost Breakdown
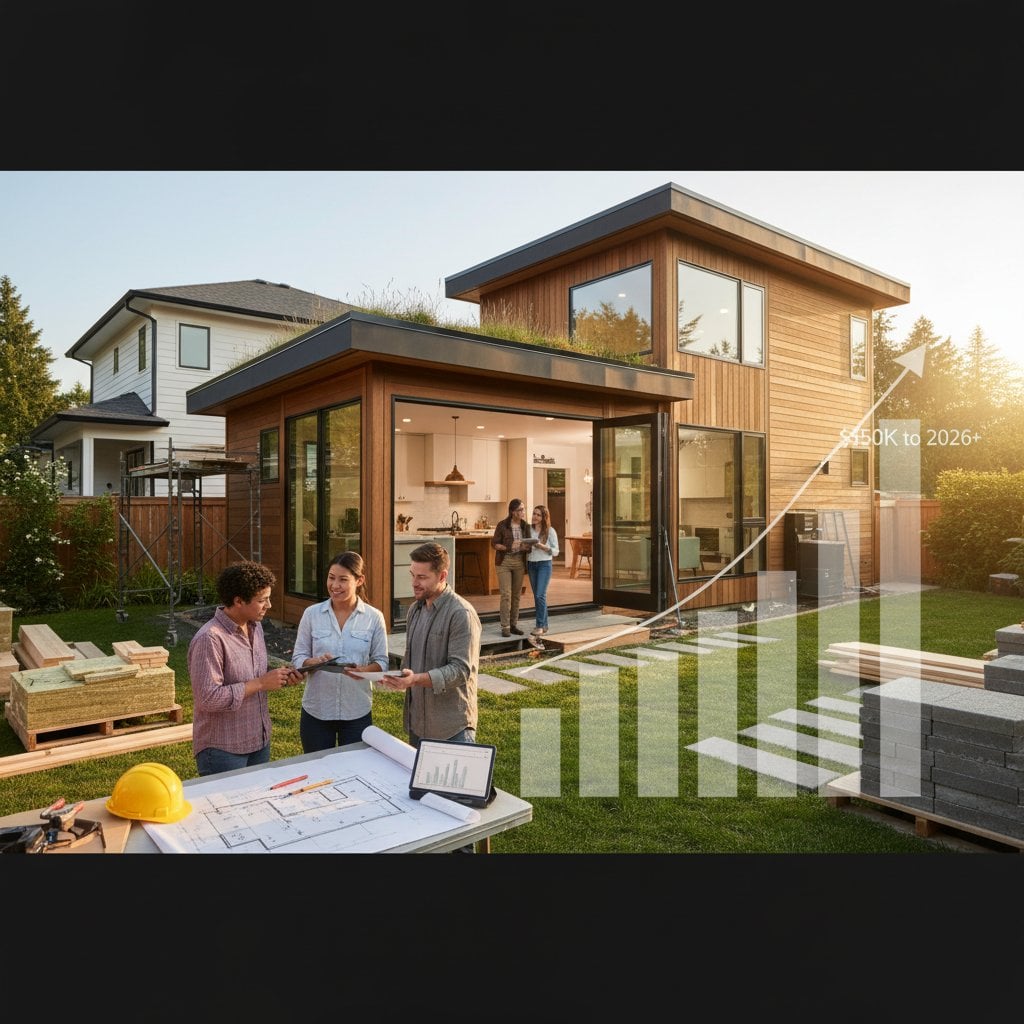
The average cost for a complete ADU in 2026 ranges from $150,000 to $350,000, depending on unit size, location, and customization level. Studio-style units under 500 square feet often begin at $150,000, while two-bedroom configurations exceeding 1,000 square feet approach $350,000. These figures include design, permits, construction, and basic finishes but exclude land preparation or landscaping.
Several elements drive these costs. Size directly impacts expenses, as each additional square foot requires more framing materials, insulation, and roofing. For instance, a 400-square-foot unit demands approximately 20 percent less lumber than an 800-square-foot model, reducing structural outlays by $20,000 or more.
Foundation choices also play a significant role. Slab-on-grade foundations, common for flat lots, cost $10,000 to $20,000. Raised foundations for sloped terrain or basement setups add $30,000 to $50,000 due to additional excavation and reinforcement. Utility extensions, such as connecting to municipal water and sewer lines, incur fees of $5,000 to $15,000, varying by distance from the main home.
Material selections for interiors and exteriors further influence budgets. Basic vinyl flooring and laminate countertops keep costs low, while hardwood floors and granite surfaces increase expenses by 15 to 25 percent. Energy-efficient windows and doors, though pricier upfront at $300 to $800 per unit, yield long-term savings through reduced utility bills.
Permits and inspections represent another variable, typically totaling $5,000 to $10,000. Urban areas enforce stricter seismic or energy codes, elevating fees. Homeowners should allocate 10 percent of the total budget for unforeseen regulatory adjustments.
Project Timelines and Complexity
Professional ADU construction spans 6 to 12 months, starting with permitting and ending with occupancy certification. Design and approval phases consume 2 to 3 months, followed by 3 to 6 months for building and 1 to 2 months for finishing touches. Weather delays or supply chain issues can extend this period by 20 percent.
Self-directed projects often require 9 to 18 months, as homeowners balance work with intermittent labor. The complexity rating remains advanced, involving precise structural work, utility integration, and adherence to building codes. Novices risk errors in load-bearing elements or waterproofing, potentially leading to costly repairs.
Comparing DIY and Professional Approaches
Homeowners can handle non-structural tasks to control expenses. Painting walls, installing baseboards, or planting surrounding greenery falls within reach for those with basic tools and time. These efforts save $5,000 to $15,000 compared to contractor rates.
However, core elements like framing, plumbing, and electrical installations demand licensed expertise. Local codes mandate certified professionals for these areas to ensure safety and insurability. Attempting them without qualifications voids warranties and exposes residents to hazards such as electrical shorts or unstable foundations.
Cost comparisons highlight the trade-offs. A partial DIY build, where owners manage finishes after professionals complete the shell, ranges from $150,000 to $250,000. Full professional oversight, including turnkey management, falls between $250,000 to $350,000. The latter option guarantees compliance, accelerates timelines, and includes liability coverage, justifying the premium for most projects.
Detailed Construction Process
1. Verify Zoning and Secure Permits
Begin by consulting local planning offices to assess property eligibility. Regulations specify minimum lot sizes, setback distances from property lines, and maximum unit footprints, often capped at 1,200 square feet or 50 percent of the primary home's size. Occupancy limits, such as one bedroom per 200 square feet, also apply.
Submit site plans, elevation drawings, and environmental impact statements for review. Approval timelines vary from 30 to 90 days. A successful outcome includes a stamped permit, confirming compliance before any ground disturbance.
2. Develop Comprehensive Design Plans
Engage an architect or use pre-approved modular designs to create blueprints. Plans must detail structural supports, ventilation systems, and accessibility features like wide doorways for aging in place. Incorporate energy standards, such as R-30 insulation in walls, to meet 2026 efficiency mandates.
Review iterations with the design team to balance aesthetics and functionality. Final plans should integrate plumbing rough-ins, electrical panels, and HVAC ducts, verified against code checklists for seamless execution.
3. Establish Budget and Source Materials
Compile estimates from at least three contractors and suppliers for transparency. Factor in labor at $50 to $100 per hour, materials marked up 10 to 20 percent for inflation, and a 15 percent contingency for variables like soil testing. Prioritize durable options, such as fiber-cement siding over wood, to minimize future maintenance.
Track expenses with spreadsheets categorizing labor, materials, and fees. A well-defined budget prevents overruns and supports financing applications for loans or equity lines.
4. Site Preparation Fundamentals
Clear debris, trees, and topsoil to expose stable subgrade. Conduct soil tests to determine bearing capacity, ensuring the foundation withstands local seismic activity. Mark underground utilities with flags to avoid disruptions during excavation.
Grade the area for positive drainage, sloping away from the structure at 5 percent. Completion signals readiness when the site achieves level contours and erosion controls, such as silt fences, are in place.
5. Foundation and Framing Execution
Dig footings to code-specified depths, typically 24 to 48 inches, and pour reinforced concrete. Allow 7 to 14 days for curing before erecting walls with pressure-treated lumber. Use laser levels to maintain plumb alignment within 1/4 inch over 8 feet.
Inspectors verify rebar placement and concrete strength at this stage. A passed review confirms the skeleton's integrity, supporting subsequent layers without settlement risks.
6. Utility and Insulation Integration
Route plumbing lines for sinks, toilets, and showers, using PEX piping for flexibility. Install electrical conduits to code, spacing outlets every 12 feet and including GFCI protections in wet areas. Position HVAC units for optimal airflow, connecting to the main home's system if feasible.
Apply batt or spray foam insulation to walls, ceilings, and floors, achieving specified R-values. Rough-in inspections test for leaks, continuity, and airflow, ensuring systems operate safely before enclosure.
7. Interior and Exterior Completion
Hang drywall, tape seams, and apply primer coats for smooth surfaces. Lay flooring, install cabinetry, and fit fixtures like lighting and appliances. Exterior tasks include sheathing with weather-resistant barriers, adding siding, and roofing with asphalt or metal panels.
Seal all joints with caulk and flashing to prevent water intrusion. Final inspections confirm habitability, issuing a certificate of occupancy upon verification of ventilation, egress windows, and smoke detectors.
Key Safety Considerations
Electrical work poses severe risks; de-energize circuits and use insulated tools to prevent shocks. Structural modifications require engineer-stamped plans to avoid collapses. Equip workers with hard hats, steel-toed boots, and dust masks to mitigate injuries from falls or airborne particles.
Establish a site safety plan, including emergency contacts and first-aid kits. Regular breaks reduce fatigue-related accidents, promoting a secure build environment.
Addressing Common Challenges
Uneven settling often stems from inadequate foundation compaction; remedy by injecting grout or adding piers. Moisture penetration requires vapor barriers and proper grading; install French drains if persistent. Elevated energy use signals gaps in sealing; conduct blower-door tests to identify and seal leaks.
Perform phased quality checks with levels, moisture meters, and thermometers. Document findings to track progress and inform adjustments, ensuring the final product meets performance standards.
Managing Debris and Waste
Separate recyclables like steel rebar, untreated wood, and plastics to comply with environmental guidelines. Haul non-recyclables to designated facilities, following weight limits for concrete and hazardous materials like paints. Proper disposal minimizes landfill impact and may qualify for tax credits in eco-conscious regions.
Long-Term Upkeep Strategies
Annual inspections focus on roof integrity, gutter function, and sealant condition to prevent deterioration. Schedule professional servicing for plumbing and electrical systems every five years. With routine care, ADUs endure 50 years or more, adapting to evolving needs through updates like smart home integrations.
Building an ADU That Lasts
Investing in a quality ADU enhances property value by 20 to 30 percent while providing flexible space for family or income. Strategic planning aligns costs with benefits, turning a complex project into a rewarding asset. Consult local experts early to tailor the build to your vision and secure lasting results.


