Designing a Bathroom for Lifelong Safety and Accessibility
Essential Overview
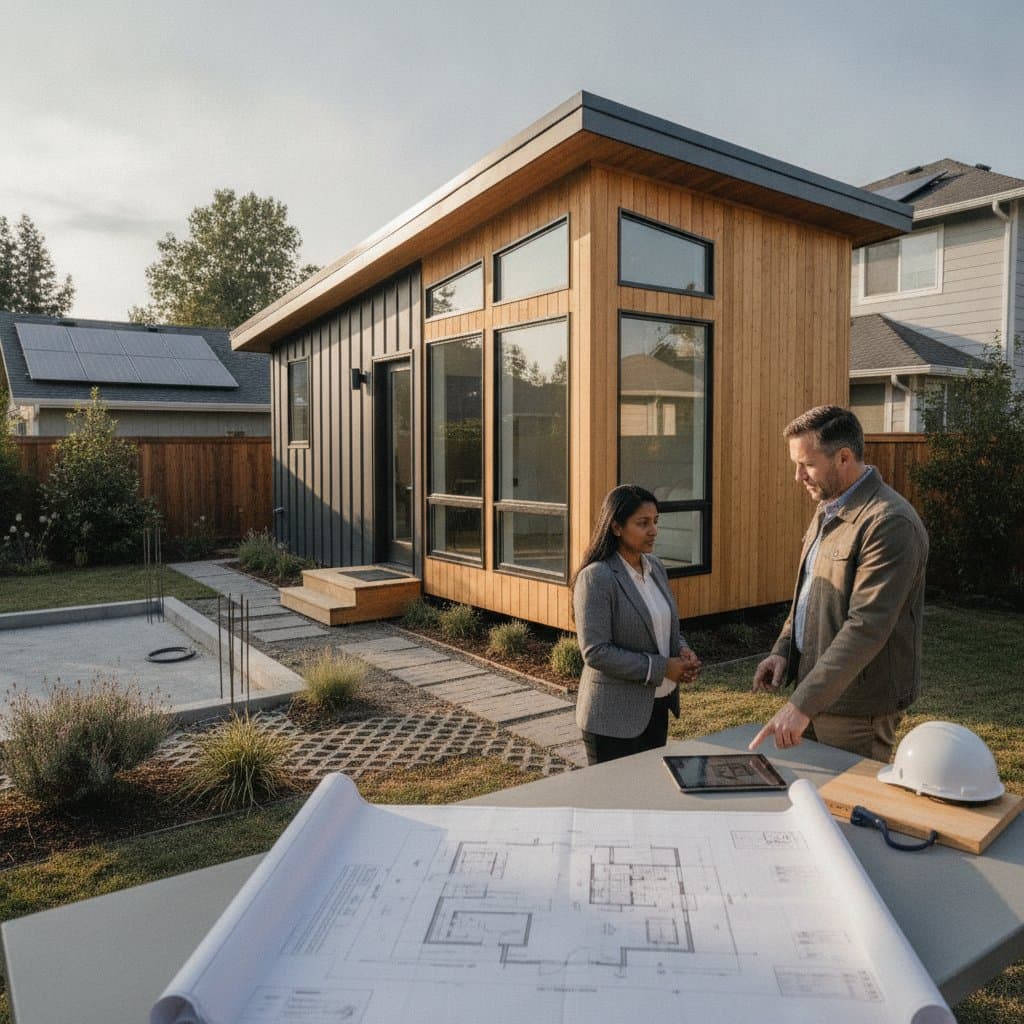
Universal design transforms a bathroom into a space that promotes safety, comfort, and autonomy across all ages and abilities. This approach integrates features that accommodate current needs while anticipating future changes, allowing individuals to remain in their homes longer. The following sections detail planning, installation steps, and maintenance to achieve these goals effectively.
Deciding Between DIY and Professional Assistance
Suitable DIY Projects
Individuals with basic handyman skills and appropriate tools can handle targeted enhancements:
- Secure installation of grab bars using wall anchors capable of supporting 250 pounds or greater.
- Swap standard faucets or showerheads for models with lever handles or touchless operation.
- Apply anti-slip coatings to existing floors.
- Upgrade to energy-efficient LED lights that enhance visibility.
These tasks typically require minimal disruption and can yield immediate safety improvements.
Projects Requiring Expert Involvement
Engage a licensed contractor or plumber for complex modifications:
- Relocating plumbing lines for drains or supplies.
- Expanding doorways or altering wall frameworks.
- Creating seamless, curbless shower entries or adjusting floor levels.
- Enhancing electrical systems to support additional lighting or heated flooring.
Professional oversight ensures compliance with building codes and structural integrity.
Cost Breakdown:
- DIY enhancements range from 500 to 2,000 dollars.
- Full professional renovations span 15,000 to 40,000 dollars, influenced by project scale, materials, and regional labor rates.
Detailed Remodeling Steps
1. Assess and Plan the Layout
Begin by measuring available floor space to ensure a 5-foot turning radius for mobility aids like wheelchairs or walkers. Expand doorways to a minimum width of 36 inches for unobstructed passage. Position the toilet, sink, and shower within arm's reach to facilitate smooth transfers.
Verify the design by simulating movement: navigate the space without encountering narrow passages or barriers.
2. Strengthen Wall Structures
Access wall cavities adjacent to the toilet, shower, and bathtub areas. Install 2x10-inch wooden blocking between studs to provide robust anchoring points for grab bars. Fasten with galvanized screws to resist corrosion and ensure long-term durability.
Test stability by applying pressure; the reinforcement should remain firm under load.
3. Select and Install Anti-Slip Flooring
Opt for materials exhibiting a coefficient of friction of 0.6 or higher under wet conditions. Textured vinyl planks or porcelain tiles with matte finishes offer reliable grip and straightforward maintenance. Steer clear of polished surfaces or expansive grout lines that could compromise traction.
Confirm effectiveness by walking across the dampened floor; it should provide secure footing without slippage.
4. Enhance Illumination
Substitute overhead fixtures with diffused LED panels that deliver ample brightness. Incorporate focused task lights above mirrors and within shower zones. Position rocker-style switches between 36 and 40 inches from the floor to accommodate varied heights.
Evaluate by inspecting for even coverage; eliminate any shadows that might obscure key areas like the sink or shower controls.
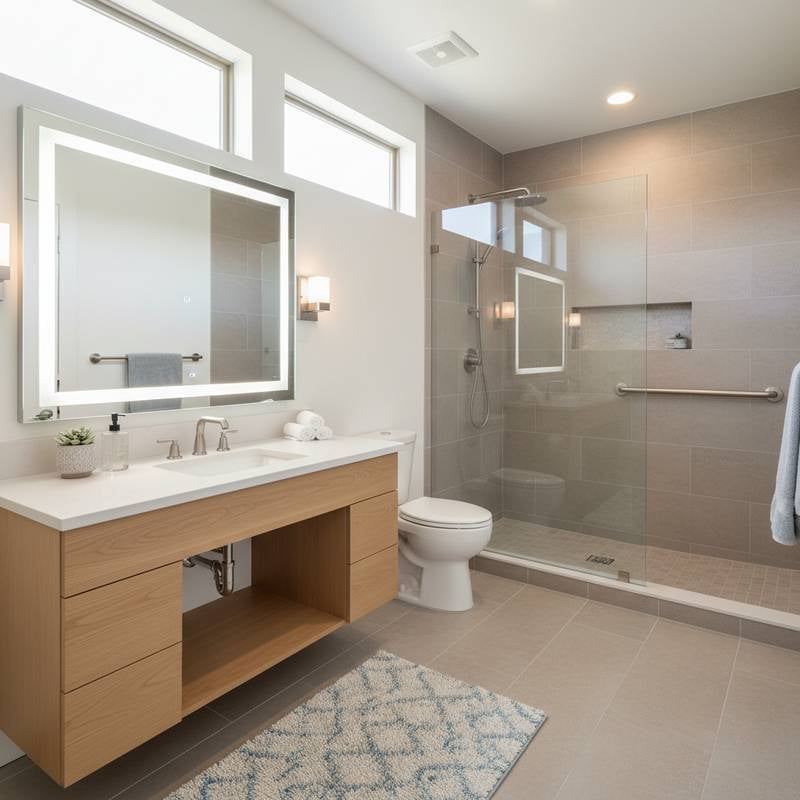
5. Adapt the Shower Area
Incorporate a curbless entry or threshold no higher than 1/2 inch for barrier-free access. Add a sturdy fold-down bench rated to support at least 250 pounds. Mount a handheld showerhead on a 60-inch adjustable hose via a slide bar for versatile positioning.
Assess usability by entering the space, seating yourself, and operating fixtures without excessive reaching or stooping.
6. Upgrade the Toilet Setup
Install a comfort-height toilet measuring 17 to 19 inches from floor to seat. Maintain 18 inches of clear space from the nearest sidewall to the toilet's centerline. Incorporate grab bars on either side where feasible to assist with rising and sitting.
Test for ease: transition between sitting and standing should occur without discomfort or imbalance.
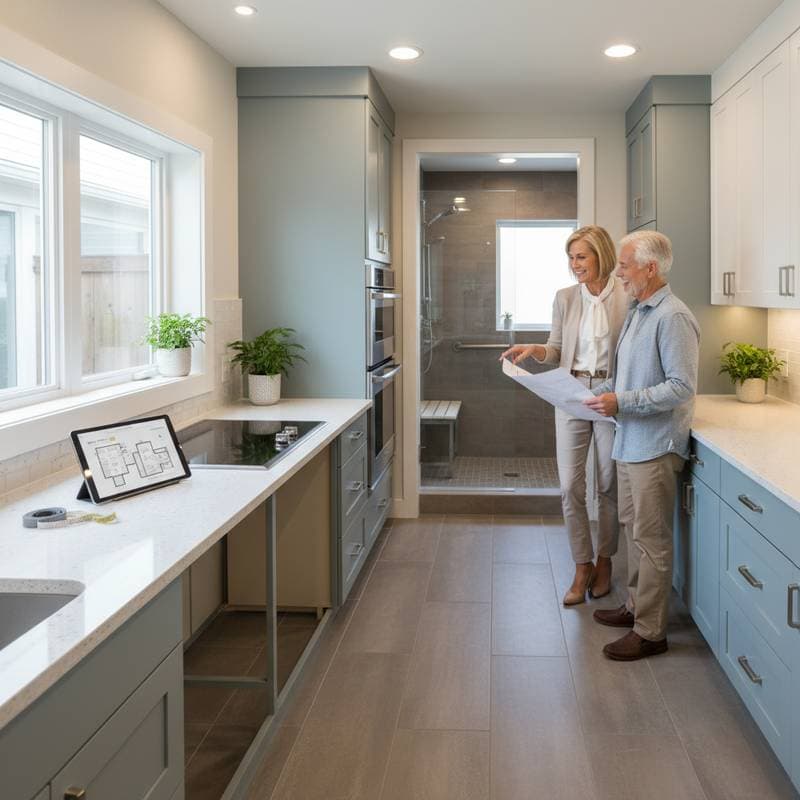
7. Revise Vanity and Sink Configuration
Select wall-mounted or pedestal-style vanities with open undersides to enable use from a seated position. Position the sink's rim at 34 inches or below from the floor. Equip with single-lever faucets that require minimal effort to operate.
Check accessibility: controls and drains should be reachable without forward leaning or strain.
8. Integrate Grab Bars Strategically
Place vertical bars at shower thresholds and horizontal ones within the enclosure for support during entry and exit. Choose diameters of 1.25 to 1.5 inches for secure grasping. Anchor firmly into studs or reinforced backing.
Validate strength: each bar must withstand full body weight without movement or detachment.
9. Optimize Airflow and Ventilation
Fit a low-noise exhaust fan delivering at least 1 cubic foot per minute per square foot of bathroom area. Link to a timer or humidity-sensing mechanism to activate automatically and inhibit mold growth.
Monitor performance post-shower; the mirror should defog quickly, indicating effective moisture removal.
10. Conduct Thorough Inspections
Operate doors, faucets, and storage units to ensure fluid mechanics. Assess lighting adequacy in low-light conditions. Verify temperature-regulating valves to avoid scalding risks.
Final review: all elements must function effortlessly, free from resistance or imprecise handling.
Addressing Common Challenges
| Issue | Potential Source | Resolution |
|---|---|---|
| Loose grab bar | Anchored solely in drywall | Reinforce with blocking or heavy-duty toggle bolts |
| Shower water accumulation | Inadequate floor pitch | Adjust slope to 1/4 inch per foot directing to drain |
| Insufficient brightness | Underpowered bulbs | Upgrade to higher-lumen LEDs or supplementary fixtures |
| Restricted doorway access | Improper hinge placement | Rehang door or opt for sliding pocket design |
| Difficult faucet use | Incompatible handle | Install lever or sensor-based alternatives |
Comprehensive Validation:
Fixtures operate seamlessly, surfaces remain non-slip, and containment prevents water leakage beyond designated zones.
Ongoing Maintenance Practices
Routine Upkeep:
- Wipe grab bars, faucets, and controls weekly using mild, non-abrasive solutions.
- Examine caulk seals and grout lines biannually for signs of deterioration or fungal growth.
- Test lights and fans monthly to confirm reliability.
Durability Projections:
- Grab bars and plumbing fixtures endure 15 to 20 years.
- Anti-slip floors last 15 years or more with periodic sealing.
- Illumination and ventilation components perform for 10 to 15 years under regular care.
Promptly replace any degraded elements to preserve safety standards.
Expert Recommendations
Anticipate evolving requirements by pre-installing wall reinforcements, even if immediate use seems unnecessary. Select materials with tactile textures and high-contrast colors to aid visual navigation. Position storage solutions within a 15- to 48-inch vertical range for convenient access. Employ rounded edges on counters and shelves to minimize impact injuries. Integrate thermostatic valves to maintain steady water temperatures, preventing thermal shocks.
These considerations elevate both functionality and user experience significantly.
Implementing Your Vision
A universally designed bathroom equips you for sustained independence and reduced hazards throughout life. Emphasize unobstructed pathways, dependable footing, and user-friendly interfaces in every decision. Through personal efforts or collaboration with specialists, these investments secure a home environment that nurtures well-being over the long term.
Frequently Asked Questions
What defines universal design for bathrooms?
This philosophy develops spaces and elements usable by all individuals, irrespective of age, size, or physical capabilities, prioritizing inclusivity and ease.
Are permits necessary for accessibility modifications?
Local regulations typically mandate approvals for alterations involving plumbing, electricity, or construction. Consult your area's building authority for specifics.
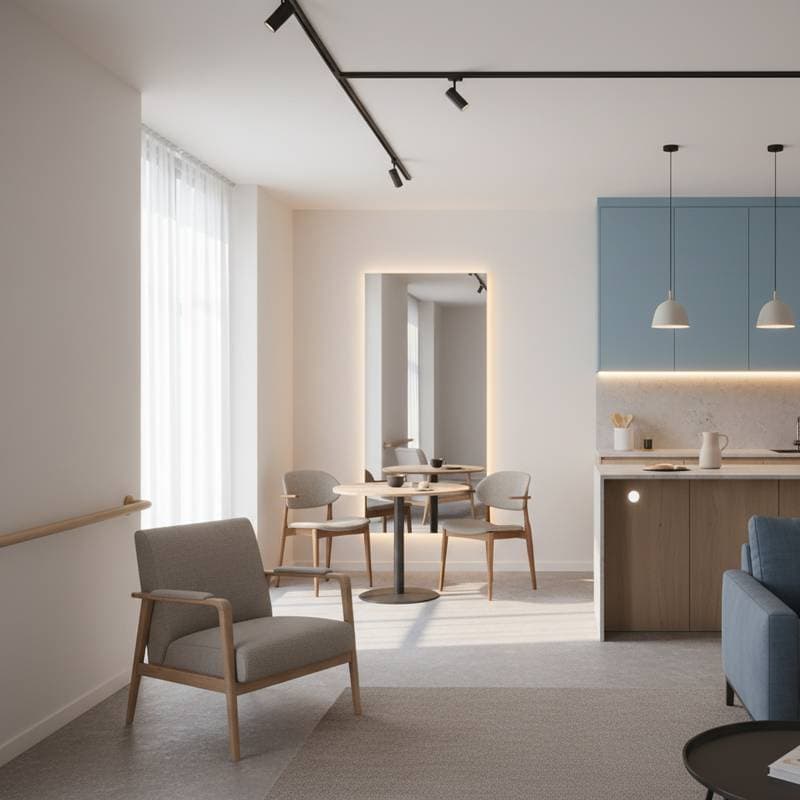
Can accessible bathrooms maintain aesthetic appeal?
Absolutely. Contemporary options in varied finishes integrate seamlessly into diverse interior styles without sacrificing form.
What doorway width supports mobility needs?
At least 36 inches wide ensures passage for assistive devices and standard traffic.
Which flooring options excel in wet conditions?
Mats with texture, resilient rubber, or unglazed porcelain tiles deliver superior non-slip performance.
Is retrofitting viable without complete overhaul?
Yes. Incremental additions like support bars, enhanced lights, and ergonomic handles often suffice without extensive reconstruction.
How to identify skilled contractors?
Seek professionals with credentials in age-friendly or adaptive renovations. Review portfolios of completed works and solicit testimonials from past clients.