Understanding Wet Rooms and Their Benefits
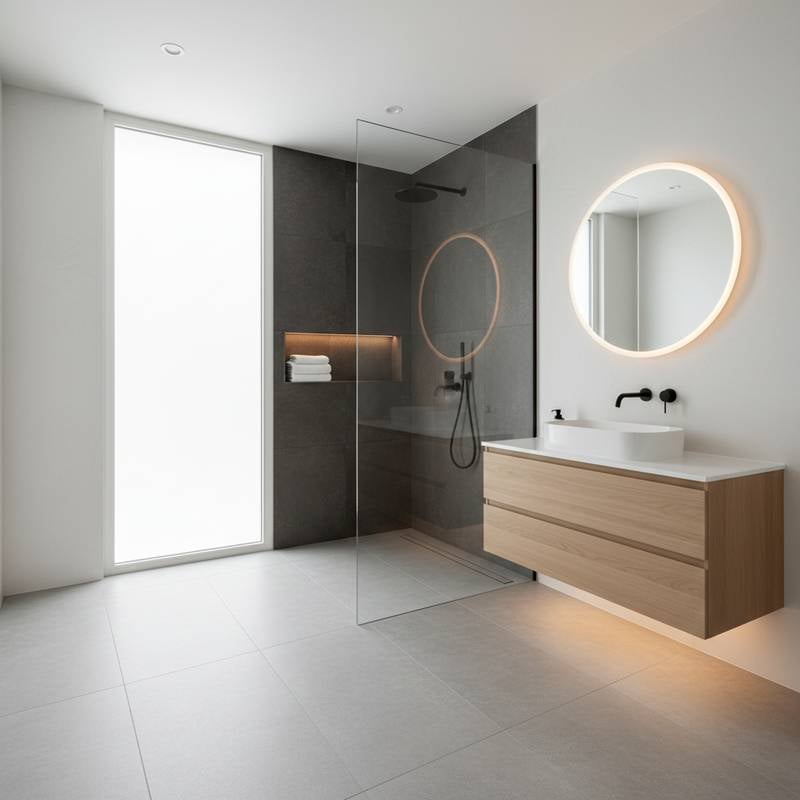
A wet room represents a fully waterproof bathroom space where the shower area integrates seamlessly with the rest of the room. Water flows freely across the floor to a central or linear drain, eliminating the need for curbs or enclosures in many designs. This approach offers superior accessibility, particularly for individuals with mobility challenges, and simplifies cleaning by reducing grout lines and hidden areas.
Homeowners choose wet rooms for their contemporary aesthetic and practical advantages. The open layout creates a spa-like atmosphere, while proper construction prevents water damage to surrounding structures. Before embarking on a remodel, evaluate your space to confirm it suits this design; smaller bathrooms may require adjustments to achieve effective drainage.
Cost Breakdown for a Wet Room Remodel
The total expense for a wet room remodel typically falls between $10,000 and $25,000, depending on size, materials, and location. Basic projects in modest spaces start at the lower end, while luxury finishes and complex waterproofing push costs higher. Labor accounts for 40 to 60 percent of the budget, with materials comprising the balance.
Key cost components include:
- Demolition and preparation: $1,000 to $3,000. This covers removing existing fixtures, flooring, and walls to prepare for waterproofing.
- Waterproofing and drainage system: $2,000 to $5,000. Essential elements such as membranes, sealants, and custom drains ensure no leaks occur.
- Flooring and tiling: $3,000 to $7,000. Large-format porcelain tiles with anti-slip properties provide durability and style.
- Glass panels or enclosures: $1,000 to $3,000. Frameless glass adds separation without compromising the open feel.
- Plumbing and fixtures: $2,000 to $4,000. Relocating pipes and installing rain showerheads or handheld units enhances functionality.
- Walls and ceilings: $1,000 to $3,000. Waterproof panels or tiles protect vertical surfaces from moisture.
Regional factors influence pricing; urban areas often incur higher labor rates. Obtain multiple quotes from licensed contractors to refine your budget estimate.
Planning Your Wet Room Project
Effective planning begins with assessing your bathroom's layout and plumbing access. Measure the space precisely and consult a professional to verify drainage feasibility. A slope of one-quarter inch per foot toward the drain prevents water pooling.
Permits represent a critical step in the process. Most municipalities require approvals for plumbing alterations and structural changes. Submit detailed plans showing waterproofing methods and drainage configurations to local building authorities. Expect the permitting phase to take two to four weeks, depending on jurisdiction.
Budgeting requires allocating funds for contingencies, such as unexpected subfloor repairs. Factor in temporary relocation costs if the bathroom becomes unusable during construction, which usually spans four to eight weeks. Engage a contractor experienced in wet rooms to guide decisions on materials and timelines.
Essential Waterproofing Steps
Waterproofing forms the foundation of a successful wet room, safeguarding against mold and structural damage. Begin by installing a waterproof membrane over the subfloor, extending it up walls at least six inches. Liquid-applied systems or sheet membranes provide robust protection; apply multiple layers for added assurance.
Next, integrate the drainage system. Position a linear drain along one wall for even water flow, or opt for a central point drain in square layouts. Ensure plumbers test connections for leaks before proceeding.
For walls, apply cement board or fiberglass panels coated with sealant. Tile over these surfaces using thin-set mortar designed for wet environments. Seal all joints with silicone caulk to create an impermeable barrier. Professionals recommend a 24-hour flood test: fill the floor with two inches of water and monitor for seepage.
Selecting Materials and Fixtures
Material choices impact both aesthetics and longevity. Opt for porcelain or ceramic tiles rated for wet areas; large formats minimize grout lines, easing maintenance. Verify that floor tiles meet slip-resistance standards, such as a wet dynamic coefficient of friction above 0.42.
Fixtures should prioritize functionality. Wall-mounted toilets and vanities save floor space and facilitate cleaning. Choose thermostatic shower valves to maintain consistent water temperature, reducing scalding risks.
Glass elements enhance the design without enclosing the space fully. Tempered glass panels, at least 3/8-inch thick, resist breakage and allow natural light to flow.
Pro Tips for a Flawless Installation
Achieve professional results by following these strategies:
- Order extra tile, about 10 percent more than the measured area, to account for cuts and future repairs.
- Always use a waterproof backer board, never drywall, behind tile installations.
- Keep seams between wall panels tight and fully sealed with high-quality silicone.
- Test the entire waterproofed floor with a flood test for 24 hours before tiling. A licensed plumber can assist with this verification.
- Use a linear drain for a sleek appearance and precise slope management.
- Choose large-format tiles for a seamless visual effect, but confirm they feature a slip-resistant finish.
Hire verified professionals to oversee the project. Confirm licensing, insurance coverage, and references from similar wet room installations. Clear communication about timelines and expectations minimizes disruptions.
Ensuring Long-Term Performance
Regular maintenance preserves your wet room's integrity and appearance. Inspect seals and grout lines monthly for cracks or wear; reapply silicone as needed to maintain waterproofing. Clean surfaces with mild, non-abrasive products to avoid damaging finishes.
Ventilation plays a vital role in moisture control. Install an exhaust fan rated for continuous use, venting directly outdoors. Run it during and after showers to reduce humidity levels below 60 percent.
Address minor issues promptly to prevent escalation. If water accumulates or odors develop, consult a professional for inspection. Consistent care extends the lifespan of your investment, avoiding costly repairs and ensuring a safe, enjoyable space for years.
A well-executed wet room remodel delivers enduring value through enhanced usability and modern appeal. By prioritizing waterproofing and quality craftsmanship, homeowners enjoy a bathroom that combines style with reliability.


