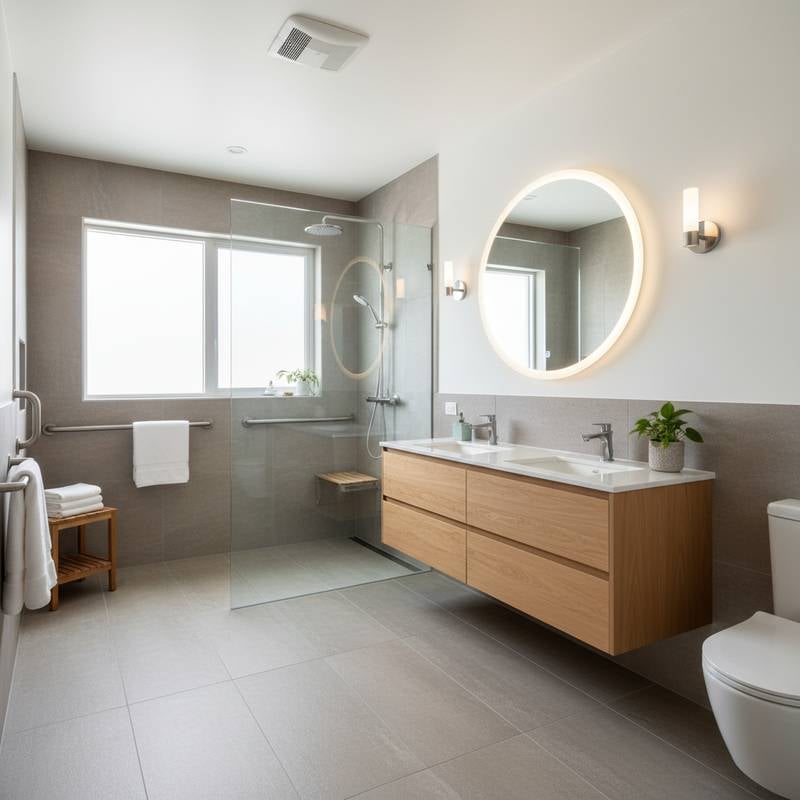
Implementing Universal Design for Enduring Bathroom Safety
Essential Overview
A bathroom incorporating universal design principles ensures safety, ease, and functionality for occupants across all ages and physical capabilities. Property owners might manage straightforward modifications, such as affixing grab bars, independently; however, comprehensive renovations often necessitate the expertise of certified plumbers or electricians. Anticipate expenses ranging from $8,000 to $25,000 based on the project's extent. Such undertakings typically span one to three weeks. The complexity varies from moderate to advanced. Primary concerns include potential water infiltration, electrical dangers, and risks of falls.
Detailed Implementation Guide
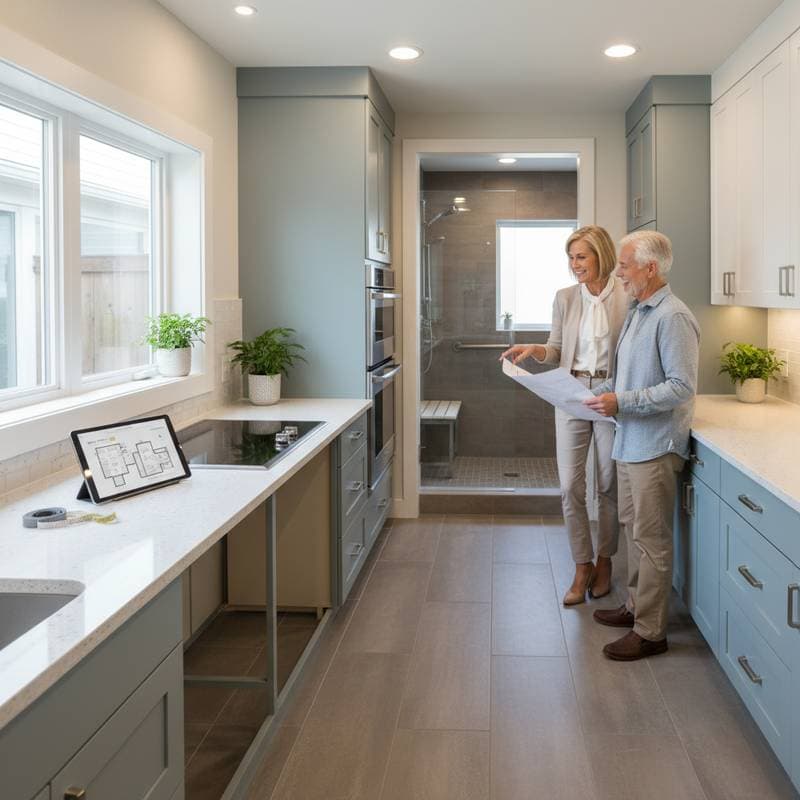
1. Design the Layout with Accessibility in Mind
Assess the width of doorways and available unobstructed floor area. An effective universal design configuration provides a minimum of 30 inches by 48 inches of clear space before each fixture.
- Substitute constricted doorways with openings measuring 34 inches or more in width.
- Incorporate adequate turning radius to accommodate wheelchairs or walkers.
Verification: Navigation occurs smoothly without contact with walls or fixtures.
2. Select Flooring Materials for Enhanced Grip
Opt for porcelain tiles with a matte finish or vinyl options featuring textured surfaces and high slip-resistance coefficients.
- Dismantle existing flooring with precision to prevent subfloor impairment.
- Examine the underlying structure for signs of moisture damage prior to laying new materials.
Verification: Test traction by walking across the surface with dampened footwear prior to finalizing edge seals.
3. Securely Affix or Renew Grab Bars
Caution: Refrain from repurposing towel bars as support elements, as they lack the necessary load-bearing capacity.
Identify the positions of wall studs before commencing any drilling. Employ 2.5-inch stainless steel screws anchored into sturdy framing.
- Position one bar adjacent to the toilet, another within the shower enclosure, and a third along the tub's rim.
Verification: Each installation withstands the user's complete body weight during a firm pull test.
4. Enhance the Toilet for Optimal Ergonomics
Isolate the water supply and empty the existing toilet unit.
Install a comfort-height variant measuring 17 to 19 inches in elevation, paired with an elongated bowl to facilitate use.
Verification: The seating level permits sitting and rising without undue stress on knees or hips.
5. Refine the Sink and Faucet Setup
Select a wall-mounted or pedestal-style sink to maximize legroom beneath.
- Establish the rim at approximately 34 inches above the floor level.
- Integrate lever-style or sensor-activated faucets to simplify operation.
Verification: Access to the faucet and drain controls requires minimal bending or wrist rotation.
6. Transition to a Tub Alternative or Walk-In Shower
Caution: Plumbing alterations and possible electrical integrations demand professional intervention; engage a licensed plumber for drain relocations or pump installations.
Extract the previous tub with care. Fit a zero-threshold or low-entry shower pan, complemented by a built-in seat and a adjustable-height handheld showerhead.
Verification: Drainage directs water efficiently to the floor outlet, avoiding any accumulation.
7. Optimize Lighting for Clear Visibility
Deploy luminous, uniformly distributed illumination without reflective glare. Utilize LED units certified for damp environments.
- Incorporate motion-activated sensors to enable hands-free nighttime illumination.
- Steer clear of intense directional lights that produce shadows.
Verification: Visibility remains unobstructed from the entry point to all fixtures.
8. Enhance Ventilation to Maintain Air Quality
Upgrade to a low-noise exhaust fan sized appropriately for the room's dimensions.
- Direct exhaust to the exterior rather than the attic space.
- Thoroughly clean ventilation ducts prior to reassembly.
Verification: The mirror remains fog-free following a steamy shower session.
9. Incorporate Comfort-Oriented Details
Mount a foldable shower bench, position adhesive non-slip mats strategically, and install open shelving within arm's reach.
Select countertops with beveled edges to minimize injury risks.
Verification: Every element demonstrates stability and accessibility without necessitating excessive extension or bending.
Validation and Resolution Strategies
Frequent Challenges:
- Irregular flooring: Reassess subfloor evenness before setting tiles; apply self-leveling compounds as required.
- Insecure grab bars: Reinforce screws into reinforced blocking or upgrade to heavy-duty anchors.
- Inadequate drainage: Confirm a minimum slope of 1/4 inch per foot toward the drain.
- Insufficient illumination: Substitute with higher-lumen, moisture-resistant LED bulbs.
Straightforward Remedies:
- Apply anti-slip treatments to glossy surfaces.
- Reposition faucet levers or showerheads for improved accessibility.
- Renew deteriorated seals at joint connections to eliminate leaks.
Engaging Professional Assistance
Summon a qualified plumber or electrician when:
- Relocating drains, vents, or electrical conduits.
- Introducing underfloor heating or dedicated lighting circuits.
- Extending the room's dimensions or shifting structural walls.
Standard Expenses:
- Plumbing or electrical adjustments: $2,000 to $6,000
- Complete renovation involving spatial reconfiguration: $15,000 to $25,000
Evaluating Contractors:
- Confirm possession of valid licensing and insurance.
- Solicit a minimum of three client references.
- Obtain a detailed written proposal covering materials, required permits, and labor costs.
- Verify inclusion of warranties for installed components and labor quality.
Frequently Asked Questions
What defines universal design in bathroom contexts?
This approach creates environments that accommodate individuals of varying ages and physical conditions without requiring modifications.
Is a permit necessary for installing grab bars?
Grab bars generally do not mandate permits, though significant plumbing or electrical alterations do.
What constitutes an appropriate bathroom doorway width?
A minimum of 34 inches ensures passage for wheelchairs or mobility aids.
Strategies for Optimal Outcomes
Initiate planning with a strong emphasis on safety over aesthetics. Maintain generous pathways and traction-enhanced surfaces throughout. Prioritize fixtures that demand minimal effort to operate and access. Evaluate each component from a seated vantage to affirm ergonomic suitability. Incremental improvements today avert substantial expenses in the future. An thoughtfully executed universal design bathroom fosters sustained independence, security, and tranquility for generations.