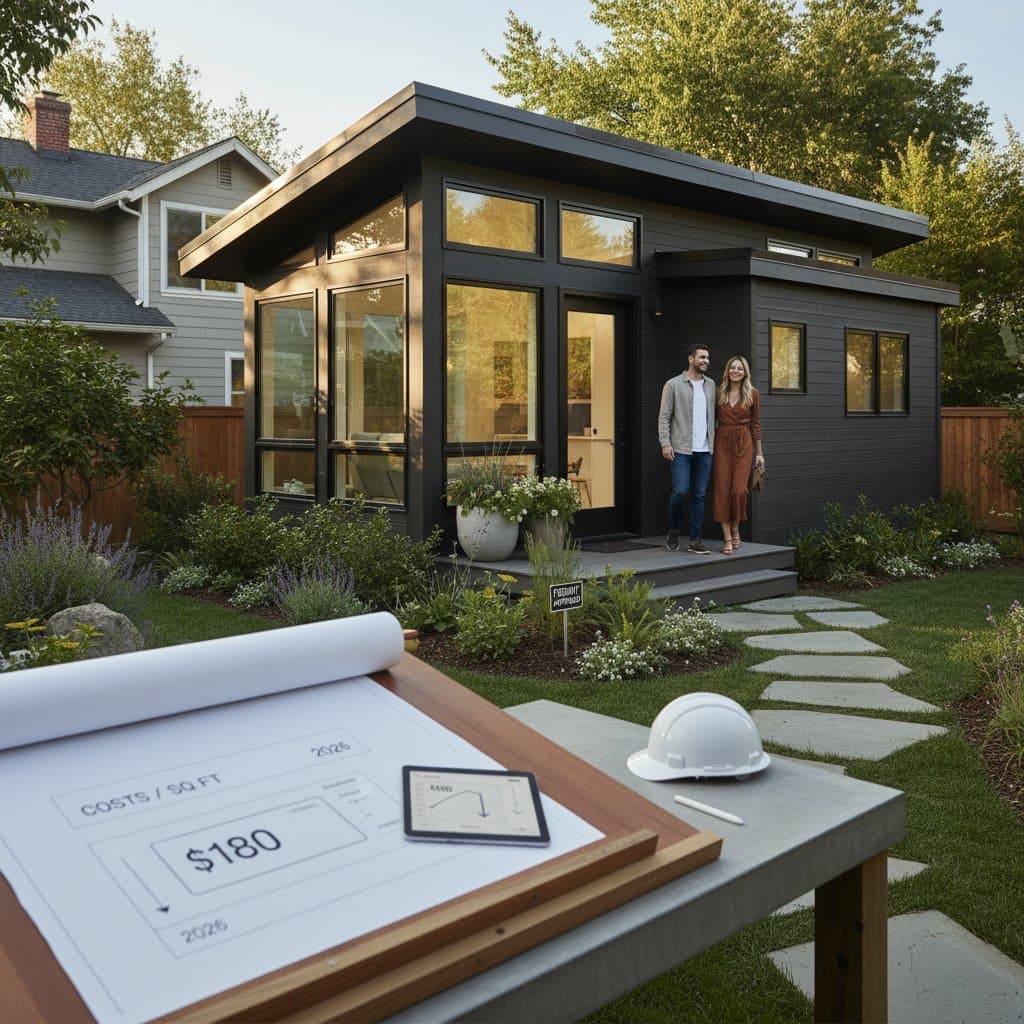
Comparing Prefab ADUs to Site-Built Construction
Prefab accessory dwelling units represent a streamlined approach to expanding living space. Builders construct these units in a factory setting, then transport them to the site for assembly. This method contrasts with ground-up construction, where every element assembles on location from raw materials.
Factory production minimizes weather delays and labor variability, often resulting in lower overall expenses. Site-built projects, however, allow greater customization but extend timelines and increase costs due to on-site coordination. Local regulations, material choices, and site conditions influence the final price differential.
Key Cost Comparison
Prefab ADUs typically range from $70,000 to $200,000 for a complete installation, covering manufacturing, delivery, foundation, and utilities. Site-built equivalents often exceed $150,000 to $300,000, driven by extended labor and material waste. Savings with prefab arise from reduced on-site time, though complex sites may narrow the gap.
Completion for prefab units averages two to four months, versus six to twelve months for traditional builds. Both options require adherence to building codes, but prefab demands precise coordination for transport and placement.
Detailed Installation Guide
Follow these steps to integrate a prefab ADU seamlessly into your property. Each phase builds on the previous, emphasizing precision to avoid costly adjustments.
1. Evaluate the Site Conditions
Select a location that complies with zoning setbacks and maximum size allowances. Ensure the area remains flat and accessible for heavy equipment.
- Inspect for low-hanging power lines or large trees that could obstruct crane operations.
- Confirm soil composition supports load-bearing without excessive settling.
Verification Point: The chosen spot must offer at least 20 feet of clear access for delivery vehicles and feature natural drainage directing water away from the primary residence.
2. Secure Permits and Documentation
Prepare and submit a comprehensive site plan, including elevation views and detailed specifications from the prefab supplier. Local authorities review these for compliance with safety and environmental standards.
Verification Point: Obtain all necessary approvals in writing and display them visibly at the site prior to any groundwork.
3. Construct the Foundation
Prefab ADUs commonly rest on concrete slabs or pier-and-beam systems, chosen based on soil type and frost line depth.
- Clear and grade the area to exact dimensions specified by the manufacturer.
- Install formwork, reinforce with rebar, and pour concrete to achieve uniform thickness.
- Cure the foundation for the recommended period, typically 28 days, to reach full strength.
Verification Point: Measure the surface for levelness, allowing no more than one-quarter inch deviation over the entire footprint to prevent structural stress.
4. Extend Utility Lines
Engage certified professionals to install water supply, sewage, electrical conduits, and gas piping from the main house to the foundation pad.
- Dig trenches to required depths, typically 18 to 36 inches depending on local frost protection rules.
- Use insulated materials where exposure to elements exists and backfill with compacted soil.
- Conduct pressure and continuity tests on each system.
Verification Point: Schedule and pass official inspections for all utilities prior to unit arrival, confirming no leaks or faults.
5. Coordinate Delivery and Placement
Arrange transport via flatbed truck or specialized carrier, timing it after foundation curing and utility readiness. Remove any fencing, vegetation, or debris from the path.
- Position the crane at a stable vantage with clear line of sight to the pad.
- Guide the unit onto the foundation using anchors or bolts as per design.
Verification Point: Confirm the structure aligns perfectly square and level, with no shifts exceeding one-eighth inch.
6. Hook Up Utilities and Weatherproof
Specialized technicians finalize connections between the ADU and site infrastructure, ensuring secure and code-compliant integrations.
- Attach plumbing fittings with threaded seals and electrical panels with grounded wiring.
- Apply flashing, caulk, and sealants around joints, doors, and roof edges.
Verification Point: Test operations for functionality and safety, verifying airtight seals prevent moisture intrusion.
7. Complete Exterior and Landscaping
Fill in any gaps around the base with gravel or soil, install pathways for access, and replant disturbed areas to match the yard aesthetic.
Verification Point: Grade the surrounding terrain to slope at least one inch per foot away from the unit, promoting effective runoff.
Addressing Common Installation Challenges
Monitor for issues that may arise post-placement, addressing them promptly to maintain integrity.
- Floor Unevenness: Reassess foundation levelness; introduce shims only under expert supervision to avoid voiding warranties.
- Binding Doors or Windows: Allow initial settling for one week, then fine-tune hardware alignments.
- Seepage at Joints: Renew sealants and examine flashing for gaps, particularly after heavy rain.
- Utility Disruptions: Contact qualified service providers without delay for diagnostics and repairs.
A properly executed installation yields a structure comparable in stability to traditional builds, with the foundation providing essential support as it integrates with the ground.
Indicators for Professional Involvement
Engage a licensed general contractor when facing:
- Slopes exceeding one foot over the foundation area, requiring retaining walls or grading.
- Necessity to upgrade primary service lines for gas, sewer, or electricity capacity.
- Evidence of standing water beneath the unit, signaling drainage modifications.
Strategies for Optimal Results
Research multiple prefab providers to evaluate quality, warranties, and customization options. Verify that the unit dimensions and weight accommodate your access routes, such as gates or driveways. Request tailored foundation plans from the selected manufacturer to align with local soil reports.
Plan inspections at key milestones to preempt delays from revisions. Allocate a 10 percent budget reserve for unforeseen elements like soil stabilization or permit fees. These measures safeguard the project timeline and ensure the ADU enhances property value for years ahead.
Realizing Lasting Benefits
Investing in a prefab ADU extends living space efficiently while preserving budget and schedule. The structure not only complies with rigorous standards but also integrates utilities reliably, fostering a seamless addition to your home. With diligent preparation, this approach delivers enduring functionality and aesthetic appeal.


