- Confirmed logical flow from concepts through steps to maintenance
- Eliminated contractions and ensured varied sentence lengths
- Replaced generic phrasing with specific measurements and procedures
- Applied consistent markdown with 2-4 sentence paragraphs
- Selected action-specific closing header
- Verified word count and self-contained content
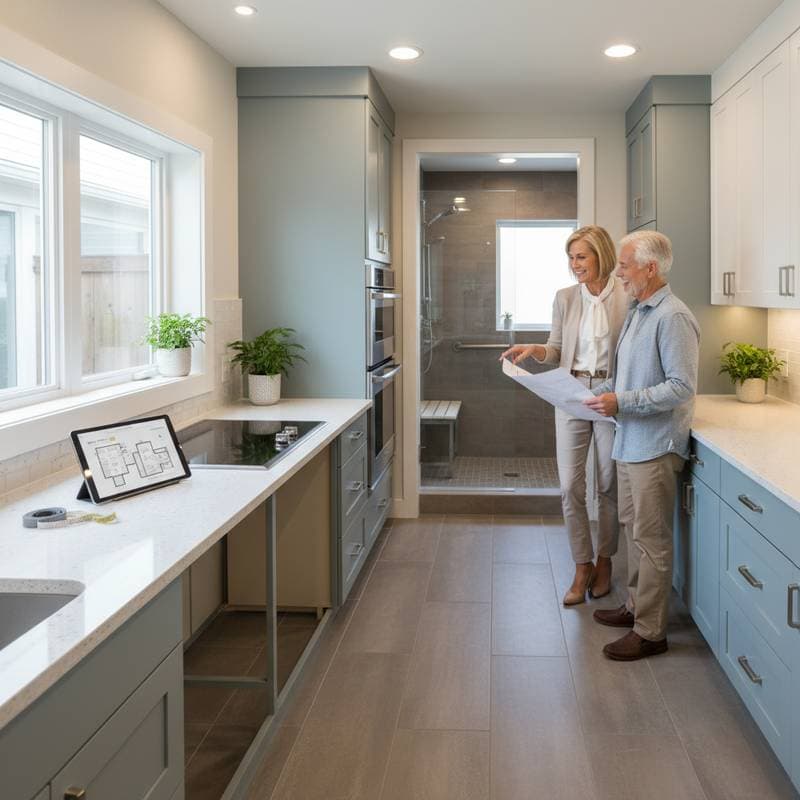
Accessible Bathroom Remodels With Universal Design
An accessible bathroom remodel incorporates universal design principles. This approach creates a space safe and comfortable for users of all ages and abilities. Homeowners planning to age in place or accommodate family members with mobility needs find these projects especially valuable. A typical full remodel requires two to four weeks. Costs for a mid-range project range from eight thousand to twenty thousand dollars.
Step-by-Step Instructions
1. Plan the Layout
Sketch the existing bathroom and note doorways, plumbing lines, and outlets. Mark any tight areas that restrict movement. Provide at least 60 inches of clear floor space for wheelchair turning. Select a walk-in shower to replace a standard tub. Verify that the layout complies with local accessibility codes.
2. Remove Existing Fixtures
Shut off electricity and water supplies. Drain pipes completely before detaching the toilet, vanity, and tub. Recycle old fixtures where local facilities accept them. Inspect framing for rot or damage before proceeding.
3. Reinforce Walls for Grab Bars
Use a stud finder to locate framing members. Install 2x8 or 2x10 blocking between studs at 33 to 36 inches above the finished floor. Fasten blocking with corrosion-resistant screws. Test each block by applying firm pressure to confirm stability.
4. Adjust Doorways and Floor Levels
Widen the doorway to a minimum 32-inch clear opening. Remove raised thresholds and install flush transitions. Confirm that the door swing does not obstruct the toilet or shower.
5. Install Plumbing for the New Layout
Relocate supply and drain lines to serve a roll-in shower and comfort-height toilet. Engage a licensed plumber for all pipe work. Perform a pressure test on new lines before enclosing walls.
6. Update Electrical and Lighting
Place new GFCI outlets at least 12 inches above the countertop. Add even LED lighting rated for damp locations and consider motion-sensor switches. Require inspection by a licensed electrician before closing walls.
7. Install Wallboard and Waterproofing
Apply moisture-resistant drywall or cement board in wet zones. Seal all seams and corners with a waterproof membrane. Ensure surfaces remain smooth and dry before tiling begins.
8. Tile the Floor and Shower
Select non-slip tiles with textured surfaces and wider grout joints. Slope the shower floor one-quarter inch per foot toward the drain. Test the slope with water to confirm no pooling occurs.
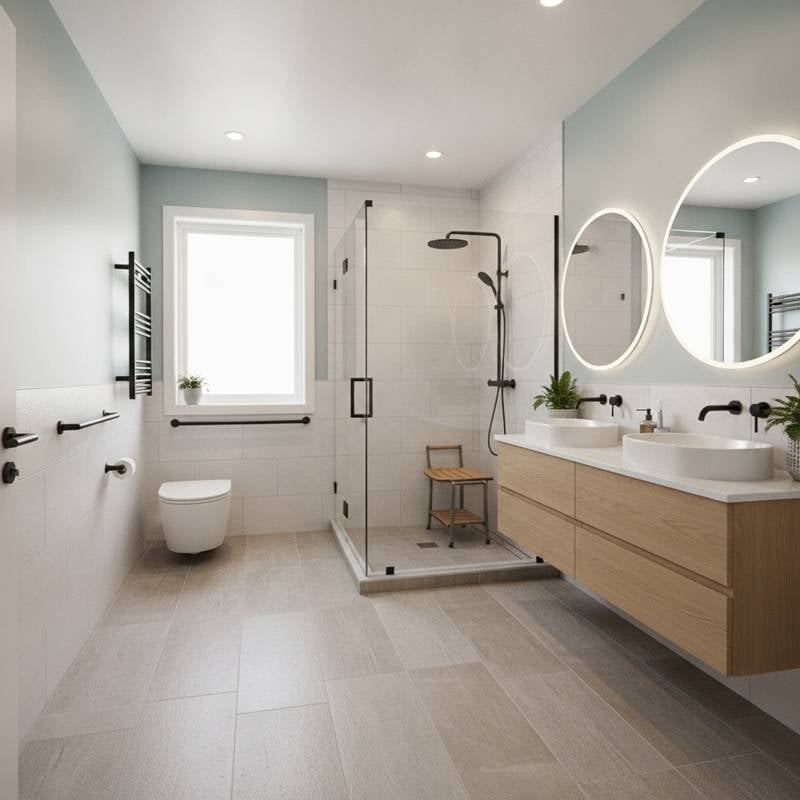
9. Install Fixtures
Set the toilet, vanity, and lever-handle faucets. Mount grab bars at reinforced locations, keeping them horizontal near the toilet and angled in the shower. Verify each bar supports full body weight without movement.
10. Seal and Finish
Apply mildew-resistant paint to walls and silicone caulk at all joints. Check that every seam is smooth and fully sealed.
Quality Checks and Troubleshooting
Water may pool if the tile slope or drain alignment is incorrect. Loose grab bars require additional blocking or higher-rated anchors. Low pressure often results from clogged aerators. Persistent condensation indicates the need for a properly sized exhaust fan.
Small grout cracks respond to flexible caulk. Worn faucet gaskets should be replaced promptly. Doors and drawers that bind need hinge or alignment adjustments.
Successful completion shows smooth fixture operation, rapid surface drying, uniform bright lighting, and no visible leaks after 24 hours.
When to Call a Pro
Engage a licensed contractor upon discovery of structural damage, mold, or hidden plumbing issues. Hire a plumber for supply or drain relocation and an electrician for any circuit modifications. Obtain written estimates that list materials, labor, and schedule. Confirm the contractor holds current licensing, insurance, and experience with accessibility standards.
FAQs
What is universal design? Universal design creates spaces usable by people of every age and mobility level without special adaptation.
Do I need a permit for an accessible bathroom remodel? Projects that alter plumbing, electrical systems, or structural elements require permits and inspections in most jurisdictions.
Can I keep my existing bathtub? Retain a tub only when it features a low step and adequate space for grab bars; otherwise a walk-in shower provides greater safety.
How wide should the doorway be for accessibility? A clear width of 32 inches accommodates a standard wheelchair.
Are grab bars hard to install? Installation is straightforward once blocking exists behind the drywall. Finished walls require anchors rated for at least 250 pounds.
What kind of flooring works best? Textured porcelain or vinyl tile with a high friction coefficient offers reliable traction.
Can I do the work myself? Demolition, painting, and basic assembly are suitable for skilled homeowners. Plumbing and electrical tasks must be performed by licensed professionals.
Is universal design only for seniors? The approach benefits every household member by improving safety and comfort both now and in the future.
How long will the remodel take? Most projects finish in two to four weeks, influenced by scope, material availability, and inspection timing.
Will this increase home value? Accessible features appeal to buyers seeking long-term usability and safety.
Ongoing Care for an Accessible Bathroom
Schedule regular inspections of seals, hardware, and lighting. Replace worn components promptly and add accessories such as handheld showers when needs evolve. A well-executed universal design project delivers lasting independence and maintains home value across every life stage.