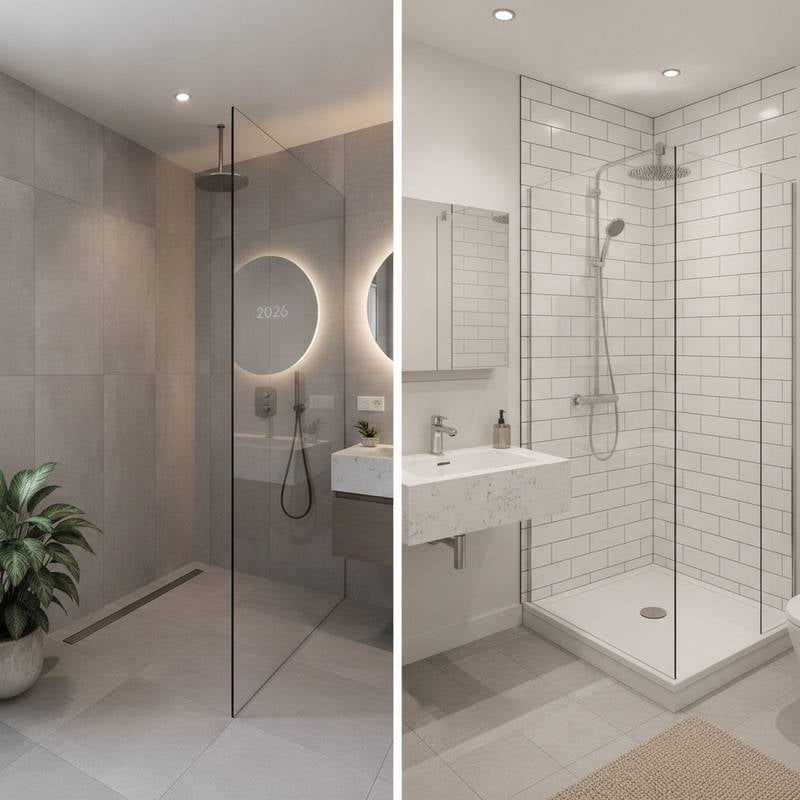
Wet Room vs Traditional Bathroom Costs in 2026
A wet room turns the entire bathroom floor into a waterproof shower area without curbs or doors. This design supports accessibility and simplifies cleaning. A traditional bathroom uses a separate tub or shower enclosure. Installation for a wet room typically costs one and a half to two times more than a comparable traditional layout.
Quick Cost Comparison
Expect total project costs between 12000 and 20000 dollars for a wet room. A traditional bathroom remodel ranges from 6000 to 12000 dollars. Labor accounts for roughly half of wet room expenses because of extensive waterproofing and tiling work. Both projects usually require at least one week to complete.
Step-by-Step Installation Process
1. Plan the Layout
Map the positions of the drain, toilet, and sink. Confirm that drainpipes measure at least 1.5 inches in diameter. Verify slope direction and fixture clearances before any demolition begins.
2. Prepare the Subfloor
Remove existing flooring and examine the subfloor for damage or uneven spots. Replace any compromised sections. The finished surface must remain dry, clean, and structurally sound.
3. Install the Drain Base
Position the floor drain within the designated shower zone. Create a consistent slope of at least one quarter inch per foot toward the drain. Test flow by pouring a small amount of water across the surface.
4. Apply Waterproofing
Improper sealing risks major structural damage later. Install a tanking membrane across the floor and walls to a minimum height of six feet. Overlap all seams by two inches and secure joints with waterproof tape. Allow the full manufacturer cure time before proceeding.
5. Tile the Surfaces
Apply thin-set mortar with a notched trowel. Set floor tiles first, followed by wall tiles. Maintain even spacing with tile spacers. Check bond strength by pressing gently on several tiles after twenty four hours.
6. Grout and Seal
Fill grout lines between tiles and remove excess with a damp sponge. Once dry, apply silicone sealant at all joints and corners. Confirm that every corner shows a continuous watertight seal without gaps.
7. Install Fixtures
Mount showerheads, screens, and remaining fittings according to manufacturer specifications. Run water through the system for several minutes to verify that no leaks appear.
Quality Checks and Common Issues
Pooling water usually indicates an insufficient floor slope. Rebuild the slope or adjust drain height as needed. Peeling sealant requires complete removal and fresh application. Persistent mold growth points to inadequate ventilation. Add a bathroom rated exhaust fan to maintain proper humidity control.
A successful installation shows even drying across the floor and rapid water clearance at the drain.
When Professional Help Is Required
Contact a licensed contractor if water appears beneath walls or flooring. Persistent odors, damaged membranes, or visible structural sagging also warrant expert assessment.
Cost Breakdown and Planning Tips
Wet room projects allocate significant budget to waterproofing materials and skilled labor. Traditional bathrooms reduce expenses when existing plumbing lines remain in place. Obtain written estimates that detail materials, methods, and warranty coverage. Request references and proof of insurance before any agreement.
Frequently Asked Questions
What drives most wet room expenses? Waterproofing and tile work represent the largest portions of the budget.
Can a small bathroom become a wet room? Conversion works when the space permits correct drainage slope and splash management.
Do wet rooms need special ventilation? Continuous duty exhaust fans rated for high moisture environments are required.
Are wet rooms appropriate for upstairs locations? Only when floor joists can support the added weight. Reinforcement may be necessary.
Choosing the Right Option for Your Home
A wet room provides a barrier free, low maintenance space that accommodates changing mobility needs over time. Traditional layouts offer lower upfront costs and greater layout flexibility for many households. Evaluate long term usage patterns, available budget, and commitment to ongoing waterproofing maintenance before deciding.


