Maximize Property Value and Rental Income with 2026 ADU Projects
Quick Overview
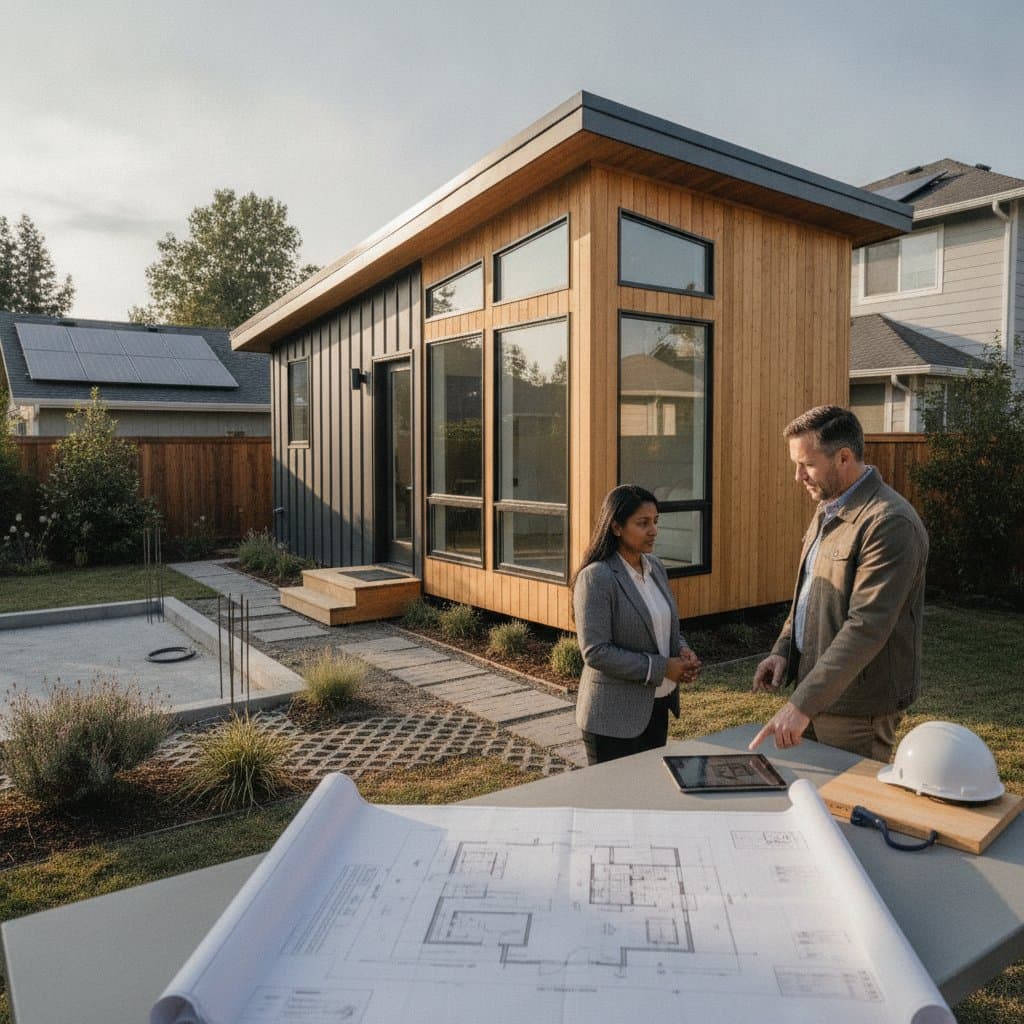
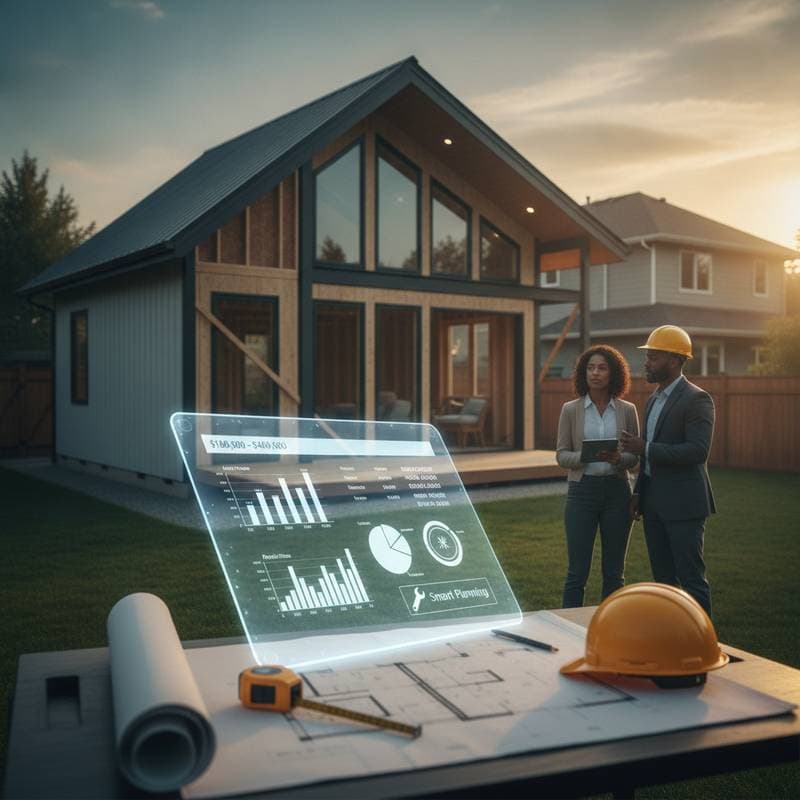
Constructing an accessory dwelling unit (ADU) offers homeowners a reliable way to enhance property worth and create steady rental revenue. Expect costs for a standard detached ADU to range from $150,000 to $350,000, influenced by factors such as unit size, material choices, and regional regulations. Projects typically span four to eight months, from initial planning to the final inspection. The complexity ranges from moderate to advanced, requiring homeowners to manage zoning and permitting while engaging licensed professionals for structural, plumbing, and electrical components. Key safety considerations involve risks from excavation, electrical hazards, and potential code infractions without proper approvals.
Detailed Step-by-Step Process
1. Assess Zoning and Site Eligibility
Start by consulting your local planning department or their online portal to determine if your property supports an ADU.
- Review requirements for minimum lot dimensions, setbacks from rear and side property lines, and allowable square footage limits.
- Inquire about options for independent utility metering versus shared systems with the main residence.
Verification Step: Obtain documented approval or a preliminary site plan to proceed confidently to the design phase.
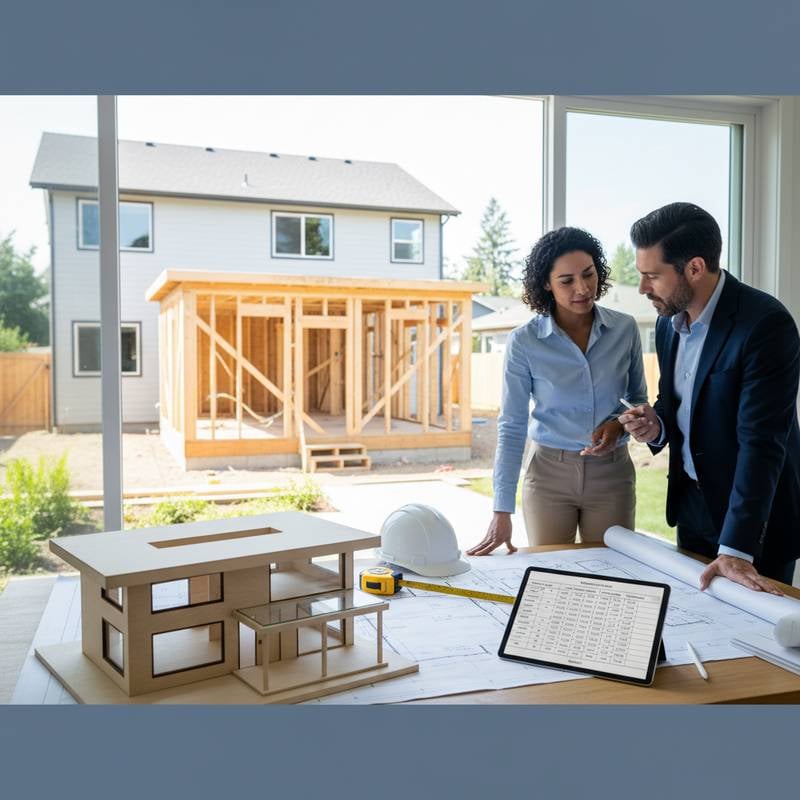
2. Develop Design and Establish Budget
Collaborate with a qualified residential architect or designer to create a functional layout aligned with your available space and financial parameters.
- Incorporate essential elements like a full kitchen, bathroom, sleeping quarters, and living space that comply with local building codes.
- Account for high-quality insulation, proper plumbing ventilation, and emergency egress windows to ensure habitability.
Verification Step: Ensure the design undergoes a preliminary code review focusing on occupancy standards, airflow, and overall safety features.
3. Secure Necessary Permits
Prepare and submit detailed architectural renderings, site diagrams, and engineering specifications to the municipal building authority.
- Cover associated permit fees and await official sign-off prior to commencing any on-site activities.
- Retain duplicates of all approved documents at the construction site for ready access during inspections.
Verification Step: Confirm receipt of endorsed blueprints and a outlined schedule for required inspections.
4. Site Preparation Fundamentals
Remove existing foliage, grade the terrain evenly, and outline the proposed building footprint with precision.
- Engage a certified contractor to handle excavation and pour the foundation according to engineered specifications.
- Implement erosion barriers or silt fences if mandated by environmental or building regulations.
Verification Step: The completed foundation must align exactly with design measurements and receive passing marks on the initial footing inspection.
5. Erect the Core Structure
Assemble wall frames, roof trusses, and flooring using code-compliant lumber dimensions and secure fastening methods.
- Fit windows and doors that satisfy minimum energy efficiency benchmarks set by local standards.
- Apply durable roofing materials and exterior cladding consistent with neighborhood aesthetics and durability requirements.
Verification Step: Schedule and pass a framing inspection to approve progression to insulation and interior wall coverings.
6. Integrate Utility Systems
Employ licensed specialists for installing electrical wiring, gas lines, and water supply infrastructure.
- Place ground-fault circuit interrupter (GFCI) receptacles in high-moisture zones such as kitchens, bathrooms, and exterior locations.
- Ensure all plumbing features include adequate venting and accessible shut-off valves at every point of use.
Verification Step: Conduct rough-in inspections for utilities to verify compliance before enclosing any walls or ceilings.
7. Complete Interior and Exterior Finishes
Apply insulation to walls and attics, install drywall sheeting, and execute painting or other surface treatments.
- Select mold-resistant drywall and sealants for wet areas like bathrooms and kitchens to prevent water damage.
- Outfit the space with suitable flooring, cabinetry, and illumination to create a welcoming environment.
Verification Step: The concluding inspection will validate adherence to both structural and energy conservation codes.
Essential Quality Assurance and Problem Resolution
Frequent Challenges
- Excess Moisture Accumulation: Inspect and reinforce flashing installations around all window and door perimeters to direct water away effectively.
- Leveling Discrepancies in Floors: Double-check foundation evenness with a laser level prior to erecting any framing elements.
- Electrical Circuit Interruptions: Validate that all breakers match load capacities and include clear labeling for future reference.
Straightforward Remedies
- Apply durable, weather-resistant caulk to seal small cracks and joints throughout the structure.
- Renew deteriorated sealant around bathtubs, sinks, and other fixtures to maintain waterproof integrity.
- Fine-tune door hinges and window mechanisms to guarantee effortless and secure operation.
Indicators for Professional Assistance
Engage a licensed general contractor in scenarios involving:
- Complex foundation pouring or load-bearing frame assembly.
- Alterations to existing electrical panels or plumbing networks.
- Projects where expenses or regulatory hurdles surpass your expertise.
Breakdown of Estimated Expenses
- Design consultations and permitting processes: $8,000 to $20,000.
- Foundation work and structural framing: $40,000 to $90,000.
- Electrical, plumbing, and mechanical installations: $25,000 to $60,000.
- Interior and exterior finishing touches: $20,000 to $50,000.
- Comprehensive turnkey construction: $150,000 to $350,000.
Request itemized bids in writing, verify contractor credentials through state licensing boards, and examine past project portfolios prior to commitment.
Strategies for Optimal Project Outcomes
Foster transparent dialogue with your construction team and inspection officials to address issues promptly. Archive all permitting documents, invoices, and inspection records meticulously for potential property sales. Incorporate energy-saving features like double-pane windows, advanced insulation, and LED fixtures to minimize utility expenses over time. Design the interior with soundproofing and private entryways to appeal to discerning renters or family members. Commit to routine upkeep schedules to safeguard the asset and sustain high returns on your investment.
Frequently Asked Questions
What financing options exist for ADU construction? Home equity loans, construction-specific mortgages, or local grants often support these projects; consult a financial advisor for personalized recommendations.
How does an ADU impact property taxes? Additions like ADUs may increase assessed value, leading to higher taxes; check with your county assessor for precise calculations.
Can I build an ADU myself to save costs? While minor cosmetic work is feasible, structural and utility tasks require licensed professionals to meet codes and avoid liabilities.
What size ADU is most cost-effective? Units between 400 and 800 square feet balance affordability with functionality; tailor to your lot's zoning allowances.
How long until I can rent out the ADU? Post-final inspection and certificate of occupancy, typically 4-8 months total, you can list for tenants while ensuring habitability standards.