Prefab ADU Costs for Backyard Studios Explained
Prefab accessory dwelling units offer homeowners a fast and efficient way to add usable space. This guide explains what affects the total cost of a prefab backyard studio, how installation works, and when to hire a professional builder.
Quick Overview
A prefab ADU is a small modular structure built off site and delivered ready to install in your backyard. This article covers what you can expect to pay for a prefab studio, how long installation takes, and the steps needed to complete the project safely and correctly.
Cost and Time Estimates
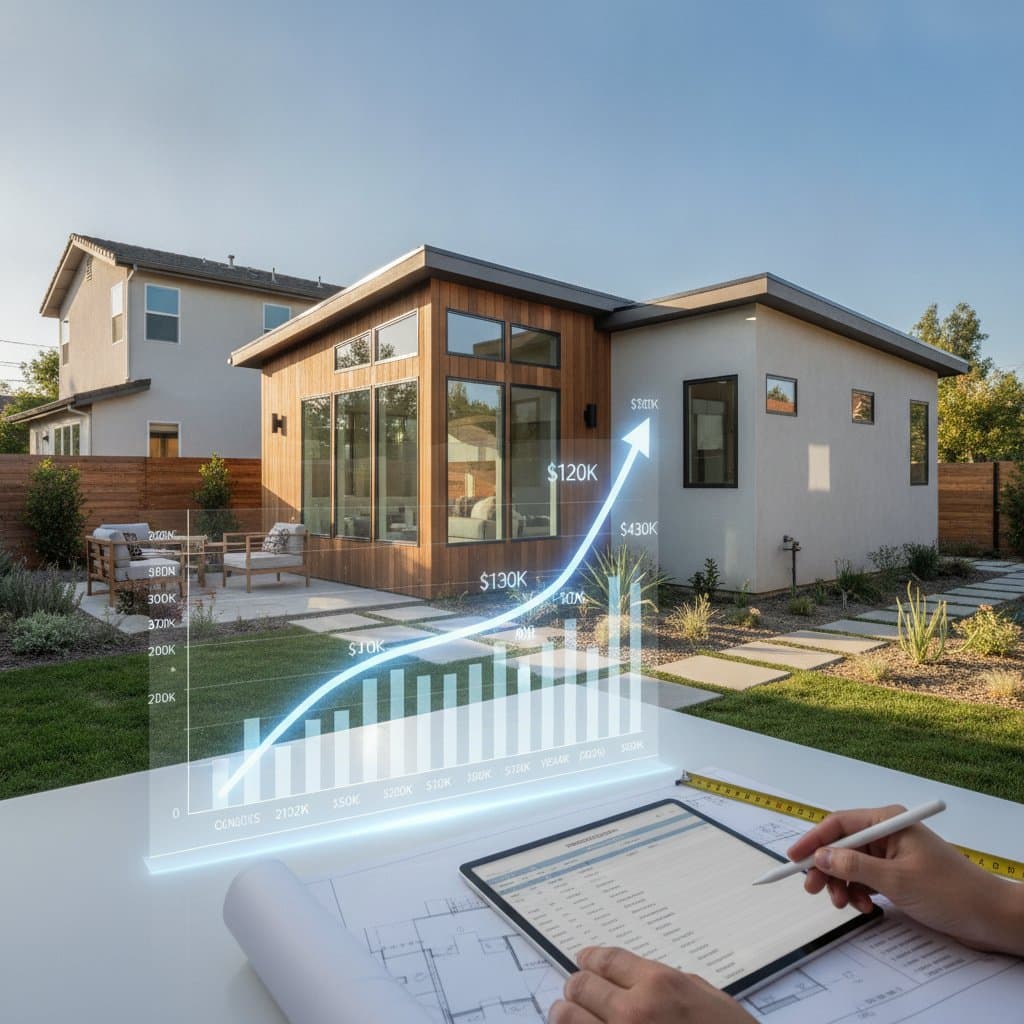
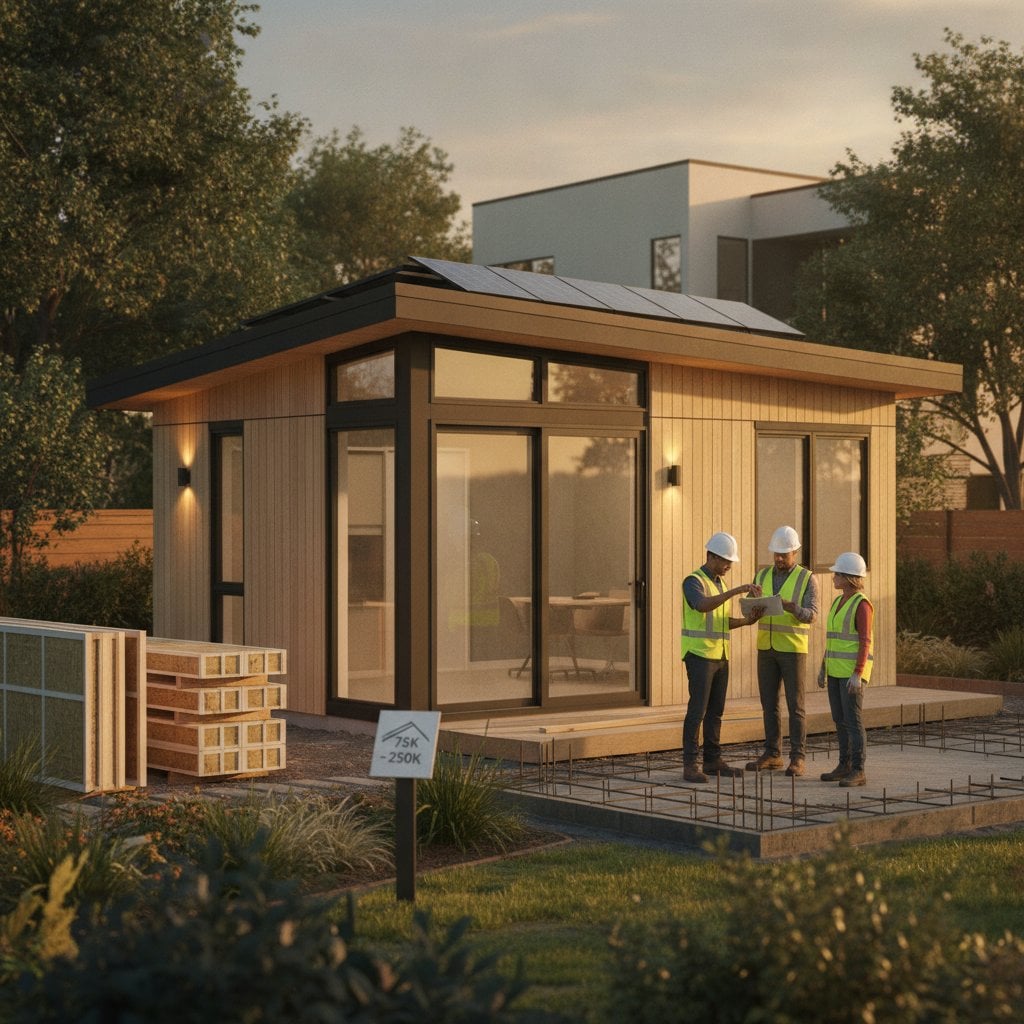
Prefab backyard studios range from $75,000 to $250,000 depending on size, finishes, and installation complexity. Smaller office style studios cost less, while full living units with kitchens and bathrooms cost more.
Main cost factors include size, material quality, site conditions, utility hookups, local regulations, and delivery distance. A 200 square foot studio costs much less than a 600 square foot unit. Standard siding, flooring, and windows lower the price, while high end finishes increase it. Sloped lots or limited access raise delivery and foundation costs. Adding plumbing, electrical, or sewer lines increases both labor and permit fees. Permit costs differ by city and can add thousands to the total. The farther the factory is from your property, the higher the transport cost.
Typical timeframes include 6 to 10 weeks for prefab manufacturing, 2 to 4 weeks for site preparation and foundation, 1 to 2 weeks for delivery and setup, and 1 to 3 weeks for finishing and inspections. Difficulty rating is moderate. Assembly involves precise leveling, electrical work, and code inspections that require skill or supervision.
DIY versus Professional Guidance
Building a prefab ADU involves both factory fabrication and on site setup. While the units come pre built, installation still demands technical expertise.
DIY friendly tasks include clearing and grading the site, installing simple gravel pads or pier foundations for small studios without plumbing, and painting or light interior finishing after delivery. Tasks for professionals include pouring concrete foundations, electrical and plumbing connections, structural anchoring and utility trenching, and code compliance and final inspections.
Hiring a licensed contractor typically costs $15,000 to $40,000 for site prep, foundation, and utility work. Doing these parts yourself can reduce costs but increases the risk of delays or failed inspections. DIY installation totals $80,000 to $140,000. Professional installation totals $120,000 to $250,000. For most homeowners, professional installation ensures compliance with local building codes and protects the factory warranty.
Step by Step Installation Process
Assess Your Property
Check your lot size, setbacks, and access for delivery trucks. Confirm local zoning allows ADUs or backyard studios. Identify where utilities will connect. Your lot must meet zoning and clearance requirements before ordering.
Obtain Permits
Submit plans and manufacturer specifications to your local building department. Include foundation drawings, electrical layouts, and load calculations. Pay permit fees before construction starts. You need written approval and stamped plans.
Prepare the Site
Clear vegetation, debris, and underground obstructions. Grade the surface to a slight slope for drainage. Mark the location with stakes and string lines. Avoid damaging buried utilities. Call for a utility locate service before digging. The cleared pad must be level and compacted.
Build the Foundation
Choose either a concrete slab, pier block, or perimeter footing depending on the prefab model. Install anchor bolts or brackets that match the manufacturer base design. Allow concrete to cure fully before delivery. The foundation must be square and level within 1/8 inch tolerance.
Install Utilities
Trench lines for water, sewer, and electrical conduit before the unit arrives. Stub pipes and wires at the correct elevations per the plan. Utility connections must align with prefab entry points.
Deliver and Set the Unit
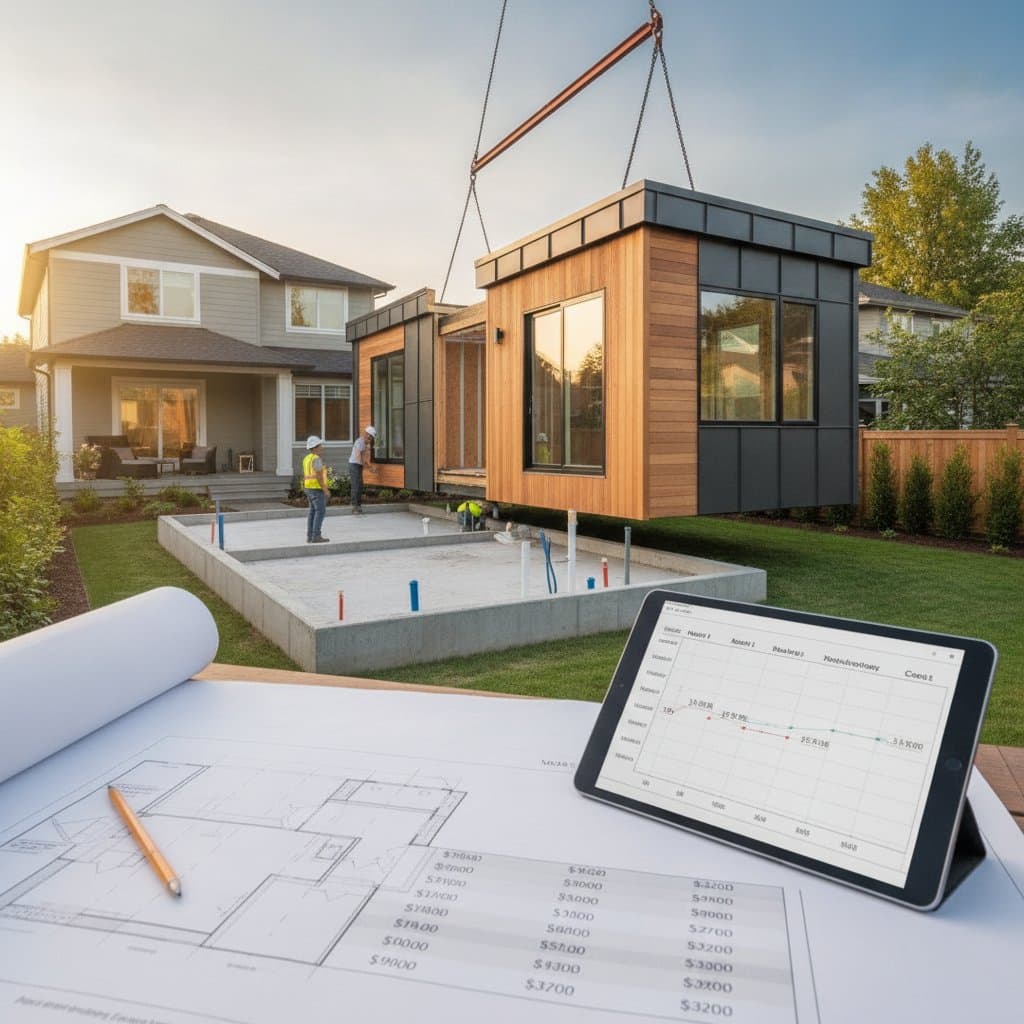
Use a crane or flatbed truck to position the prefab module on the foundation. Align it with anchor points and secure it using rated hardware. Seal all seams and roof joints. The structure must sit firmly on the foundation without gaps.
Connect Utilities and Finish Interior
Licensed trades connect plumbing, electrical, and HVAC systems. Complete drywall touch ups, flooring, and trim as needed. All systems must function and meet local inspection standards.
Schedule Inspections
Your local authority will inspect foundation, framing, electrical, and plumbing as required. Obtain the final occupancy certificate. All permits must be closed and the structure legally approved for use.
Safety Warnings and Tips
Cranes and trucks require clear access and stable ground. Keep bystanders away during delivery. Only licensed professionals should install or modify electrical and gas systems. Wear gloves, goggles, and steel toe boots. Use hearing protection when cutting or drilling materials. Keep a fire extinguisher and first aid kit on site. Confirm the delivery route can support truck weight. Check weather forecasts to avoid rain during foundation or roof work. Secure loose tools and materials daily to prevent accidents.
Troubleshooting and Quality Checks
Common issues include uneven foundation, moisture around base, utility misalignment, and door or window sticking. Recheck level and adjust shims before anchoring. Improve drainage or add perimeter gravel. Use flexible connectors or short extensions. Verify the structure is level before adjusting frames. Run a water test on roofing and exterior joints to confirm watertightness. Use a level on interior floors and a square on wall corners. Test all outlets and fixtures for proper power and grounding.
Cleanup and Disposal
After installation, remove all construction debris, packaging, and unused materials. Recycle metal, cardboard, and clean wood when possible. Dispose of concrete waste and treated wood at approved facilities. Backfill and compact around the foundation to prevent erosion. Reseed disturbed soil or install gravel for drainage. Leaving a clean, stable site prevents water intrusion and pest problems.
Maintenance and Lifespan
Prefab ADUs are built to last 25 to 50 years depending on materials and climate. Regular upkeep extends their service life. Wash exterior walls yearly to remove dirt and mildew. Repaint or reseal siding every 5 to 10 years. Inspect roof flashing and caulking annually. Clean gutters and downspouts twice a year. Check foundation vents and screens for blockages. Test smoke detectors monthly. Check plumbing joints and fixtures for leaks. Replace HVAC filters every 3 months. Keeping a simple inspection schedule prevents costly repairs later.
When to Call a Professional
Some stages of a prefab ADU project require licensed help for safety and compliance. Call a pro if you need to connect to municipal sewer or main electrical service, the ground slopes more than 12 inches across the building footprint, the structure exceeds 400 square feet, you encounter water drainage issues or soil movement, or the local authority requires stamped engineering drawings.
Professional costs include site grading and foundation at $8,000 to $20,000, electrical and plumbing at $6,000 to $15,000, crane delivery and setup at $4,000 to $10,000, and permits and inspections at $2,000 to $8,000. Verify state license and insurance coverage. Request written estimates and itemized costs. Ask for references from recent ADU projects. Review warranty terms for both labor and materials. Confirm who handles permit applications and inspection scheduling. Choosing a qualified contractor reduces risk and ensures the unit meets local building standards.
Pro Tips for Success
Plan early. Secure permits and design approvals before ordering your prefab unit. Confirm utilities. Ensure capacity for water, sewer, and electrical loads before installation. Budget for hidden costs. Include landscaping, fencing, or driveway repairs after construction. Select durable finishes. Vinyl siding, composite decking, and metal roofing lower long term maintenance. Schedule inspections promptly. Delays between setup and inspection can extend your project timeline. Document everything. Keep manufacturer data sheets, permits, and inspection reports for future resale or warranty claims. A well organized project avoids delays and cost overruns.
Next Actions
Prefab backyard studios make excellent home offices, guest suites, or rental spaces when planned carefully. Start by checking local ADU regulations and measuring your lot for access and clearance. Gather quotes from at least two prefab manufacturers and one licensed site contractor. Compare total project costs, not just unit prices, to make an informed decision. Once you confirm your design, order your prefab unit and schedule site work to align with manufacturing. Keep communication open between your contractor and the prefab supplier to coordinate delivery and setup dates. With proper planning, quality installation, and regular maintenance, a prefab ADU can serve as a long term improvement to your property and a flexible space that adapts to your changing needs.