Prefab ADU Costs and Permit Essentials Explained
Prefab accessory dwelling units provide an efficient option for adding flexible living space to residential properties. This guide details typical costs for prefab ADUs, factors that influence pricing, permit procedures, and situations where professional assistance proves essential for compliance and budget control.
Quick Overview
Readers will find accurate cost ranges for different unit sizes, expected project timelines from manufacturing through occupancy, and required permits along with inspection steps. The information supports planning that aligns with local regulations and available resources.
Cost and Time Estimates
Pricing for prefab ADUs varies with unit size, design features, and site preparation needs. Regional labor rates and permit fees further affect the total investment.
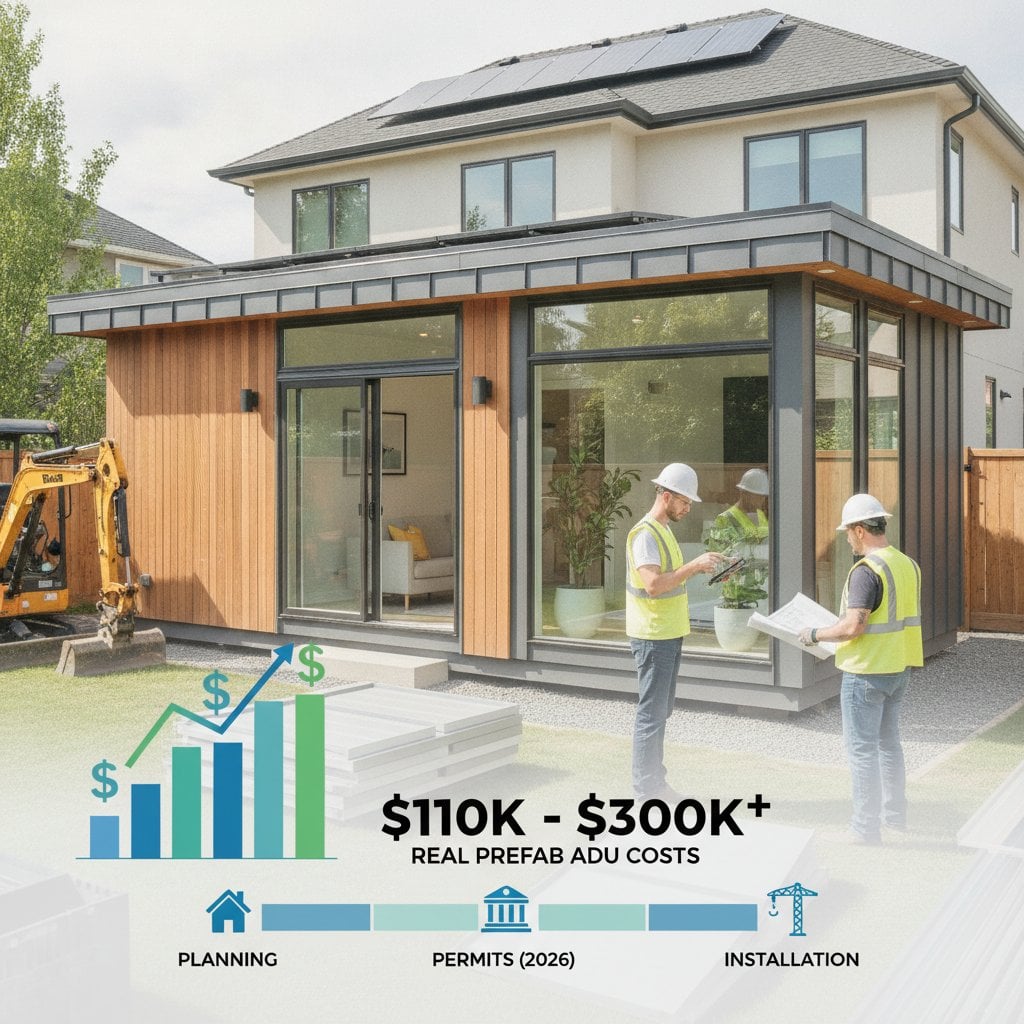
Typical Cost Range
- Small studio or one bedroom unit measuring 250 to 500 square feet: 110000 to 160000 dollars
- Mid size unit measuring 500 to 750 square feet: 160000 to 220000 dollars
- Larger unit measuring 750 to 1000 square feet: 220000 to 300000 dollars
These figures cover delivery, foundation work, utility connections, and standard interior finishes. Upgrades such as premium cabinetry, solar installations, or specialized exterior materials raise the overall expense.
Permit and Soft Costs
- Building and planning permits: 3000 to 12000 dollars
- Utility connection or impact fees: 2000 to 10000 dollars
- Site survey and engineering reports: 1500 to 5000 dollars
Timeline
- Prefab manufacturing requires 8 to 12 weeks.
- Site preparation and foundation construction take 2 to 4 weeks.
- Installation and utility hookups require 2 to 3 weeks.
- Final inspection and certificate of occupancy add 1 to 2 weeks.
A licensed team typically completes installation within three to four months after permit issuance. Most homeowners lack the licenses needed for structural, electrical, and plumbing tasks, which places this project in the advanced category.
DIY versus Professional Guidance
Homeowners can manage initial research, model selection, and minor finish work such as landscaping or trim installation. Licensed contractors must perform foundation construction, plumbing, electrical systems, and mechanical installations. Permit submissions in most areas also require professionally stamped drawings.
Properly executed DIY site preparation and finishing tasks may reduce expenses by 5000 to 15000 dollars. Engaging a general contractor increases oversight costs yet reduces risks of code violations and extended delays.
Step by Step Process
Evaluate Your Property
- Review local zoning ordinances to confirm ADU allowances on the lot.
- Measure available space while confirming setbacks, height restrictions, and utility locations.
- Confirm that the planned footprint satisfies all zoning requirements before proceeding.
Choose a Prefab Model
- Compare available units according to size, floor plan, and finish specifications.
- Request detailed information on insulation values, energy performance ratings, and structural load capacities.
- Verify that the selected model meets regional climate demands and residential building codes.
Obtain Permits
- Submit a complete site plan, utility layout, and manufacturer specifications to the building department.
- Pay required fees and schedule the plan review.
- Secure official approval before placing the unit order.
Prepare the Site
- Excavate and install the foundation or slab according to manufacturer specifications.
- Extend utility connections for water, sewer, gas, and electrical service.
- Ensure the foundation remains level and utilities stay capped until delivery.
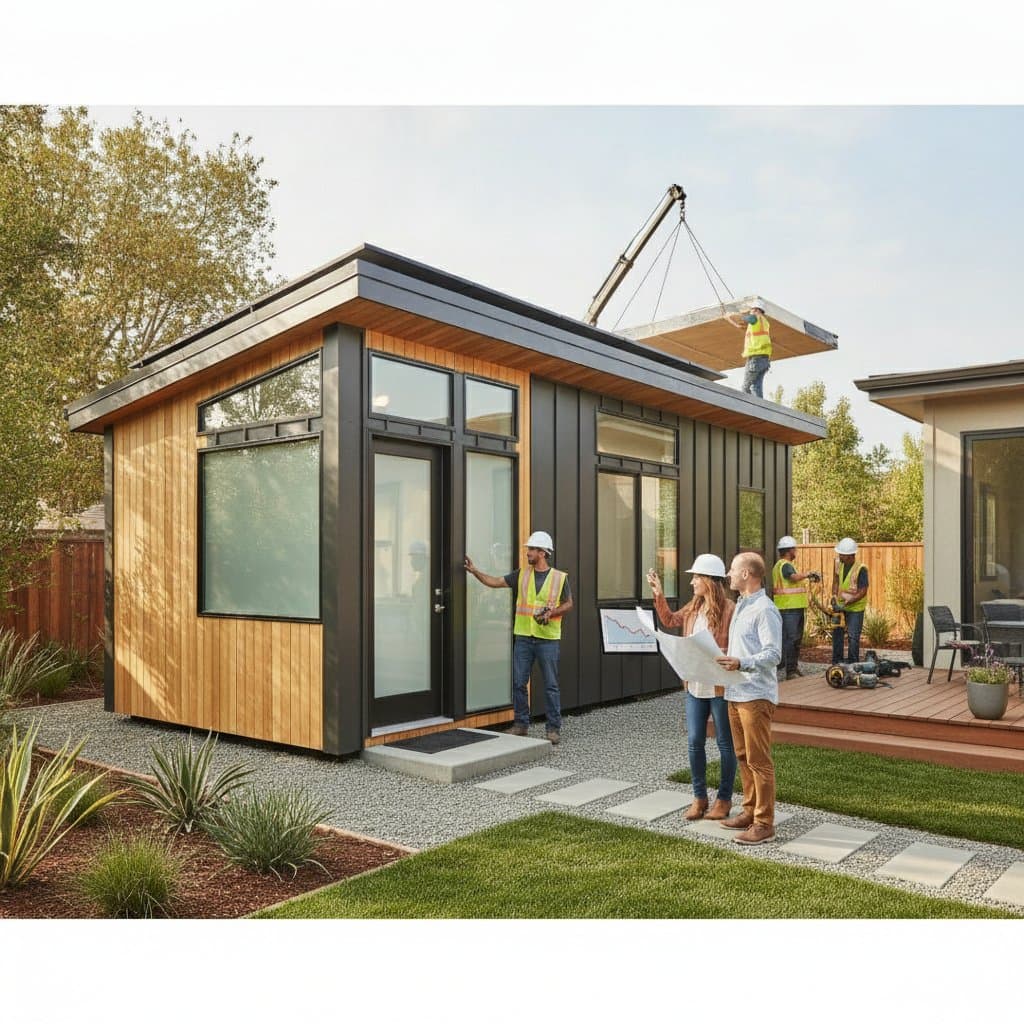
Deliver and Install the Unit
- Schedule delivery and coordinate crane or truck access with the supplier.
- Position the unit on the foundation, complete utility connections, and secure all structural joints.
- Confirm that the unit rests squarely and receives proper anchoring.
Inspect and Connect
- Schedule inspections for structural, electrical, and plumbing work.
- Address any identified deficiencies before occupancy.
- Obtain final sign off to confirm full compliance.
Finish Interior and Exterior Details
- Complete trim work, painting, and landscaping around the unit.
- Install appliances and conduct a final cleaning.
- Verify that the space remains watertight and fully operational.
Safety Warnings and Tips
Electrical connections require power shutoff at the main panel. Only licensed electricians should perform service ties. Gas and plumbing work must be completed by certified professionals to prevent leaks and related hazards. Delivery operations involving cranes demand stable ground and clear overhead clearance. Bystanders and pets should remain at a safe distance.
Protective equipment includes hard hats, gloves, and steel toed boots during site preparation. Safety glasses protect eyes during cutting or drilling. Hearing protection is advisable near operating machinery.
Troubleshooting and Quality Checks
Common issues include uneven foundations, which require regrading before unit placement. Utility misalignment should be checked against the manufacturer site plan. Moisture intrusion is prevented by thorough sealing at all roof and siding joints.
Quality verification involves using a four foot level to confirm alignment. Every outlet, light fixture, and faucet requires testing after installation. Insulation and air sealing should be inspected to support energy efficiency.
Cleanup and Disposal
Remove construction debris and packaging materials promptly. Concrete, metal, and wood can be recycled at local facilities. Follow municipal guidelines for disposal of treated wood, insulation, and drywall. Restore surrounding landscaping and confirm proper drainage around the new foundation.
Maintenance and Lifespan
Quality prefab ADUs typically last 40 to 60 years with routine care comparable to standard residential structures.
Routine Tasks
- Clean roof gutters twice each year.
- Inspect caulking and weather seals seasonally.
- Repaint or reseal exterior siding every five to ten years based on material type.
- Test smoke and carbon monoxide detectors monthly.
Long Term Care
- Examine the foundation for cracks or movement.
- Service HVAC equipment annually.
- Replace roofing and flooring at manufacturer recommended intervals.
A maintenance log supports property value and regulatory compliance for rental use.
When to Call a Professional
Contact a licensed contractor when the site features slopes, drainage challenges, or restricted access. Professional involvement is also required when local rules mandate stamped structural or energy calculations.
Full service design and construction typically ranges from 200 to 350 dollars per square foot including permits and installation. Project management services alone cost between 5000 and 15000 dollars depending on scope.
Verify contractor licensing, liability insurance, and workers compensation coverage. Request at least three recent ADU project references and obtain a written agreement that specifies timeline, payment schedule, and warranty terms.
Planning Your Prefab ADU Project
Careful evaluation of costs, timelines, and regulatory steps supports successful installation. Professional guidance for technical phases combined with thorough site preparation produces a compliant unit that delivers lasting value and expanded living options.