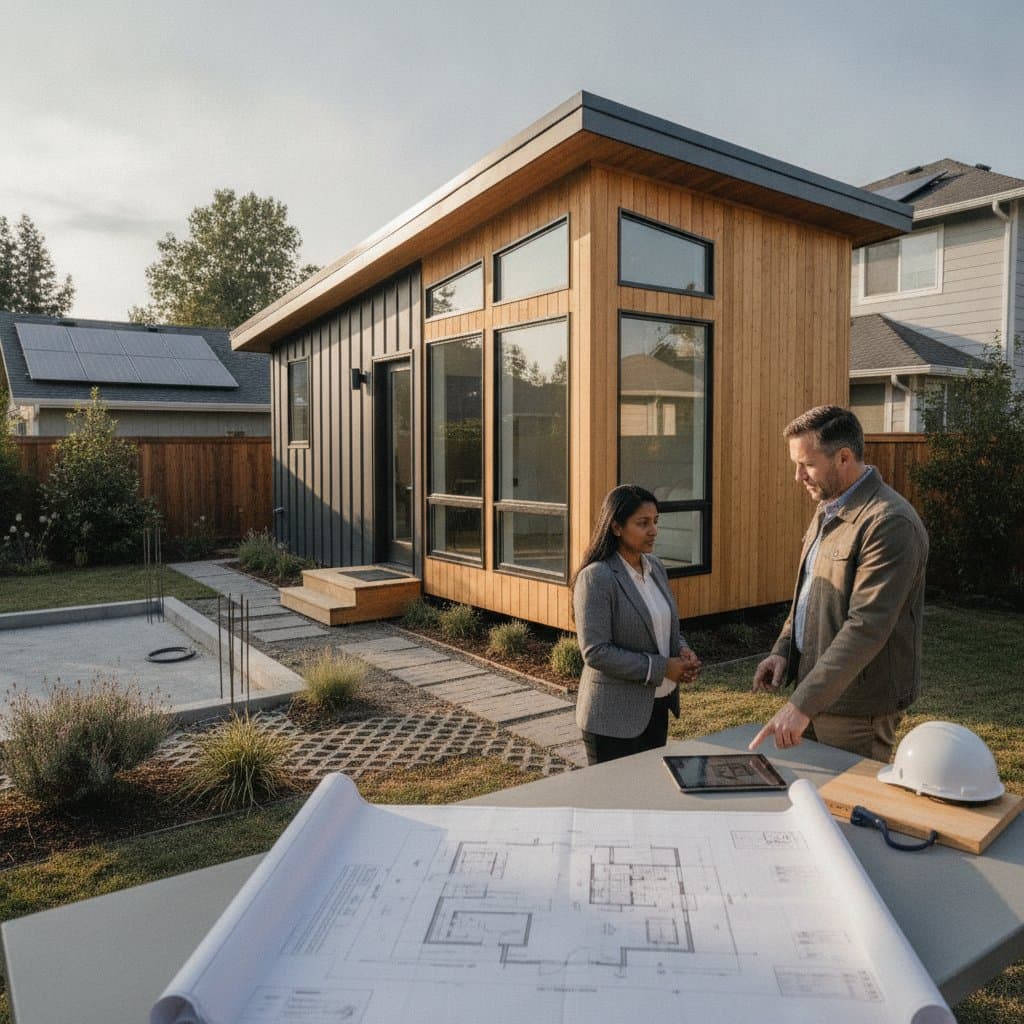
Unlock Spa Luxury: Trends and Budgets Revealed
Transforming a bathroom into a spa-like retreat delivers comfort, relaxation, and enduring value to a home. This guide details current luxury spa bathroom trends, realistic budgets, and planning strategies that align with specific home layouts and lifestyles.
Quick Overview
Homeowners achieve spa-quality bathrooms through deliberate design choices, contemporary fixtures, and streamlined planning. The following sections outline leading trends, cost ranges, and precise steps to establish a private wellness environment.
Cost and Time Estimates
Typical cost range:
- Mid-range spa remodel: $25,000 to $45,000
- High-end luxury remodel: $50,000 to $100,000 or more
Key cost factors:
- Bathroom size and required layout modifications
- Fixture quality, tile selections, and finish materials
- Custom cabinetry or stone fabrication
- Plumbing or electrical system enhancements
- Permit acquisition and inspection processes
Timeline:
- DIY partial upgrade: 2 to 4 weeks
- Professional full remodel: 6 to 10 weeks
Difficulty rating: Advanced. Spa remodels demand expertise in plumbing, electrical, and moisture management systems.
DIY vs Professional Guidance
DIY suits:
- Painting and decor refreshes
- Light fixture or towel warmer installations
- Mirror or accessory replacements
Professionals handle:
- Steam shower or sauna setups
- Heated flooring integrations
- Extensive plumbing or electrical alterations
- Waterproofing and ventilation improvements
Cost comparison:
- DIY refresh with minor enhancements: $2,000 to $8,000
- Professional spa remodel with bespoke elements: $40,000 to $90,000
Licensed contractors oversee permits, inspections, and warranties to safeguard investments.
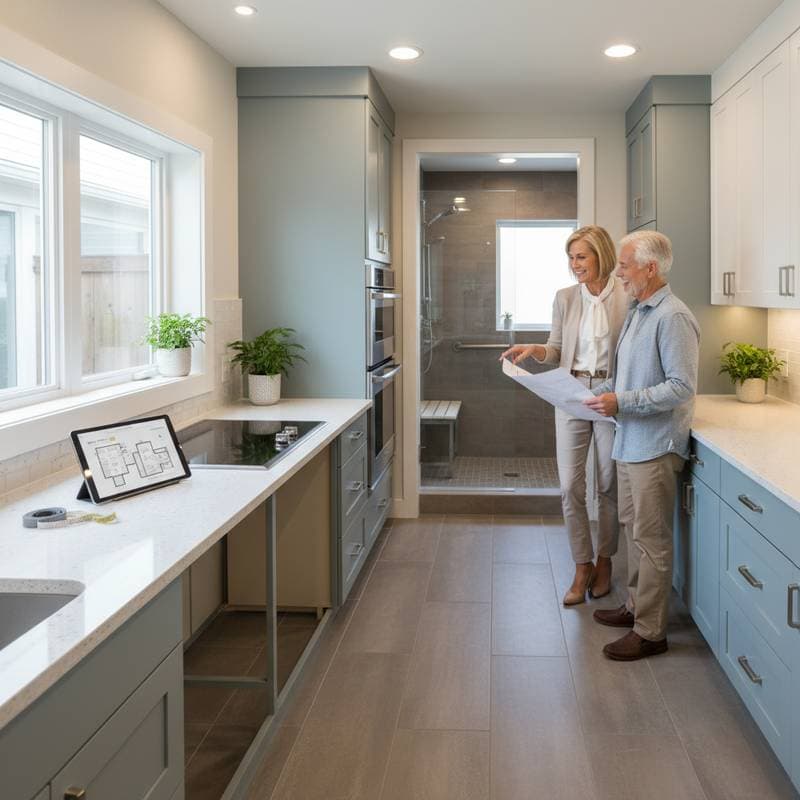
Step-by-Step Planning for a Spa Bathroom Remodel
1. Define Your Vision
Establish the meaning of spa luxury within the home context.
- Select a theme, such as modern minimalism, natural stone sanctuary, or resort-inspired contemporary.
- Collect inspiration images or material samples.
Success check: Design selections align with spatial constraints and financial limits.
2. Measure and Plan Layout
Precise measurements inform all material and fixture choices.
- Draft the layout manually or via design software.
- Indicate plumbing and electrical positions.
Success check: Layout supports fluid circulation and proportional spacing.
3. Select Core Features
Spa bathrooms typically incorporate:
- Steam showers equipped with digital interfaces and watertight enclosures
- Soaking tubs in freestanding or jetted configurations
- Heated floors via electric mats or hydronic tubing
- Smart lighting featuring dimmable options and adjustable color temperatures
Success check: Features integrate seamlessly into the space and comply with building codes.
4. Prepare the Space
Warning: Electrical Hazard. Disconnect power prior to fixture or outlet removal.
- Dismantle existing tile, fixtures, and flooring methodically.
- Examine subfloor and walls for water damage.
Success check: Preparation yields a clean, dry, and stable foundation for new installations.
5. Upgrade Plumbing and Electrical
Engage licensed specialists for these modifications.
- Route new water lines, drains, and vents to accommodate additional fixtures.
- Install dedicated circuits for heated floors, lighting, and steam mechanisms.
Success check: Systems undergo leak and load testing prior to wall enclosures.
6. Install Surfaces and Fixtures
- Apply tile over waterproof membranes with grout suitable for humid conditions.
- Secure vanities, tubs, and shower assemblies firmly.
- Apply premium silicone sealant to all joints and edges.
Success check: Installations achieve level alignment, water resistance, and seamless joints.
7. Add Comfort Features
Integrate elements that enhance the spa ambiance.
- Mount towel warmers and equip drawers with soft-close mechanisms.
- Incorporate organic textures through wood-resembling tile or stone accents.
- Optional additions include aromatherapy dispensers or embedded audio systems.
Success check: The space presents a unified, inviting atmosphere upon entry.
Safety Warnings and Tips
- Caution: Slip Risk. Select flooring with anti-slip ratings for moist areas.
- Warning: Steam Burns. Verify manufacturer guidelines for optimal steam temperatures.
- Electrical Safety: Employ GFCI-protected outlets and switches in moisture-prone zones.
- Ventilation: Equip with fans designed for effective humidity extraction to inhibit mold growth.
- During demolition or tile work, utilize gloves, protective eyewear, and respirators.
Troubleshooting and Quality Checks
Common issues:
- Persistent moisture: Evaluate ventilation efficacy and sealant integrity around fixtures.
- Uneven tile lines: Review underlayment preparation or leveling compounds.
- Slow drains: Examine for obstructions or improper pitch angles.
Performance tests:
- Confirm uniform floor heating and thermostat responsiveness.
- Operate the steam shower to assess enclosure integrity and vapor consistency.
- Test all lighting and outlets for secure functionality post-installation.
Cleanup and Disposal
- Clear debris and wrappings each day to maintain a hazard-free site.
- Transport old tile, drywall, and fixtures to certified recycling facilities.
- Clean grout lines and glass elements using pH-neutral solutions to preserve surfaces.
- Dry wipe newly installed areas after initial uses to minimize residue accumulation.
Maintenance and Lifespan
Routine care:
- Clean steam shower interiors post-use to deter mold formation.
- Perform descaling on showerheads and steam units quarterly.
- Annually review grout and caulking for deterioration.
Expected lifespan:
- Tile and stone elements: 20 years or longer under diligent care.
- Steam generator components: 8 to 12 years.
- Heated flooring systems: 15 to 25 years based on configuration.
Regular upkeep sustains operational efficiency and aesthetic appeal.
When to Call a Professional
Engage a licensed remodeler when:
- Relocating or introducing new plumbing fixtures.
- Electrical demands surpass existing panel capabilities.
- Incorporating interconnected smart technologies or bespoke stone elements.
Professional cost range:
- Design and planning services: $2,500 to $5,000
- Plumbing and electrical enhancements: $6,000 to $15,000
- Complete installation and finishing: $30,000 to $60,000
Contractor checklist:
- Confirm licensing and insurance coverage.
- Obtain detailed estimates and documented warranties.
- Solicit references from comparable recent undertakings.
Pro Tips for Success
- Opt for resilient materials such as porcelain tile or quartz surfaces for simplified upkeep.
- Layer lighting sources to include ambient, functional, and highlight illumination.
- Strategically place mirrors to capture daylight and expand perceived room dimensions.
- Conduct comprehensive system trials before permanent enclosures to prevent expensive corrections.
- Store all product manuals, warranty documents, and care instructions securely.
FAQ
How much does a luxury spa bathroom add to home value?
A premium remodel recoups 50 to 60 percent of expenses through superior materials and enduring designs.
Can a small bathroom feel like a spa?
Affirmative. Emphasize tactile elements, illumination, and one focal feature like a rain showerhead or deep tub.
Do I need a special water heater for a steam shower?
Existing systems suffice in most residences if they satisfy flow and pressure standards. A specialist assesses adequacy.
What tile type works best in a steam shower?
Porcelain or thermally rated natural stone excels in humid, heated settings. Seal stone meticulously.
Sustaining Your Spa Retreat
A luxury spa bathroom merges ergonomic comfort, advanced features, and skilled execution. Strategic upgrades or comprehensive overhauls, guided by meticulous preparation and expert input, yield enduring enhancement and property appreciation.