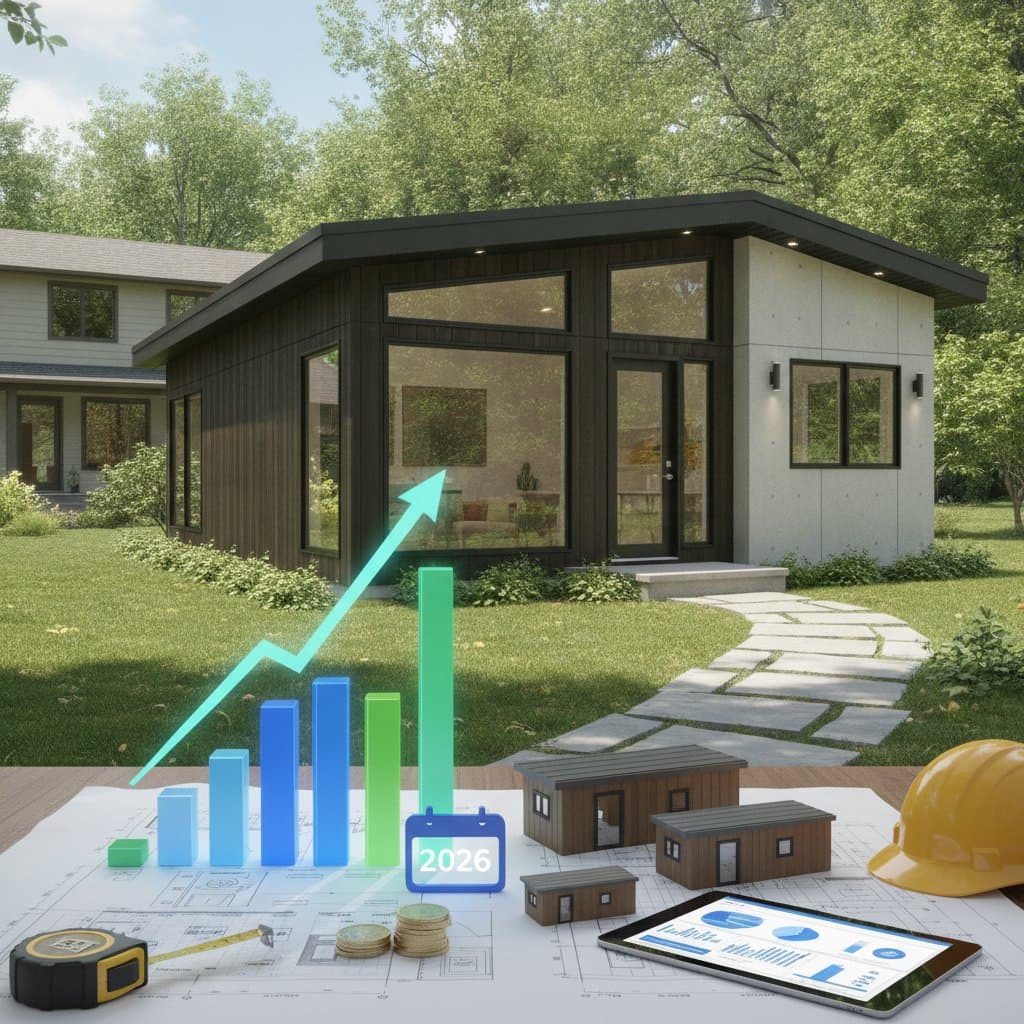
2025 ADU Construction Costs: A Comprehensive Breakdown
Accessory dwelling units provide homeowners with additional living space and property value. These structures range from garage conversions to standalone homes. This guide details the latest cost estimates, permit requirements, and planning strategies for 2025 projects.
Essential Cost Ranges
Construction expenses for ADUs depend on factors such as unit size, design complexity, and regional building codes. Detached ADUs typically cost between $275 and $500 per square foot. Attached units or garage conversions range from $180 to $300 per square foot.
Key influences include material quality, labor rates, and site challenges like soil conditions or utility access. Larger units over 800 square feet often require enhanced structural elements. Local labor shortages in high-demand areas can increase prices by 15 to 20 percent.
Detailed Cost Breakdown
Budgeting requires attention to each project phase. Design and permitting fees span $8,000 to $25,000, covering architectural plans and regulatory approvals. Site preparation and foundation work account for $15,000 to $40,000, including excavation and concrete pouring.
Framing, electrical, and plumbing installations total $40,000 to $90,000. Interior finishes and fixtures add $25,000 to $70,000, with options like custom cabinetry driving higher ends. Utility connections vary from $5,000 to $20,000 based on proximity to existing lines.
Permit fees range from $4,000 to $18,000 across municipalities. Some areas offer fee reductions for energy-efficient designs. Others impose additional charges for infrastructure impacts, such as sewer or school fees.
Project Timelines
Timelines reflect project scope and builder efficiency. Professional construction usually spans 6 to 10 months from permitting to completion. DIY efforts extend to 8 to 14 months due to scheduling subcontractors and handling inspections.
Delays often arise from weather, material shortages, or permit revisions. Plan for buffer time in sloped terrains or regions with seasonal restrictions. Early coordination with local authorities accelerates approvals.
DIY Versus Professional Approaches
DIY construction appeals to experienced homeowners seeking labor savings of 20 to 30 percent. It suits straightforward projects like interior additions or basic conversions. Success demands familiarity with tools, codes, and safety protocols.
Professional services ensure compliance and quality, particularly for complex builds. Detached units with new utilities or sites with drainage issues require expert oversight. Licensed builders charge $100,000 to $300,000 for standard projects, while design-build firms quote $250,000 to $400,000 for premium finishes.
Evaluate your skills against project demands. Consult local codes early to identify mandatory professional involvement, such as electrical or gas work.
Step-by-Step Construction Guide
-
Verify Zoning Compliance. Review local ordinances for setbacks, height restrictions, and parking mandates. Confirm lot size supports the proposed ADU. Proceed only after official verification to avoid redesign costs.
-
Create Design and Site Plans. Develop detailed floor plans, elevations, and utility layouts. Incorporate code requirements for windows, doors, and insulation. Engage an architect if navigating unique site features.
-
Secure Permits. Submit complete documentation to the building department. Address any feedback promptly to minimize delays. Obtain approval before any site disturbance.
-
Prepare the Site. Remove obstacles, conduct soil tests, and erect safety barriers. Grade the area for proper drainage. Ensure access for heavy equipment.
-
Build Foundation and Install Rough Utilities. Lay out plumbing and electrical before pouring concrete. Schedule inspections for trenches and footings. Use reinforced materials in seismic zones.
-
Erect Framing and Roofing. Assemble walls with treated lumber and secure sheathing. Align components precisely for structural integrity. Pass framing inspection prior to enclosing.
-
Integrate Mechanical Systems. Route HVAC, electrical, and plumbing lines. Insulate ducts and pipes for efficiency. Verify each system through rough-in checks.
-
Complete Interiors and Exteriors. Install drywall, flooring, and finishes. Apply weatherproofing to exteriors. Test all fixtures for functionality.
-
Conduct Final Inspections. Review safety features and code adherence. Address deficiencies immediately. Receive the certificate of occupancy to finalize the project.
Safety Protocols
Prioritize hazard prevention throughout construction. Disconnect power sources before electrical tasks to avoid shocks. Secure scaffolding and use harnesses on elevated surfaces to mitigate falls.
Wear protective equipment including gloves, eye protection, and respirators during dusty operations. Delegate gas and plumbing connections to certified specialists. Maintain clear pathways to reduce injury risks.
Addressing Common Challenges
Permit processes can stall with incomplete submissions. Provide detailed plans and follow up on reviewer comments. Foundation issues stem from poor soil preparation; compact layers thoroughly and add control joints.
Prevent water damage by sealing penetrations around windows and roofs. Perform regular quality assessments: check wall alignment with levels, test electrical circuits, and monitor drainage flow.
Waste Management Practices
Sort materials like wood, metal, and drywall for recycling. Partner with certified disposal services to comply with regulations. Clear debris at the end of each day to support safe inspections and workflow.
Long-Term Upkeep
Annual evaluations preserve ADU durability. Examine roofs for shingle wear and check plumbing for leaks. Refresh exterior coatings and update detectors for smoke and carbon monoxide.
Well-maintained units endure 50 years or more. Address minor issues promptly to prevent extensive repairs.
Indicators for Expert Intervention
Seek professional help for signs of instability, such as shifting foundations or frequent electrical trips. Water damage behind walls demands immediate assessment to halt mold growth.
Repair costs vary: structural fixes range from $5,000 to $25,000, electrical updates from $1,500 to $8,000, and water remediation from $3,000 to $15,000. Select contractors with valid licenses, insurance, detailed proposals, and ADU references. Require warranties for labor and materials.
Strategies for Effective Budgeting
Anticipate unforeseen costs like utility enhancements or geotechnical adjustments. Maintain open dialogue with your team and align on inspection dates. Allocate 10 to 15 percent of the budget as a contingency fund. Thoughtful planning transforms your ADU into a valuable, adaptable asset for generations.