What Granny Flats Cost in 2026: ADU Permits and Pricing
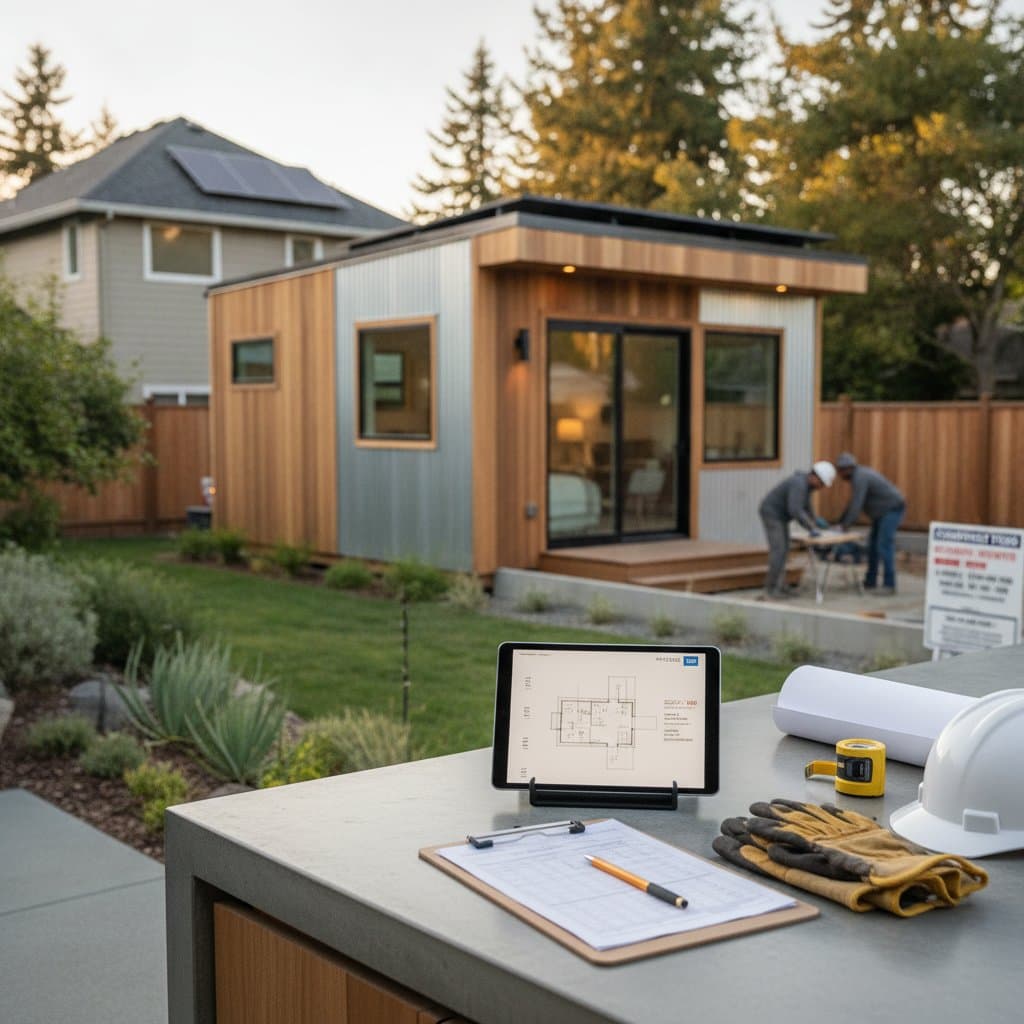
Granny flats, also called accessory dwelling units, give homeowners a flexible way to add living space, rental income, or family housing on their property. This guide explains what to expect when planning an ADU project, including costs, permits, and practical steps to budget correctly.
Quick Overview
This article explains the full cost range for building a granny flat, how permits and regulations affect pricing, and what you can expect whether you hire a contractor or take on parts of the work yourself. You will understand the financial and construction path from planning through completion.
Cost and Time Estimates
Average Total Cost:
Building a detached or attached granny flat typically costs between 180000 dollars and 320000 dollars for a complete unit with utilities, finishes, and inspections. Smaller conversions or garage units can start around 80000 dollars, while high end custom builds may exceed 400000 dollars.
Cost Breakdown:
- Design and permits: 8000 dollars to 25000 dollars
- Site preparation and foundation: 15000 dollars to 40000 dollars
- Framing, roofing, and exterior: 35000 dollars to 70000 dollars
- Plumbing, electrical, and HVAC: 25000 dollars to 55000 dollars
- Interior finishes and fixtures: 30000 dollars to 80000 dollars
- Appliances and final touches: 5000 dollars to 20000 dollars
Time Estimate:
Construction usually takes 4 to 8 months for a contractor built unit. A DIY or hybrid build can extend to 10 to 12 months due to scheduling, inspections, and limited labor availability.
Difficulty Rating: Advanced. An ADU involves structural, electrical, and plumbing systems, so most homeowners choose professional support.
DIY vs Professional Guidance
You can handle planning, design review, and some finishing tasks yourself, but structural and mechanical work should be left to licensed professionals.
DIY friendly tasks:
- Interior painting and flooring
- Landscaping and fencing
- Simple cabinetry or shelving
Professional required tasks:
- Foundation pouring
- Roofing and framing
- Electrical, plumbing, and HVAC installation
- Code inspections and final approval
Cost Comparison:
- Full professional build: 250000 dollars to 350000 dollars
- Partial DIY (owner managed): 180000 dollars to 260000 dollars
- Garage con dollars to 150000 dollars
Hiring a general contractor usually saves time and avoids costly code corrections.
Step by Step Instructions
1. Research Local ADU Rules
Contact your city or county planning department. Each area sets limits on size, height, setbacks, and parking.
- Confirm maximum square footage allowed.
- Ask about owner occupancy rules.
- Request written zoning confirmation.
Success check: You should have a printed zoning summary before design begins.
2. Create a Feasible Design
Work with a designer or architect familiar with ADU codes.
- Keep the footprint efficient, often under 1200 square feet.
- Align plumbing walls to reduce costs.
- Plan energy efficient windows and insulation.
Success check: The design should meet code and fit your lot without a variance.
3. Apply for Permits
Permit requirements differ by city but often include building, electrical, plumbing, and grading permits.
- Submit site plan, floor plan, and structural details.
- Pay fees, typically 4000 dollars to 12000 dollars total.
- Wait for plan review and corrections before approval.
Success check: You should receive stamped permit documents before construction starts.
4. Prepare the Site
Clear the area and stake the unit footprint.
- Mark utilities and request utility locates.
- Remove debris and grade soil for drainage.
- Pour footing and foundation slab as designed.
Success check: Foundation should pass inspection before framing begins.
5. Frame and Roof the Structure
Use dimensional lumber or engineered wood depending on plan specs.
- Frame walls, roof trusses, and openings.
- Install house wrap and roofing underlayment.
- Add doors and windows for full enclosure.
Success check: Structure should be weather tight before rough in work.
6. Complete Rough In Utilities
Hire licensed trades for electrical, plumbing, and HVAC.
- Rough in wiring, outlets, and lighting circuits.
- Install water lines, drains, and vent stacks.
- Place ducts or mini split units for heating and cooling.
Success check: Pass all rough inspections before interior finishes.
7. Finish Interior and Exterior
Install insulation, drywall, flooring, and trim.
- Paint walls and ceilings.
- Add cabinets, countertops, and fixtures.
- Finish siding and exterior paint.
Success check: The unit should be ready for final inspection and occupancy approval.
Safety Warnings and Tips
Warning: Electrical Hazard
Always shut off main power before any wiring work and hire a licensed electrician for panel connections.
Caution: Structural Load Risk
Do not modify framing without structural review. Incorrect bearing walls can cause failure.
Protective Gear:
Wear gloves, safety glasses, and dust masks during demolition or cutting. Use hearing protection around power tools.
Troubleshooting and Quality Checks
Common Problems:
- Uneven foundation: Recheck form levels before pouring concrete.
- Moisture under flooring: Verify vapor barrier installation.
- Low water pressure: Inspect for pipe restrictions or undersized supply lines.
Quality Checks:
- Measure wall plumb and floor level before finishing.
- Confirm GFCI outlets near sinks and exterior areas.
- Test HVAC system for balanced airflow.
- Inspect caulking and flashing for watertight seals.
Cleanup and Disposal
Remove construction waste promptly to keep the site safe.
- Rent a roll off dumpster for mixed debris.
- Separate recyclable materials like concrete, metal, and cardboard.
- Dispose of paint, adhesives, and solvents at approved hazardous waste facilities.
- Grade the site for drainage and seed or pave as planned.
Maintenance and Lifespan
A well built granny flat lasts 40 to 60 years with regular care.
Maintenance schedule:
- Inspect roof, gutters, and flashing twice a year.
- Repaint exterior every 7 to 10 years.
- Check HVAC filters monthly.
- Test smoke and carbon monoxide alarms regularly.
Proper upkeep prevents costly repairs and preserves property value.
When to Call a Professional
Call a licensed contractor if you encounter any of the following:
- Foundation cracks wider than 1/8 inch
- Electrical shorts or tripped breakers
- Plumbing leaks inside walls or slabs
- Structural sagging or framing movement
Hiring Costs:
- Structural repairs: 5000 dollars to 25000 dollars
- Utility reconnections: 2000 dollars to 8000 dollars
- General contractor management: 10 to 20 percent of total project cost
Contractor Checklist:
- Verify license and insurance.
- Review at least three recent references.
- Confirm warranty terms in writing.
- Require a detailed payment schedule tied to inspections.
FAQ Section
What is the cheapest way to build an ADU?
Converting an existing garage or basement costs less than new construction because utilities and structure already exist.
Do I need a separate utility meter?
Some cities allow shared meters, but separate metering may be required for rental use.
Can I rent my granny flat full time?
Most locations allow long term rentals, but short term rentals may need special permits.
Are prefab ADUs cheaper?
Prefab or modular units can lower labor costs, but site work and permits still apply.
How much space do I need for an ADU?
Many zones allow up to 1200 square feet, but smaller units around 500 to 800 square feet are more cost efficient.
Next Steps for Your Project
A successful granny flat project depends on careful planning, accurate budgeting, and compliance with local codes. Start by confirming zoning, then secure design and permit approvals before any construction. Rely on qualified trades for foundation, framing, and systems to ensure quality and safety.