2025 Aging-in-Place Remodeling Costs: Key Insights into Universal Design
Aging-in-place remodeling modifies homes to promote safety and accessibility throughout life stages. These updates enable residents to live independently without relocation. This guide details costs, timelines, and planning strategies for universal design projects that prioritize long-term comfort and functionality.
Project Overview
Aging-in-place remodels range from simple enhancements to comprehensive transformations. Costs depend on project scale, existing home features, and regional factors. Readers gain insights into expense drivers, professional involvement, and budgeting for enduring accessibility improvements.
Cost and Timeline Breakdown
Remodeling expenses fluctuate based on project extent, material selections, and location-specific labor. Basic adjustments prove more affordable than extensive overhauls, yet all must adhere to safety regulations.
Typical cost categories:
- Basic modifications: $3,000 to $15,000
Grab bars, handheld showerheads, lever-style handles, and enhanced lighting represent common examples. - Moderate remodels: $15,000 to $50,000
Walk-in showers, expanded doorways, non-slip flooring, and stair lifts fall into this range. - Extensive renovations: $50,000 to $120,000 or higher
Complete bathroom and kitchen redesigns, exterior ramps, platform lifts, and structural alterations qualify here.
Influencing factors:
- Extent of modifications across rooms
- Material quality and specifications
- Regional labor expenses
- Requirements for plumbing, electrical, or structural work
- Local permitting and inspection processes
Project timelines:
- Simple DIY efforts: 1 to 4 weeks
- Contractor-led projects: 2 to 12 weeks, scaled to complexity
Basic upgrades rate as easy, moderate remodels as intermediate, and full renovations as advanced.
DIY Options Versus Professional Services
Individuals manage certain accessibility tweaks independently, provided they follow safety protocols. Complex alterations demand expertise to ensure regulatory compliance.
Suitable DIY tasks:
- Secure installation of grab bars using wall anchors
- Swap of traditional doorknobs for lever handles
- Addition of motion-activated lights or pathway illumination
- Repositioning of closet rods and shelves for easier access
Projects requiring professionals:
- Expansion of doorways or corridors
- Tub-to-shower conversions
- Installation of ramps, stair lifts, or elevators
- Adjustments to plumbing or electrical infrastructure
- Layout revisions in kitchens or bathrooms
Sample cost contrasts:
- DIY grab bar setup: $50 to $150
- Professional grab bar setup: $150 to $400
- DIY lighting enhancements: $100 to $400
- Professional electrical lighting work: $500 to $1,500
Select contractors holding Certified Aging-in-Place Specialist (CAPS) designation to guarantee adherence to accessibility guidelines.
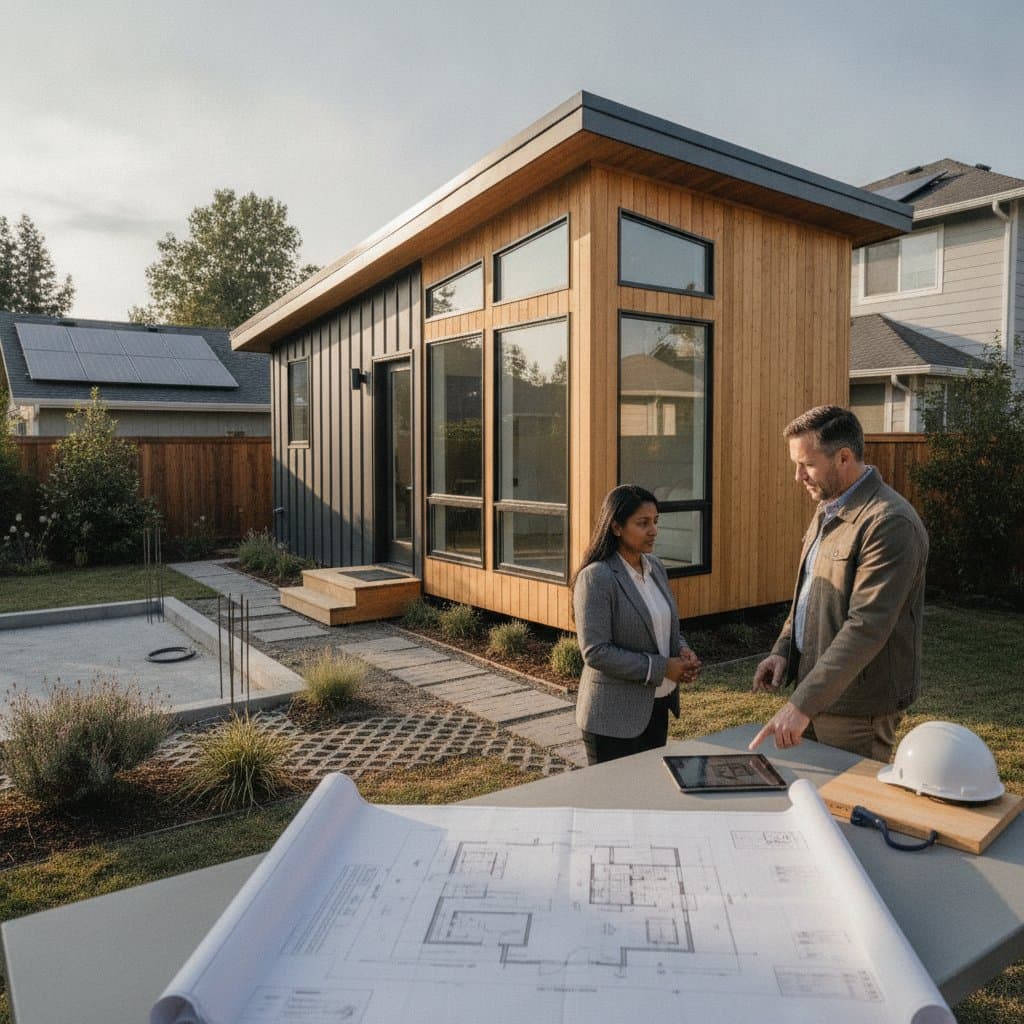
Planning and Execution Steps
Step 1: Evaluate Requirements
Tour the home room by room to pinpoint mobility challenges and hazards. Anticipate future demands, such as wheelchair navigation or reduced arm strength. Compile a documented inventory of issues and ranked priorities.
Step 2: Establish Budget Parameters
Investigate costs for materials and labor per intended upgrade. Allocate 10 to 15 percent extra for unforeseen costs. Align the budget with top-priority items first.
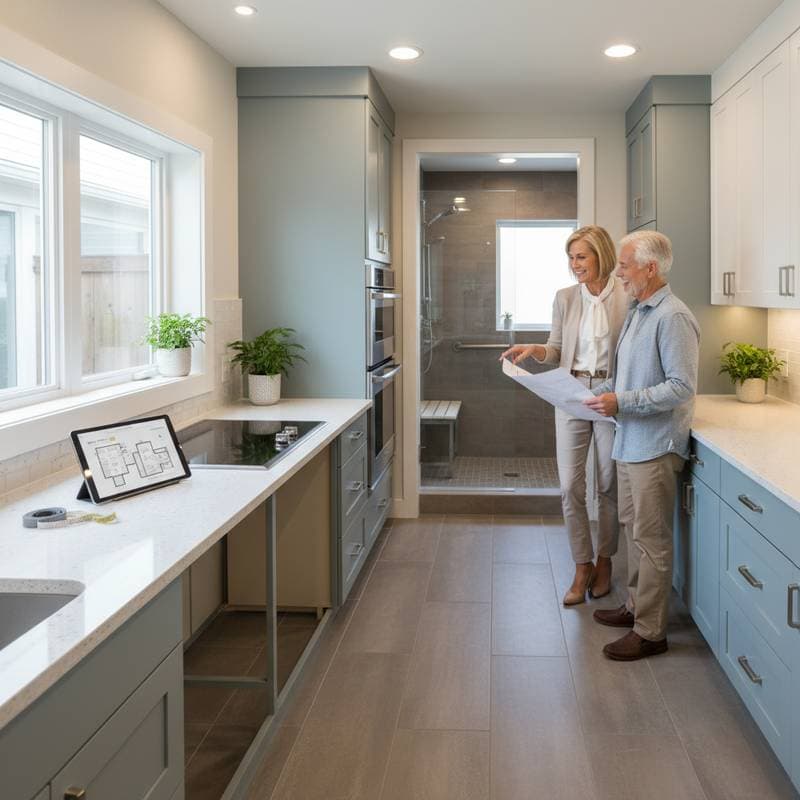
Step 3: Design Spatial Arrangements
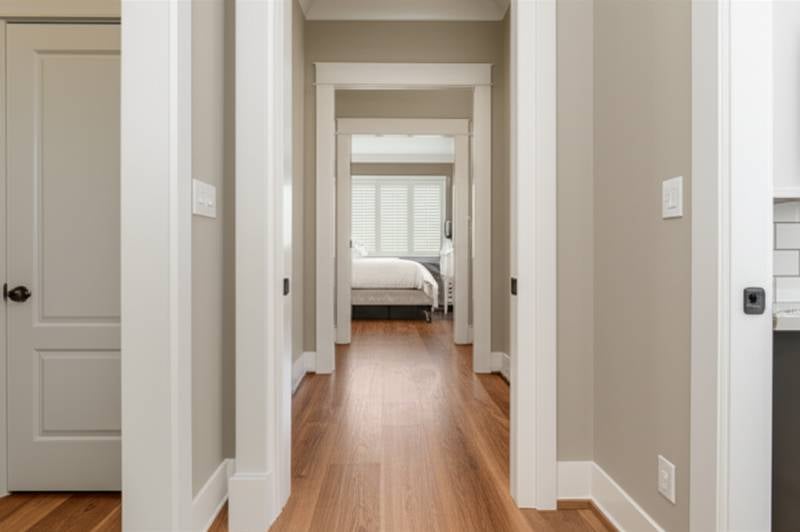
Emphasize unobstructed areas, defined pathways, and accessible storage solutions. Maintain minimum 36-inch clearances in hallways and doorways. Verify unobstructed movement throughout the layout.
Step 4: Engage Reliable Experts
Confirm contractor licensing, insurance coverage, and client references. Request detailed written proposals and schedules. Secure signed agreements outlining project scope.
Step 5: Implement Changes
Phase construction to minimize disruption if residing on-site. Preserve clear access routes and oversee daily advancements. Confirm each phase achieves accessibility and safety objectives.
Step 6: Perform Final Reviews
Inspect the completed work alongside the contractor. Operate lights, water systems, and mobility aids. Ensure all elements perform reliably without effort or danger.
Essential Safety Measures
Electrical Precautions:
Deactivate power via the breaker panel prior to outlet or switch replacements. Install grounded devices suitable for moist bathroom environments.
Fall Prevention Alerts:
Utilize footwear with traction during tasks. Eliminate cords and clutter from floors. Validate the stability of grab bars and handrails prior to use.
Recommended Protective Equipment:
- Eye protection for drilling or sawing activities
- Gloves for tool handling and coarse surfaces
- Dust masks during sanding or flooring removal
- Hearing safeguards for powered equipment or demolition
Initiate safety protocols from project outset. Stabilize ladders, shield edges, and organize tools systematically.
Issue Resolution and Verification
Frequent Challenges:
- Grab bars detaching from unanchored walls
- Irregular floor joints posing trip risks
- Ramps with excessive inclines impeding wheelchair use
- Harsh lighting causing visual discomfort
Corrective Actions:
- Bolster grab bars with 250-pound-rated anchors or backing.
- Apply beveled strips at flooring junctions.
- Construct ramps at a 1:12 rise-to-run ratio.
- Opt for soft, layered illumination over stark overhead sources.
Verification Protocols:
- Doors operate with single-hand effort.
- Pathways measure at least 36 inches across.
- Fixtures activate without undue pressure.
- Railings provide continuous, solid support.
Debris Management
Clear outdated fixtures and waste each day to avoid accidents. Utilize community recycling programs for metals, flooring remnants, and hardware. Segregate hazardous items like paints or glues for designated disposal sites.
For replaced plumbing components, consult local utilities on handling protocols. Direct recyclable packaging to appropriate bins.
Ongoing Care and Durability
Regular evaluations preserve the effectiveness of accessibility elements.
Routine Inspection Cadence:
- Quarterly: Examine grab bars, rails, and light sensors.
- Semiannually: Survey flooring for deterioration or shifts.
- Annually: Review ramps and exteriors for decay, rust, or instability.
Anticipated Service Life:
- Grab bars and rails: 10 to 15 years
- Non-slip surfaces: 15 to 25 years
- Shower enclosures and fittings: 20 years or longer
- Treated wood ramps: 10 to 20 years, varying by weather exposure
Apply gentle cleaners routinely. Address wear in floors or fittings promptly to avert hazards.
Indicators for Expert Intervention
Summon licensed specialists for any structural, wiring, or piping modifications. Reassess with professionals if evolving mobility needs outpace current adaptations.
Specialized Project Expenses:
- Bathroom adaptations: $10,000 to $35,000
- Kitchen access enhancements: $15,000 to $50,000
- Ramp additions: $1,500 to $10,000
- Lift or elevator setups: $20,000 to $45,000
Contractor Selection Criteria:
- Valid licensing and insurance
- Testimonials from current projects
- Workmanship guarantees in writing
- Defined payment terms and benchmarks
- Background in universal design or CAPS accreditation
Qualified hires secure standard compliance and sustained performance.
Strategies for Optimal Results
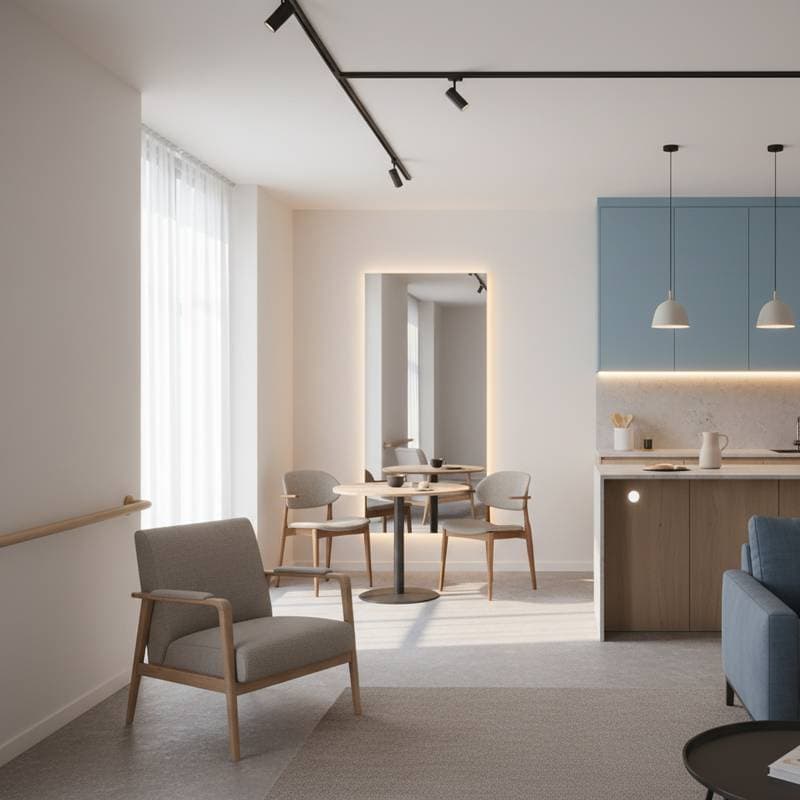
Anticipate evolving mobility requirements beyond present conditions. Illuminate all areas adequately to minimize stumbles and fatigue. Employ color contrasts on floors, walls, and surfaces for enhanced perception. Select matte-finish, grippy flooring materials. Integrate smart controls for lights, climate, and access to ease physical demands.
Incremental changes yield significant gains in security and ease.
Advancing Your Home Accessibility
Initiate a thorough home audit for barriers. Identify immediate safety enhancements and deferrable ones. Obtain bids from credentialed experts and evaluate their methodologies. Specify resilient, easy-care materials suited to style and function.
Such investments foster sustained autonomy. Universal principles elevate usability for all occupants, yielding a resilient living environment that evolves with personal circumstances.
Frequently Asked Questions
What defines universal design in home modifications?
Universal design crafts spaces accessible to individuals across ages and capabilities, emphasizing inherent safety, ease, and adaptability.
Are permits necessary for these remodels?
Structural, electrical, or plumbing alterations typically require approvals. Verify requirements through local building authorities prior to commencement.
Which upgrade prevails in aging-in-place efforts?
Grab bars, curbless showers, and superior lighting dominate, as they bolster protection with minimal disruption.
How does one enhance stair safety?
Install dual-sided handrails, textured treads, and targeted lighting at landings.
Does this remodeling justify the expenditure?
Affirmative. It extends home tenure, mitigates injury risks, and broadens market appeal upon sale.