Transform Your Bathroom for Lifelong Independence
A well-designed accessible bathroom enables aging comfortably at home while preserving safety and style. This guide details how to remodel your bathroom to promote lifelong independence. It covers essential design principles, cost considerations, material selections, and professional recommendations.
Quick Overview
This article outlines the process of planning and constructing an accessible bathroom that facilitates safe movement, simplifies maintenance, and ensures enduring comfort. Readers will discover key features to incorporate, budgeting strategies, and circumstances that necessitate hiring a licensed contractor.
Cost and Time Estimates
Average cost range:
- DIY upgrades: $2,000 to $7,000
- Professional remodel: $12,000 to $35,000 or higher
Key cost factors:
- Bathroom size
- Fixture and finish quality
- Plumbing or electrical modifications
- Accessibility elements like grab bars, curbless showers, and wider doors
- Permit and inspection fees
Time estimate:
- DIY: 2 to 4 weeks, based on skill level and availability
- Professional: 1 to 3 weeks with an organized team
Difficulty rating: Advanced. A comprehensive accessible remodel typically involves plumbing, electrical, and structural alterations that demand licensed expertise.
DIY vs Professional Guidance
DIY-friendly tasks:
- Mounting grab bars or handheld showerheads
- Swapping light fixtures for brighter, energy-efficient models
- Placing non-slip mats or adhesive floor strips
When to hire a professional:
- Transforming a tub into a curbless shower
- Relocating plumbing or electrical lines
- Strengthening walls to support grab bars
- Widening doorways or reconfiguring the layout
Cost comparison:
Professional remodels guarantee code adherence, warranties, and quicker timelines. Initial expenses may exceed DIY approaches, yet they prevent expensive errors. DIY efforts reduce labor costs but might fail to satisfy accessibility standards or address structural requirements over time.
Step-by-Step Instructions
1. Assess Accessibility Needs
Begin by thoroughly evaluating current space usage. Measure doorway widths; aim for a minimum of 32 inches to accommodate wheelchairs. Examine sink and toilet heights, as standard models often require adjustments for optimal reach. Identify potential tripping hazards, such as loose rugs or confined pathways.
Success check: Compile a detailed list of barriers impeding safe navigation.
2. Plan the Layout
Develop a layout that promotes unobstructed circulation and access to all fixtures. Allocate at least 5 feet for wheelchair turning radius. Position fixtures at reachable heights, approximately 34 inches for sinks and counters. Opt for a wall-mounted sink to provide knee space beneath.
Success check: Navigate freely among the toilet, shower, and sink without navigating sharp angles.
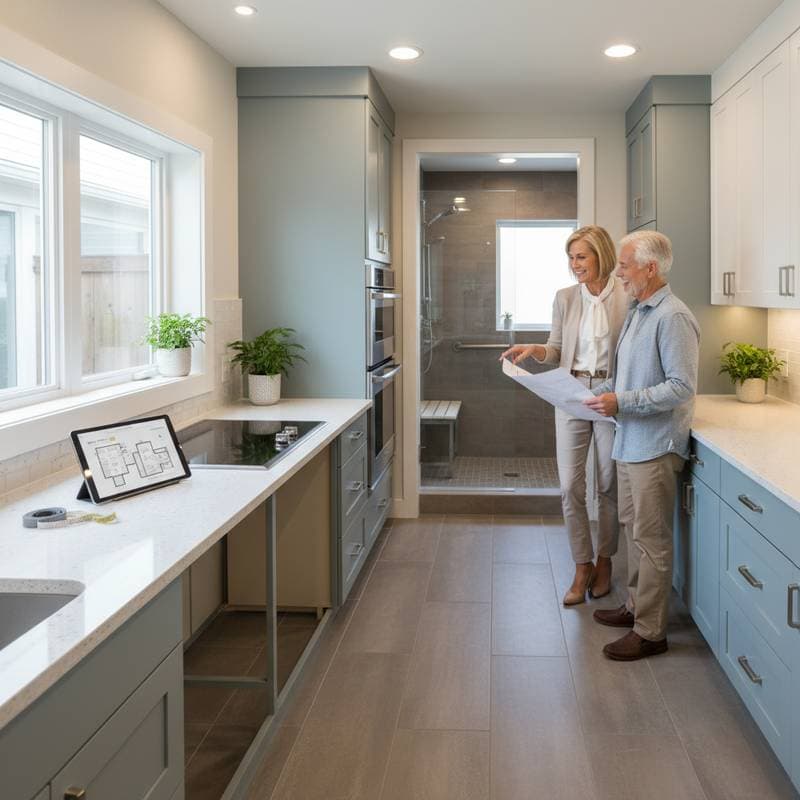
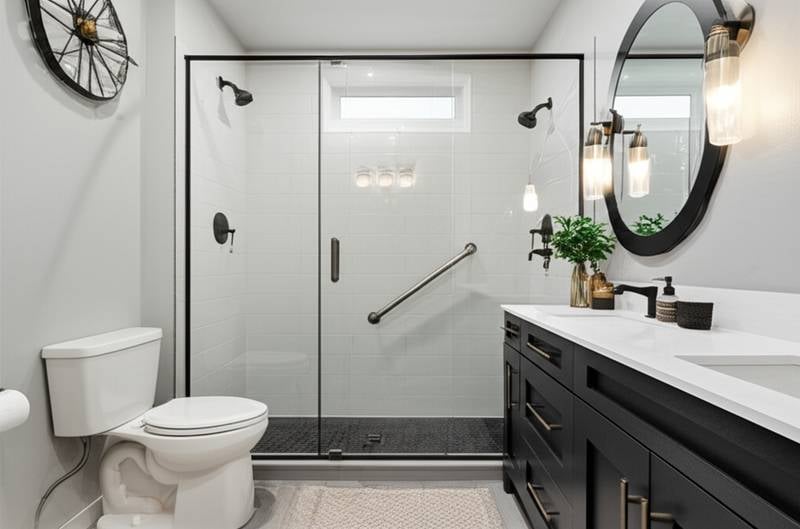
3. Modify the Shower Area
Implement a curbless shower with a broad entry to enhance safety. Incorporate a linear drain to direct water flow efficiently. Select slip-resistant tiles suitable for wet environments. Integrate a built-in bench for seated bathing. Mount a handheld showerhead on a sliding rail for height versatility.
Caution: Slip Risk. Test wet surfaces only while wearing footwear with traction.
Success check: Water drains uniformly across a barrier-free floor.
4. Upgrade the Toilet
Select a comfort-height toilet measuring 17 to 19 inches from floor to seat. Bolster wall framing to accommodate grab bars adjacent to the toilet. Maintain at least 18 inches of clearance from the side wall to simplify transfers.
Success check: Transition between sitting and standing positions effortlessly without instability.
5. Improve Lighting and Visibility
Enhance illumination to minimize accidents and boost usability. Install bright, diffused overhead lights. Position motion-activated night lights along pathways. Apply contrasting colors to walls, floors, and fixtures to aid depth perception.
Success check: Illuminate every bathroom area without creating glare or dark spots.
6. Install Grab Bars
Position grab bars for support near showers, toilets, and tubs. Choose bars with a diameter of at least 1.25 inches featuring textured grips. Mount them horizontally between 33 and 36 inches from the floor. Anchor securely into wall studs or added blocking, avoiding mere drywall attachment.
Warning: Structural Hazard. Faulty installation risks bars detaching under load.
Success check: Bars remain firm when bearing full body weight.
7. Replace Flooring
Select a non-slip surface that stays secure in wet conditions. Suitable options include vinyl sheets, rubber flooring, or textured porcelain tiles. Steer clear of small tiles with expansive grout lines that retain moisture. Ensure seamless transitions to adjacent rooms, eliminating raised thresholds.
Success check: The floor provides steady footing and facilitates proper drainage.
8. Upgrade Faucets and Controls
Incorporate single-lever or touchless faucets for simplified handling. Employ thermostatic mixing valves to avoid scalding. Limit maximum water temperature to 120 degrees Fahrenheit.
Caution: Hot Water Hazard. Verify temperature settings post-installation.
Success check: Operate water flow and temperature adjustments using one hand.
9. Adjust Storage and Fixtures
Reposition shelves, medicine cabinets, and towel hooks to accessible levels. Favor pull-out drawers over deep cabinets. Store everyday items within arm's reach to eliminate excessive bending or stretching.
Success check: Retrieve items from storage while seated or standing comfortably.
Safety Warnings and Tips
- Electrical Hazard: Deactivate power at the breaker panel prior to working on lights or outlets.
- Slip Risk: Deploy temporary mats throughout construction to avert falls.
- Tool Safety: Don gloves, safety glasses, and non-slip shoes during cutting or drilling tasks.
- Ventilation: Operate exhaust fans to mitigate moisture accumulation and mold growth.
Troubleshooting and Quality Checks
Common problems and fixes:
- Water pooling in the shower: Inspect drain slope and recalibrate tile inclination.
- Grab bar feels loose: Fortify anchors with adequate wall blocking.
- Lighting too dim: Upgrade to higher-lumen bulbs or supplementary fixtures.
- Uneven flooring: Even out the subfloor before laying new materials.
Testing checklist:
- Verify floor levelness and slip resistance.
- Confirm grab bars and fixtures stability.
- Ensure complete water drainage without residual pools.
- Check even lighting coverage in all areas.
Cleanup and Disposal
Utilize local waste services or recycling centers for old fixtures and tiles. Salvage metal parts like faucets and grab bars for recycling. Clean new surfaces using non-abrasive products to avoid damage. Activate exhaust fans during cleanup to expedite drying and remove dust.
Maintenance and Lifespan
Consistent care prolongs the durability of an accessible bathroom. Wipe grab bars, faucets, and drains weekly to inhibit residue accumulation. Reapply sealant to tile grout periodically to sustain waterproof integrity. Swap non-slip mats upon traction degradation. Examine caulk lines and joints routinely for cracks or stains.
Expected lifespan:
- Tile floors: 20 to 30 years
- Fixtures and faucets: 10 to 20 years
- Lighting: 5 to 10 years, varying by bulb efficiency
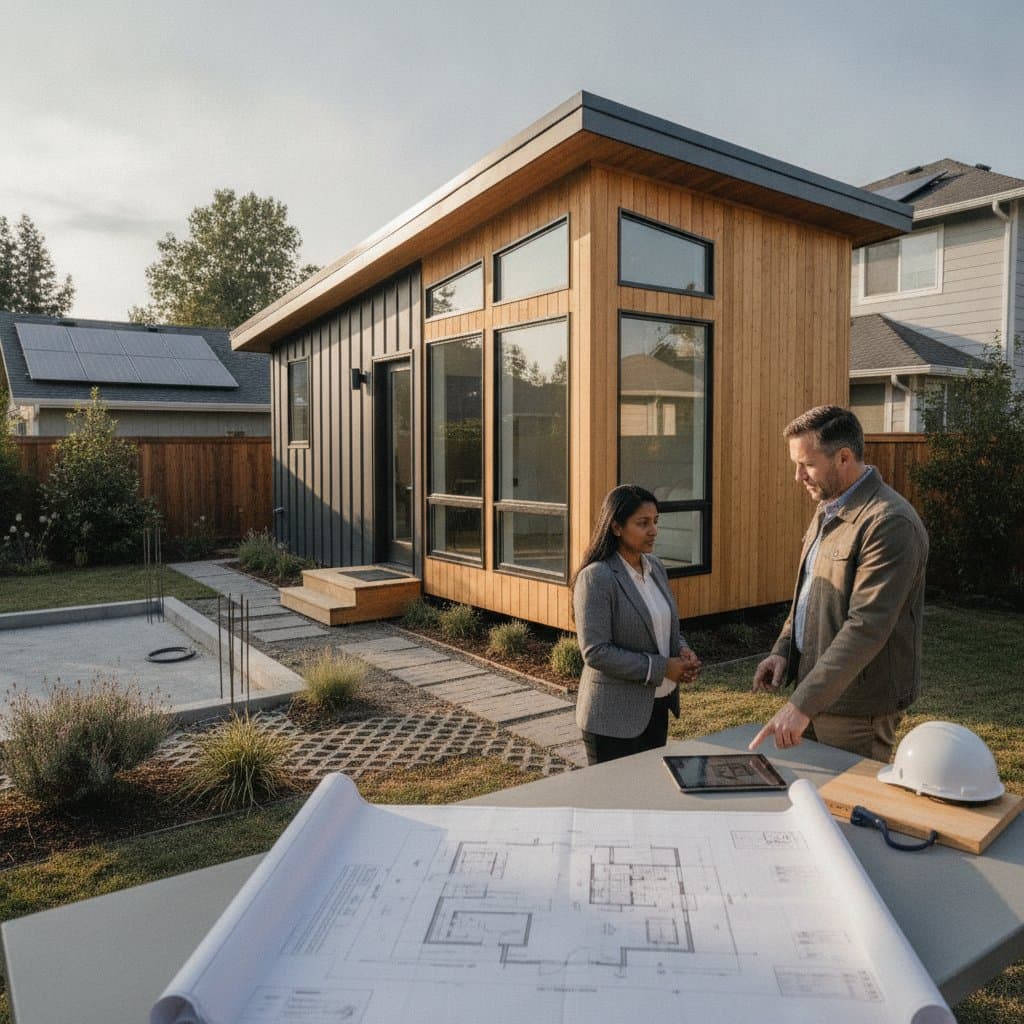
When to Call a Professional
Hire a licensed contractor if:
- Structural changes like doorway expansions or wall relocations are necessary.
- Plumbing or electrical systems demand code-compliant updates.
- Comprehensive design-build services, including permits and inspections, are desired.
Typical professional costs:
- Labor: $70 to $150 per hour, influenced by region and skill
- Design consultation: $500 to $2,000
- Full remodel packages: $15,000 to $40,000 based on project extent
Contractor checklist:
- Confirm licensing and insurance credentials.
- Request references from recent projects.
- Obtain a detailed written estimate.
- Clarify warranty provisions for materials and workmanship.
Pro Tips for Success
Initiate with modest changes if funds are constrained, such as adding grab bars or a handheld shower, before tackling extensive renovations. Select finishes that merge accessibility with visual appeal; contemporary fixtures often achieve this balance. Design lighting and plumbing access via removable panels for straightforward future servicing. Anticipate evolving requirements, even with current mobility intact, as elements like broader doorways and threshold-free entries enhance resale potential.
FAQ
How wide should my bathroom door be for wheelchair access?
At least 32 inches, with 36 inches offering superior maneuverability.
Do I need a permit for an accessible remodel?
Permits are generally mandatory for plumbing, electrical, or structural modifications. Consult your local building authority for specifics.
Can I retrofit my existing tub to be accessible?
Affirmative; options include tub cutouts, walk-in tubs, or conversions to curbless showers.
Are grab bars expensive to install?
Individual bars range from $30 to $100. Professional mounting incurs $100 to $300 per unit.
Sustaining Independence Through Smart Design
An accessible bathroom remodel fosters independence, enhances comfort, and prioritizes safety for years ahead. Integrating thoughtful design with robust materials yields a versatile space responsive to shifting needs, all while upholding aesthetics and efficiency. Conduct periodic reviews, maintain cleanliness, and integrate advancing technologies to maximize longevity.