Breaking Down 2026 Costs for Multigenerational Additions
Multigenerational additions provide privacy, flexibility, and enduring value to a home. This guide details the elements that influence the expense of constructing an in-law suite or accessory dwelling unit (ADU). Readers gain insights into budget planning and the ideal moments to engage professionals.
Cost and Time Estimates
Average Cost Range:
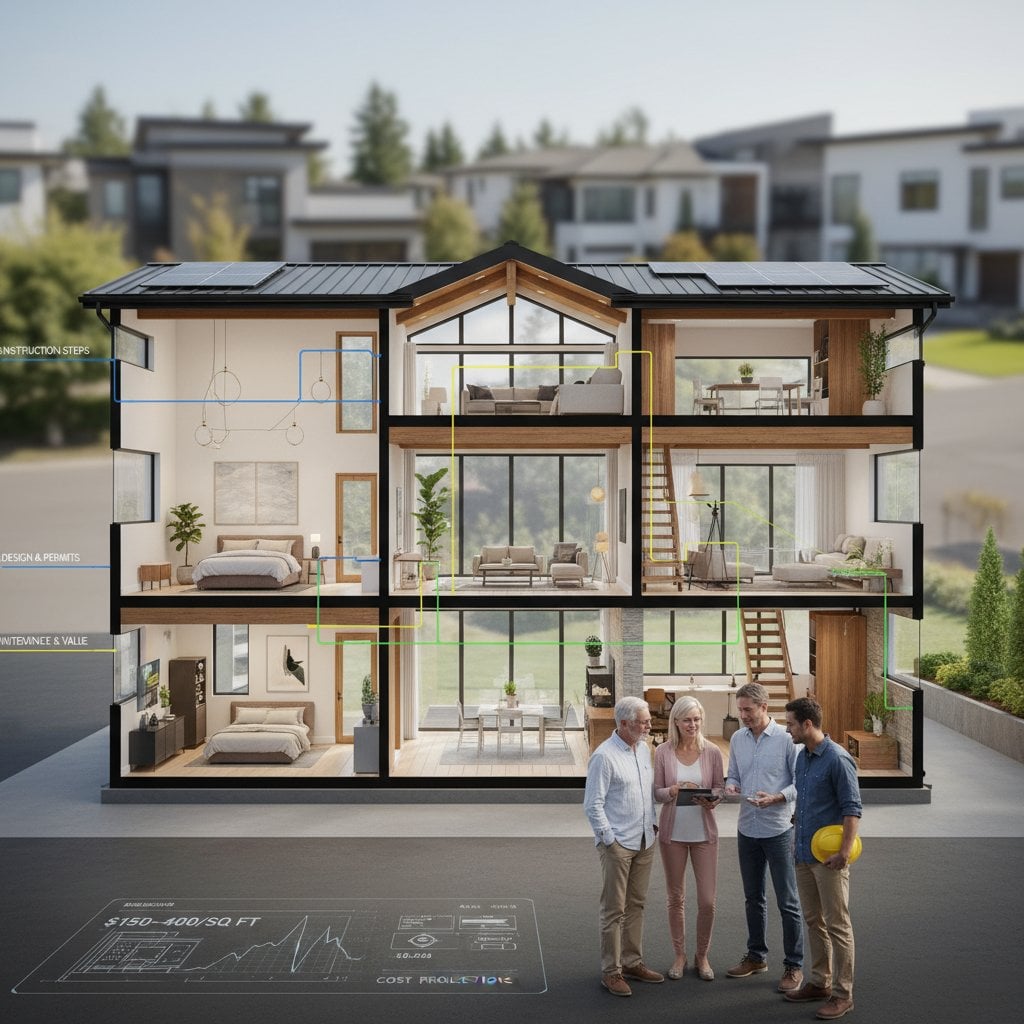
Anticipate expenses from $150 to $400 per square foot for a complete addition. A compact attached suite might begin at $120,000, whereas expansive detached ADUs often surpass $300,000.
Factors Influencing Costs:
- Size and Layout: Greater square footage elevates expenses for framing, roofing, and foundations.
- Addition Type: Repurposing existing areas proves more economical than new construction efforts.
- Utilities Integration: Incorporating distinct plumbing, electrical, and HVAC systems heightens labor demands.
- Finish Selections: Choices in tile, cabinetry, and trim directly impact the total price.
- Permits and Design Fees: Regional building codes and professional design services introduce variability.
Project Timeline:
- DIY Conversions: These span 3 to 6 months, contingent on project intricacy.
- Professional Construction: New builds or significant remodels require 4 to 8 months.
Difficulty Assessment: Advanced.
Multigenerational additions demand foundation preparation, structural framing, electrical installations, and plumbing work. Homeowners typically benefit from employing licensed specialists in these areas.
Step-by-Step Construction Process
1. Define Purpose and Layout
Determine the intended users and required privacy levels.
- Incorporate a bedroom, full bathroom, compact kitchenette, and dedicated entrance where feasible.
- Develop a preliminary floor plan emphasizing efficient circulation and accessibility features.
Verification Point: Ensure the layout aligns with family requirements and adheres to property setback regulations.
2. Assess Local Zoning and Permits
Consult the municipal planning department to ascertain permissible configurations.
- Confirm setbacks from property lines, maximum sizes, parking mandates, and occupancy limits.
- Certain jurisdictions mandate independent utility meters or fire-resistant separations.
Verification Point: Secure documented approval prior to advancing to design or demolition phases.
3. Develop Comprehensive Design
Engage an architect or designer versed in ADU regulations.
- Specify structural components, exterior elevations, and mechanical system layouts.
- Select materials that harmonize with the primary residence for visual cohesion.
Verification Point: Confirm compliance with energy efficiency and accessibility codes.
4. Establish a Comprehensive Budget
Catalog all anticipated expenditures prior to initiating work.
- Account for permits, materials, labor, site preparation, and a contingency fund of 10 to 15 percent.
- Solicit detailed bids from a minimum of three qualified contractors.
Verification Point: Incorporate fees for inspections and utility connections into the total.
5. Site Preparation
Remove obstacles such as vegetation, grade the terrain, and delineate foundation boundaries.
Safety Alert: Excavation Risks
Maintain distance from heavy machinery and verify the absence of buried utilities prior to any digging.
Verification Point: The foundation zone must measure squarely, sit level, and facilitate adequate drainage.
6. Foundation and Framing Assembly
Construct concrete footings and walls, or install pier foundations for modest additions.
- Employ pressure-treated lumber for base plates to resist moisture.
- Erect walls, roof structures, and apertures in accordance with approved blueprints.
Verification Point: Confirm walls align vertically and roof trusses receive secure bracing before applying sheathing.
7. Utility and Insulation Installation
Authorized professionals handle plumbing, electrical, and HVAC integrations.
- Design independent circuits or zones to enable standalone operation.
- Integrate high-performance insulation to enhance thermal efficiency.
Safety Alert: Electrical Dangers
Deactivate the primary power source before commencing any wiring tasks.
Verification Point: All preliminary installations undergo inspection approval prior to enclosing walls.
8. Interior and Exterior Completion
Apply drywall, lay flooring, and install cabinetry along with fixtures.
- Align exterior siding and roofing materials with those of the main house for seamless integration.
- Opt for resilient, low-maintenance finishes to promote longevity.
Verification Point: Verify that doors and windows function without obstruction and form airtight seals.
9. Final Inspections and Occupancy
Arrange evaluations for each specialized trade.
- Await issuance of occupancy certification before habitation commences.
Verification Point: All systems demonstrate safe and effective performance.
Addressing Challenges and Ensuring Quality
Frequent Issues and Resolutions:
- Uneven Surfaces: Reexamine joist intervals and apply shims for correction.
- Wall Moisture Accumulation: Validate the installation of flashing and vapor barriers.
- Reduced Water Flow: Inspect new piping for obstructions or leaks.
- Air Infiltration or Thermal Loss: Apply foam sealant around window and door perimeters.
Quality Assurance Measures:
- Walls and floors require precise leveling and alignment.
- Electrical receptacles must register properly via circuit testing.
- Plumbing components operate leak-free.
- HVAC systems distribute airflow evenly throughout spaces.
Ongoing Maintenance and Durability
Routine Upkeep Practices:
- Examine plumbing lines, HVAC filters, and smoke alarms at intervals of several months.
- Reapply caulk to windows and doors yearly to avert water intrusion.
- Refresh exterior trim paint every five to seven years or upon visible wear.
- Clear gutters seasonally to mitigate water-related damage risks.
Expected Service Life:
Well-crafted framing and roofing endure for decades under diligent care.
Interior elements like flooring and fixtures may necessitate updates after 10 to 20 years.
Regular attention sustains both property worth and resident comfort.
Strategies for Optimal Outcomes
- Prioritize accessibility with broader doorways and barrier-free access points.
- Integrate sound-dampening materials in adjoining walls to foster privacy.
- Provision separate thermostats for individualized temperature management.
- Choose robust, easy-care materials to minimize future expenses.
- Maintain an organized file containing permits, schematics, and warranty documents.
A thoughtfully executed multigenerational addition accommodates evolving family dynamics. Through meticulous planning, prudent financial allocation, and expert collaboration, homeowners craft secure, adaptable environments that promote independence and elevate overall home equity.


