The Real Costs and Timelines for Prefab ADU Installation
Quick Answer Box
A prefab accessory dwelling unit, or ADU, is a small, factory-built living space installed on your property. It suits homeowners who seek rental income, guest accommodations, or multigenerational housing options. A typical prefab ADU project requires three to six months from contract signing to move-in readiness. Costs range from $160,000 to $350,000, influenced by size, finishes, and site preparation needs. Risk levels remain moderate. Homeowners may handle basic site prep, but licensed professionals must manage foundation work, plumbing, and electrical connections.
Step-by-Step Instructions
1. Confirm Site Suitability
Evaluate whether your lot provides sufficient space for the ADU footprint, required setbacks, and delivery access routes. Measure precise distances from the main house, fences, and property boundaries to ensure compliance. Contact your city’s “call before you dig” service to locate existing utilities and avoid disruptions.
Check: Verify a marked, level area that adheres to zoning setbacks and permits safe crane access for installation.
2. Obtain a Site Survey and Soil Report
Engage a licensed surveyor to delineate property boundaries accurately. If local codes demand it, consult a geotechnical engineer to assess soil bearing capacity, which informs foundation design choices.
Check: Secure stamped survey drawings and soil analysis data to support your permit application process.
3. Select a Prefab ADU Model
Identify manufacturers that produce fully code-compliant units. Evaluate models based on square footage, interior layout, and finish quality to match your needs. Request a detailed scope of work that encompasses delivery, on-site installation, and utility hookups.
Check: Obtain a written proposal that specifies total costs, projected timelines, and warranty coverage.
4. Apply for Permits
Present your ADU design plans, site layout, and structural specifications to the local building department. Attach property title documents and utility connection diagrams as required by regulations.
Check: Await permit approval and any outlined inspection timelines prior to committing funds for production.
5. Prepare the Site
Your selected contractor clears vegetation, grades the terrain, and extends utility lines. Excavate precisely for the foundation or concrete pad to establish a stable base. Install water, sewer, and electrical conduits leading to the ADU position, then layer gravel or base material beneath the foundation area.
Check: Confirm the site is level, properly compacted, and ready for inspection before the prefab unit delivery.
6. Pour the Foundation or Slab
Follow the prefab manufacturer’s guidelines for the appropriate foundation type, such as concrete slabs, perimeter walls, or pier-and-beam systems. Allow adequate curing time for concrete to achieve full strength.
Warning: Ensure concrete cures completely before applying loads. Delay delivery scheduling until the engineer provides final approval.
Check: Measure the finished foundation to ensure it remains level within 1/8 inch across its entire surface.
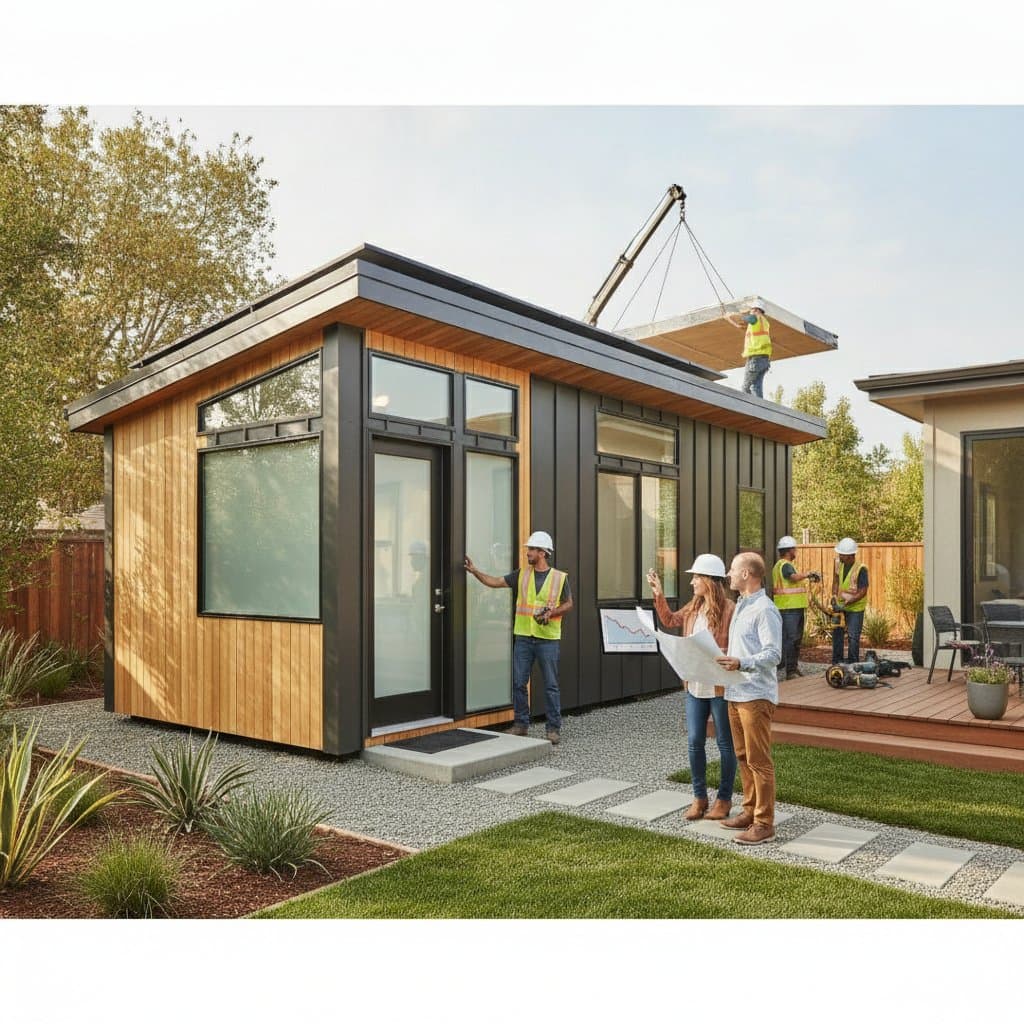
7. Schedule Delivery and Installation
Prefab modules transport via specialized trucks and position using cranes. The installation team secures the unit to the foundation through bolting or welding techniques.
Fall Risk: Maintain a clear perimeter around the crane operations. Restrict access to trained installers only during module placement.
Check: Inspect the structure for squareness and level alignment, with no observable gaps between the foundation and frame.
8. Connect Utilities
Employ licensed specialists to link electrical power, water supply, sewer lines, and gas services if applicable. Building inspectors verify these connections prior to enclosing any exposed elements.
Check: All utility systems pass required inspections, and service meters activate without issues.
9. Complete Exterior and Interior Finishes
Add exterior features like steps, decks, or porches to enhance accessibility. Seal siding and roofing seams to weatherproof the unit. Internally, integrate appliances, apply final paint to trim areas, and verify lighting functionality.
Check: The ADU achieves full watertightness, operational completeness, and readiness for occupancy evaluation.
10. Schedule Final Inspection
Coordinate with the local building department for a comprehensive review of all completed work to affirm regulatory compliance.
Check: Receive the official certificate of occupancy, enabling legal habitation of the ADU.
Quality Checks and Troubleshooting
Common Issues
- Uneven foundation: This leads to door misalignment or wall cracks. Engage a structural engineer to inspect and install corrective shims.
- Utility backflow or leaks: Address water issues or gas odors by summoning a plumber without delay.
- Electrical tripping: Persistent breaker trips indicate overloads beyond design capacity. Consult a licensed electrician for assessment.
Simple Fixes
- Apply caulk to minor exterior gaps to block water entry.
- Fine-tune door hinges to promote effortless operation.
- Exchange HVAC air filters at three-month intervals to sustain efficiency.
When to Call a Professional
Summon a licensed contractor for structural cracks exceeding 1/8 inch in width, persistent water intrusion, or electrical malfunctions. Engage a certified plumber for sewer odors or gas detection. Avoid attempting major interventions, such as foundation leveling or roof overhauls, without expert involvement.
Typical Cost Ranges
- Foundation Repair: $2,000 to $12,000, varying by soil conditions and site accessibility
- Electrical Service Upgrade: $2,500 to $8,000
- Roof Replacement: $6,000 to $15,000
How to Vet a Contractor
Confirm license validity via your state’s licensing board database. Demand evidence of current insurance coverage and references from comparable recent projects. Insist on a detailed written contract outlining the project scope, payment milestones, and warranty provisions.
Strategies for Project Success
Pursue financing options early, as specialized ADU loans become available from various lenders. Select a prefab manufacturer experienced in both factory assembly and field installation to streamline coordination. Demand an all-inclusive quote that accounts for every expense, from crane operations to permit fees.
Foster regular dialogue with your project manager through weekly updates to minimize miscommunications. Time inspections meticulously to prevent delays between project phases. With thorough planning and collaboration with skilled professionals, prefab ADUs yield substantial long-term value, providing a resilient, efficient addition that elevates your property’s worth and utility.