2025 Universal Design: Age-Proof Your Bathroom Now
Quick Answer Box
A universal design bathroom remodel creates a safe, comfortable, and accessible space for users of all ages and abilities. A careful DIYer can handle small updates like grab bars or non-slip flooring. Full remodels that include structural or plumbing changes require a licensed contractor. Expect to spend about $500 for minor updates or $15,000 to $25,000 for a complete remodel. Plan for one day to a few weeks depending on scope. Difficulty ranges from easy to advanced. The main risks are slips, falls, and electrical hazards.
Step-by-Step Instructions
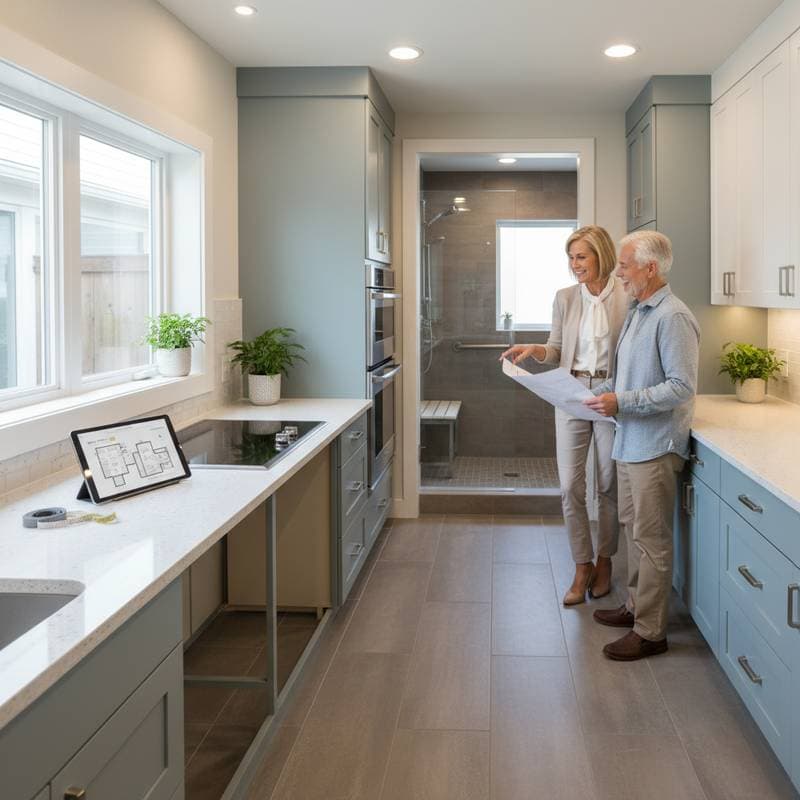
1. Assess Your Space
Begin by measuring the bathroom dimensions carefully. Note door widths, the turning radius for mobility aids, and the placement of existing fixtures. Minimum clear floor space should measure 60 inches in diameter to accommodate wheelchair turning. Doorways require at least 34 inches of width for unobstructed passage.
Check: All measurements support easy movement and access without obstruction.
2. Plan Safe Entry and Exit
Widen the doorway if current measurements fall short of standards. Replace traditional swinging doors with pocket doors or barn-style sliders to maximize usable space. Install lever-style handles for effortless operation, especially for those with limited grip strength.
Check: The door operates smoothly without resistance, and handles allow easy use from any position.
3. Choose Slip-Resistant Flooring
Opt for materials with a high coefficient of friction, such as textured porcelain tiles or luxury vinyl planks designed for wet environments. Steer clear of glossy or polished surfaces that become hazardous when wet. Test samples by walking on them after applying water to simulate real conditions.
Check: The floor surface remains stable and grippy even when damp.
4. Install Grab Bars
Identify wall studs using a reliable stud finder before any drilling. Position grab bars strategically near the toilet, along the bathtub edge, and at the shower entrance for support during transfers. Secure them with stainless steel hardware rated for at least 250 pounds of weight.
Warning: Avoid using simple drywall anchors; grab bars must fasten directly to solid framing for safety.
Check: Each bar withstands full body weight without shifting or loosening.
5. Replace the Toilet
Select a comfort-height model that elevates the seat to between 17 and 19 inches from the floor, easing strain on knees and hips for older users or those with mobility challenges. Pair it with an elongated bowl design that facilitates thorough cleaning and provides additional seating space.
Check: The seat height aligns precisely within the recommended range for comfortable use.
6. Upgrade the Shower
Transition from a standard tub-shower combo to a walk-in or curbless configuration for seamless entry. Incorporate a low-threshold base or gently sloped flooring that directs water toward the drain efficiently. Equip the space with a handheld showerhead mounted on an adjustable slide bar to accommodate varying heights and seated positions.
Warning: Projects involving tile setting or waterproof membrane installation demand the expertise of a licensed contractor to prevent moisture damage.
Check: Water flows evenly to the drain, leaving no pools or puddles behind.
7. Improve Lighting
Position bright, evenly distributed LED fixtures to eliminate shadows in key areas like the sink and shower. Integrate dimmer switches for customizable brightness and motion-activated sensors for hands-free activation during nighttime visits. Ensure all controls reach easily from standing or seated positions.
Electrical Hazard: Engage a licensed electrician for any new wiring or outlet installations to comply with safety codes.
Check: Lighting provides uniform illumination, and switches remain accessible without stretching.
8. Adjust Sink and Counter Height
Set the vanity top at 34 inches high or choose a wall-mounted sink that offers knee space underneath for wheelchair users. Install lever-handled or touchless faucets that require minimal force to operate, reducing the risk of strain.
Check: Handles and controls prove reachable and operable from both seated and standing postures.
9. Add Non-Slip Mats and Accessories
Position rubber-backed mats with suction cups or grippy undersides near the sink, toilet, and shower entry points. Opt for weighted shower curtains or tempered glass panels that resist movement during use, enhancing overall stability.
Check: Mats lie flat without curling and provide secure footing in wet conditions.
Quality Checks and Troubleshooting
- Loose grab bars: Tighten all mounting screws securely or reposition to attach firmly to studs.
- Water pooling: Regrade the shower floor slope or reposition the drain for better flow.
- Flickering lights: Swap out faulty bulbs or inspect and secure wiring connections.
- Low water pressure: Remove and clean aerators on faucets or filters in the showerhead.
If persistent leaks appear, flooring feels uneven, or electrical problems arise, halt work immediately and consult a professional to avoid further complications.
When to Call a Pro
Engage a licensed contractor for tasks such as plumbing rerouting, electrical upgrades, or tile work on walls and floors. Structural modifications, including door widening or tub removal, also require expert handling. Waterproofing applications and custom drainage solutions fall under professional scope to ensure longevity.
Full remodel expenses typically range from $15,000 to $25,000, influenced by material selections and room layout complexities. Always confirm the contractor holds valid licensing, carries adequate insurance, and provides verifiable references prior to commitment.
Pro Tips for Success
- Map out fixture locations meticulously before starting demolition to prevent costly adjustments later.
- Select matte-finish materials and fixtures with rounded edges to minimize injury risks and enhance tactile comfort.
- Incorporate color contrasts between flooring, walls, and fixtures to improve visual navigation for users with impaired sight.
- Integrate a built-in bench or fold-down seat within the shower enclosure for safe resting during bathing.
- Mark shutoff valves with clear labels and position them accessibly for rapid response in emergencies.
Realizing Long-Term Benefits
A thoughtfully executed universal design bathroom enhances safety for all occupants while streamlining everyday tasks. These adaptations significantly lower the incidence of falls and injuries, fostering independence as lifestyles evolve. Ultimately, such investments safeguard your home's value and adaptability, ensuring it remains a supportive environment through every life stage.