Understanding ADU Construction Costs: A 2026 Breakdown
Accessory Dwelling Units provide versatile options for increasing property value and generating income. This guide details the actual expenses involved in building an ADU, offers methods for accurate budgeting, and highlights opportunities to save costs or invest for future benefits.
Essential Overview
The following sections outline the complete cost framework for an ADU project, from initial design through final inspection. Readers gain insight into typical price ranges, factors that influence expenses, and strategies for choosing between self-directed efforts and hiring experts.
Evaluating DIY Approaches Versus Professional Services
Scenarios Where DIY Fits
Individuals with construction or remodeling experience may handle certain ADU elements independently. Suitable tasks include:
- Applying interior paint and installing trim.
- Performing landscaping or adding fencing post-construction.
- Fitting pre-assembled cabinetry and fixtures.
These choices allow control over specific details while keeping expenses lower.
Situations Requiring Professional Expertise
Engage a licensed contractor or design-build team for complex requirements such as:
- Structural elements like framing and foundation work.
- Installation of electrical, plumbing, or gas systems.
- Assistance with permits and adherence to building codes.
- Coordination of multiple subcontractors and overall project oversight.
Professionals ensure safety and compliance, minimizing risks associated with intricate work.
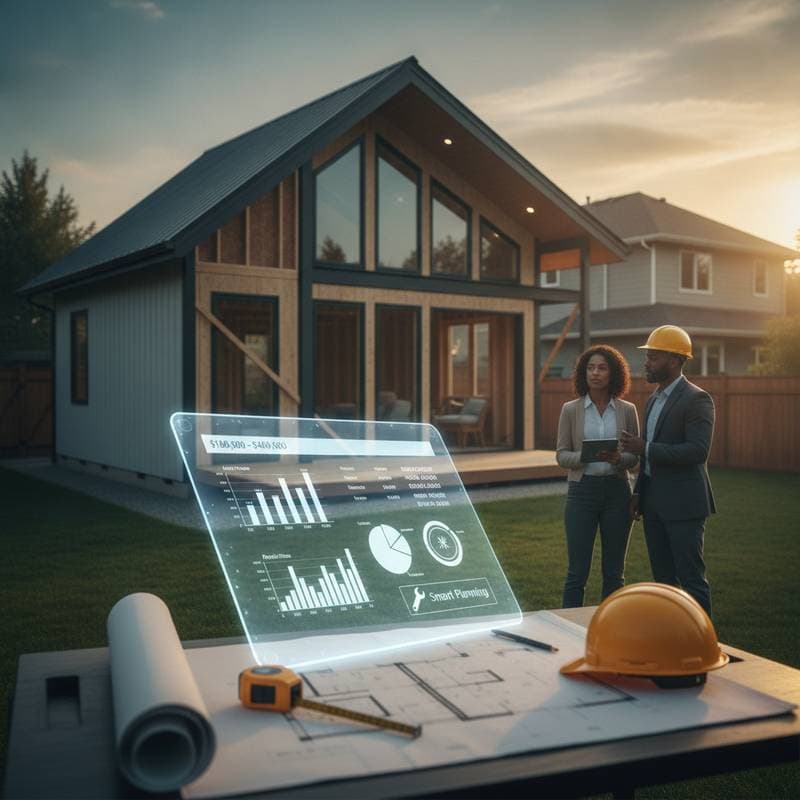
Comparative Cost Analysis
A hybrid model incorporating DIY elements typically ranges from $100,000 to $250,000, based on the scope of self-performed tasks. In contrast, a full-service contractor delivers a complete, ready-to-occupy build for $250,000 to $400,000.
Although professional services involve higher initial outlays, they frequently reduce timelines, prevent errors, and guarantee regulatory approval. Consider long-term reliability when weighing options.
Detailed Construction Process
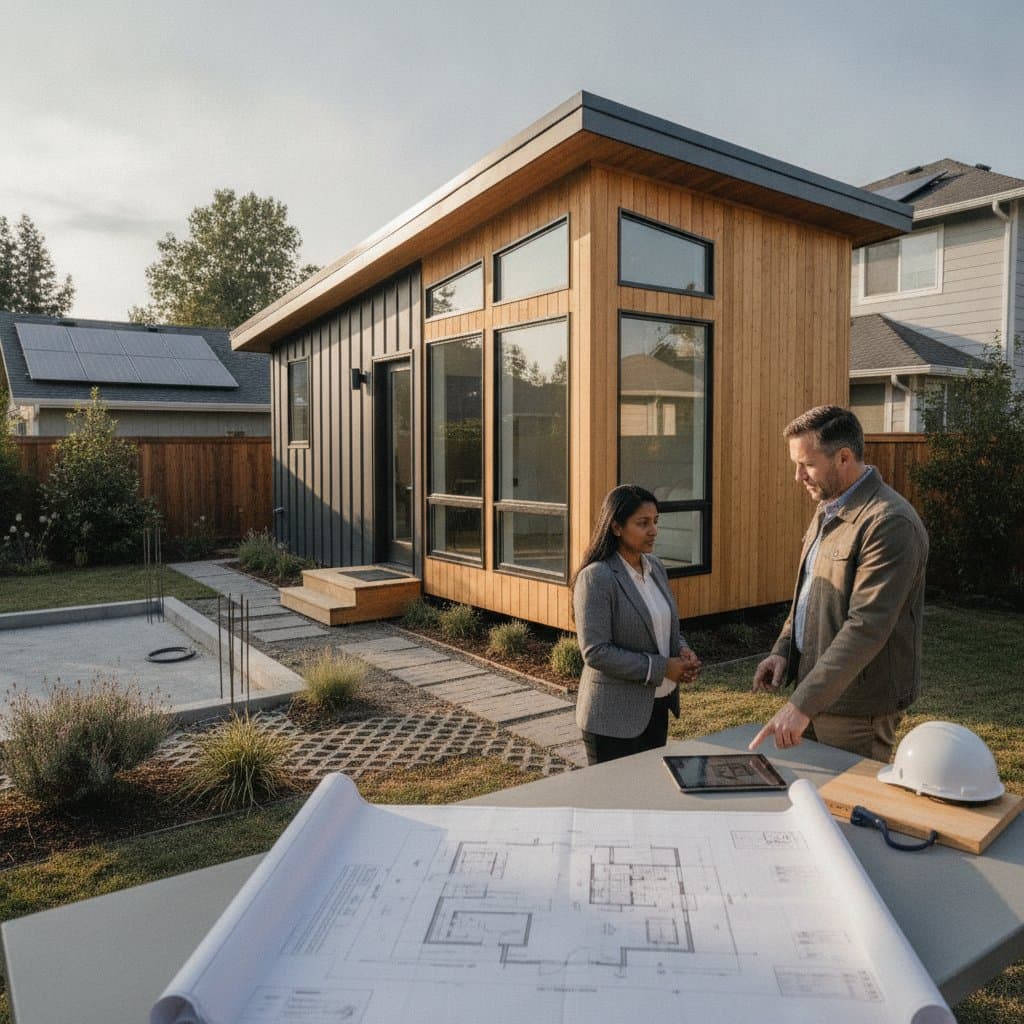
1. Planning and Design Phase
Collaborate with an architect or designer to develop comprehensive plans that align with local zoning and building codes. Review requirements for setbacks, maximum heights, and parking provisions. Verify availability of utilities including water, sewer, and electricity, while incorporating energy-efficient features.
Obtain preliminary approval from the local building department prior to advancing. This step establishes a solid foundation for the project.
2. Securing Permits
Present the plans to the municipal or county building authority, cover associated fees, and await official endorsement.
Retain copies of the approved, stamped documents at the construction site for inspector reference. Timely submission accelerates the approval process.
3. Site Preparation
Remove existing vegetation, grade the terrain for evenness, and erect temporary barriers. Identify and mark locations for underground utilities before any digging occurs.
Contact the regional utility locating service to map out buried lines, avoiding potential hazards. Confirm the site remains accessible and properly leveled for machinery.
4. Foundation Construction
Form and pour a concrete slab or prepare for an elevated foundation, incorporating rebar and anchor bolts as specified in the plans.
Protect against concrete-related risks by using gloves and safety eyewear during mixing and pouring. Allow the foundation to cure completely and confirm its levelness at all points.
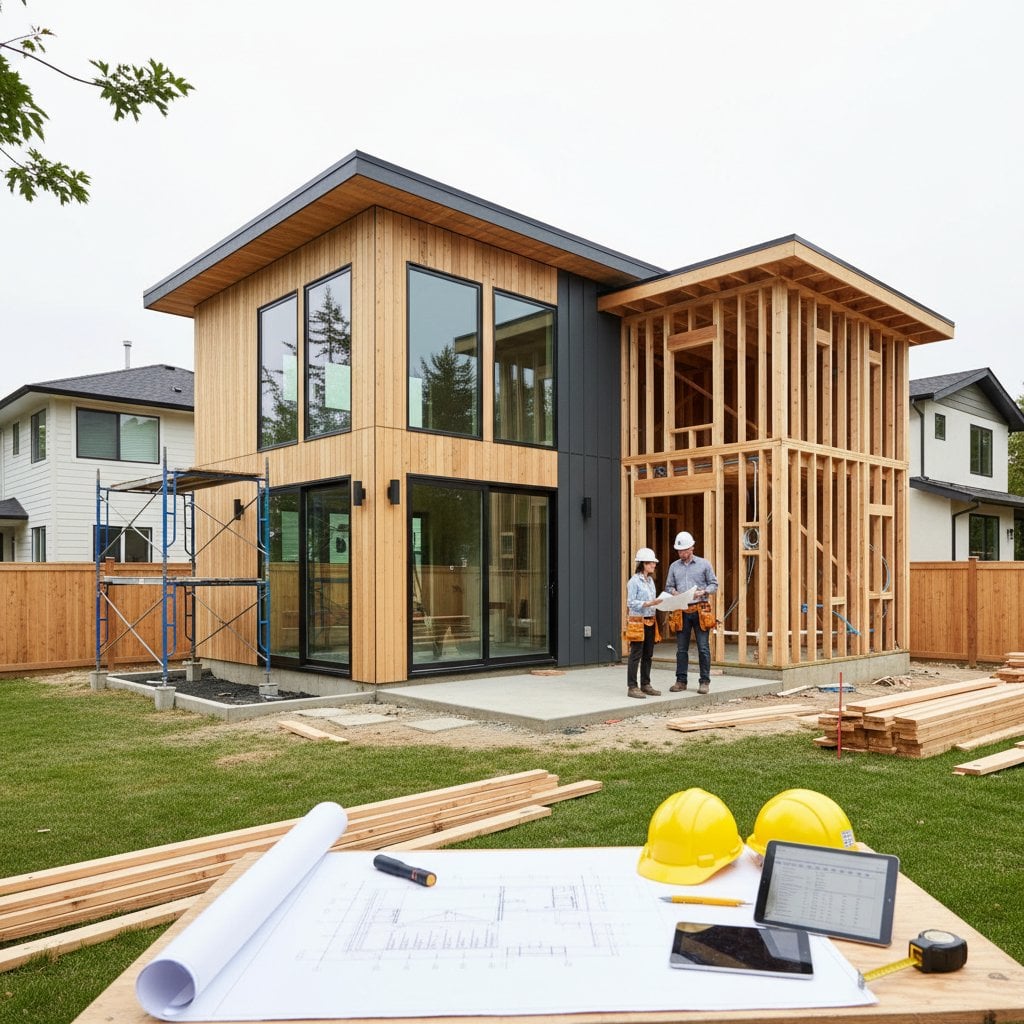
5. Structural Framing
Erect wall and roof frameworks following the approved blueprints, utilizing required structural ties and fasteners.
- Measure and adjust wall heights and intervals for precision.
- Apply sheathing to enhance durability and shield against weather.
Ensure walls stand plumb and square before additional assembly. This verification prevents alignment issues later.
6. Utility Installations
Route plumbing, electrical, and heating, ventilation, and air conditioning systems within the framed structure.
Disconnect power sources prior to electrical tasks, and reserve primary connections for certified electricians. Schedule inspections for all preliminary installations before enclosing with insulation.
7. Insulation and Drywall Application
Place insulation materials to satisfy energy code specifications. Secure drywall panels, seal seams with tape, and smooth surfaces through sanding.
Examine for complete coverage without gaps or empty spaces in the insulation. Proper execution supports thermal performance and comfort.
8. Interior and Exterior Finishing
Apply paint, lay flooring, mount cabinets, and install fixtures indoors. Secure siding, roofing materials, and trim on the exterior.
Test doors and windows for easy operation and secure sealing. These finishes contribute to aesthetic appeal and functionality.
9. Final Inspections
Coordinate examinations covering structural integrity, utility systems, and safety elements.
Archive the approval certificates with property documentation. Clearance confirms the ADU meets all standards for occupancy.
Addressing Challenges and Ensuring Quality
Common problems often arise during construction, but proactive measures resolve them effectively:
- For an uneven foundation, inspect and correct formwork before concrete placement.
- To fix plumbing leaks, apply thread sealant and conduct pressure tests prior to wall closure.
- Combat drafty windows by installing weatherstripping or realigning frames.
- Expedite delayed inspections through organized records and prompt responses to feedback.
Conduct thorough final assessments:
- Level floors and smooth all surfaces.
- Operate outlets, lighting, and plumbing to verify performance.
- Confirm full compliance with local regulations.
These steps safeguard the project's success and longevity.
Ongoing Maintenance and Durability Expectations
Perform semiannual inspections to detect roof leaks, foundation fissures, or plumbing concerns. Regularly clear gutters and vents to prevent buildup.
Component lifespans vary by material and care:
- Roofing endures 20 to 30 years.
- Siding requires repainting or replacement after 15 to 25 years.
- Plumbing and electrical components last 25 years or more with consistent upkeep.
Refresh interior paint periodically to preserve cleanliness. Update weather seals as necessary to sustain energy efficiency.
Strategies for Optimal Results
Define the ADU's primary function early, whether for rental income, guest accommodations, or family use. Allocate funds for unforeseen expenses like landscaping, driveway modifications, or utility enhancements.
Maintain frequent dialogue with builders and inspectors to prevent setbacks. Store digital records of permits, receipts, and inspection reports securely.
Select robust materials that minimize future repairs. Through meticulous planning, prudent financial management, and targeted professional input, complete the ADU on schedule and within budget, yielding substantial property enhancement and revenue streams.