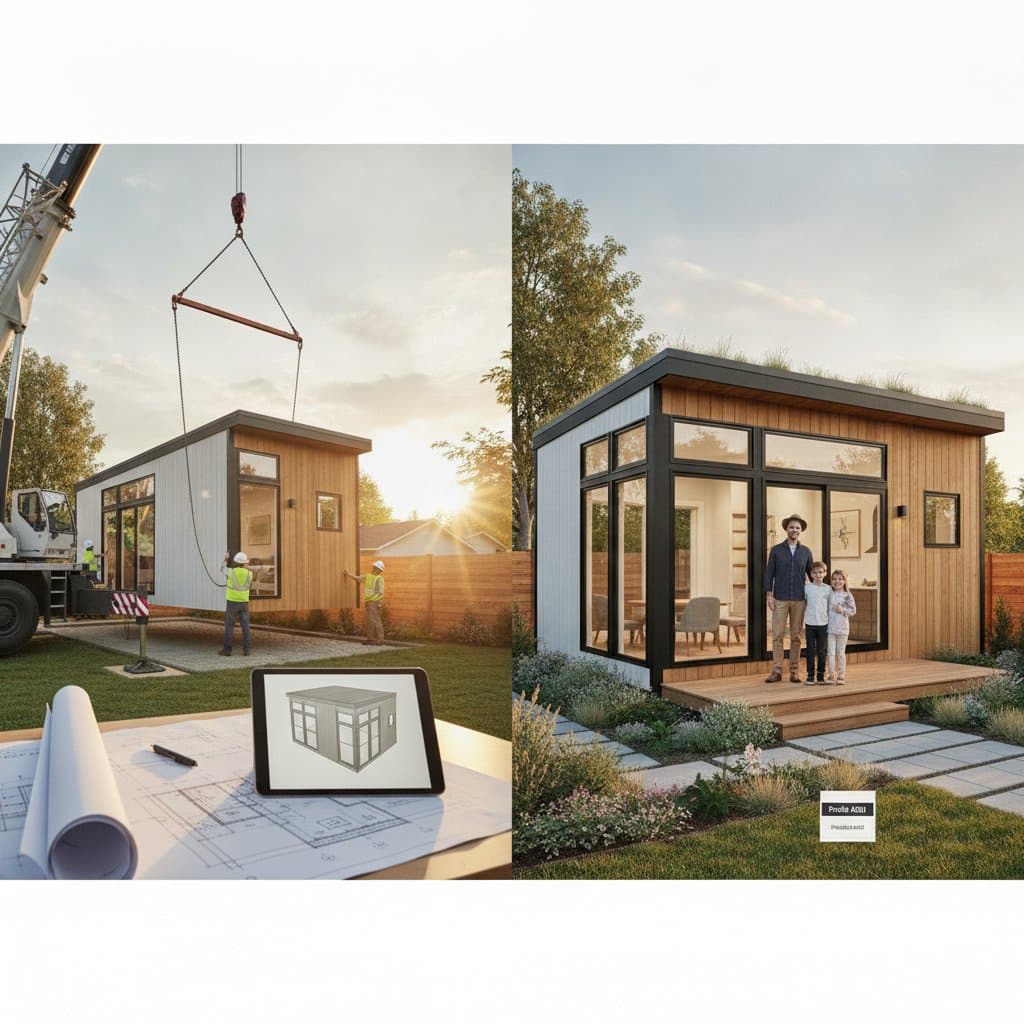
2025 ADU Costs Breakdown: What You Will Actually Pay
Building an accessory dwelling unit, or ADU, expands living space, generates rental income, or provides a private area for family members. This guide details expected expenses, sources of those costs, and planning strategies with realistic figures.
Quick Overview
This article provides a complete cost breakdown for constructing an ADU, covering permits, materials, labor, and utilities. Readers gain insights into price influences, total project estimation methods, and scenarios for engaging professionals.
Cost and Time Estimates
ADU construction costs vary based on size, type, site conditions, and local regulations. Total expenses average $200 to $500 per square foot.
Typical ADU types and price ranges:
- Garage conversion: $80,000 to $160,000
- Attached ADU: $150,000 to $250,000
- Detached backyard cottage or granny flat: $200,000 to $400,000
- Two-story ADU: $250,000 to $500,000
Key cost factors:
- Labor: 35 to 50 percent of total cost
- Materials: 25 to 40 percent, influenced by finish quality
- Permits and fees: $5,000 to $25,000
- Utility connections: $5,000 to $20,000
- Site preparation: $3,000 to $15,000
Timeline:
- DIY build: 9 to 18 months
- Professional build: 6 to 12 months
Difficulty rating: Advanced. Small ADUs demand structural, electrical, and plumbing expertise to satisfy building codes.
DIY vs Professional Guidance
Individuals manage certain planning and finishing elements independently, yet most ADU work necessitates licensed experts.
DIY-friendly tasks:
- Design planning and layout drafting
- Interior painting and basic trim installation
- Landscaping and minor exterior finishes
Professional-required tasks:
- Structural framing and foundation work
- Plumbing, electrical, and HVAC installation
- Roofing, insulation, and waterproofing
- Permit applications and code compliance
Cost comparison:
- DIY-managed build: $150,000 to $250,000, with labor savings offset by increased time commitment
- Full professional build: $200,000 to $400,000, offering quicker completion, code adherence, and reduced personal effort
Engaging a general contractor prevents costly rework and ensures regulatory compliance over time.
Step-by-Step ADU Construction Process
These steps outline a structured progression from initial concept to final completion.
1. Assess Your Property
Review zoning rules, setbacks, and size limits. Verify utility access and drainage patterns. Identify any easements or restrictions.
Success check: Site plan complies with local codes prior to design phase.
2. Create Your Design
Select attached, detached, or conversion ADU style. Develop floor plan and determine square footage. Choose materials that harmonize with the primary residence.
Success check: Plans prepare for permitting while achieving aesthetic and functional objectives.
3. Obtain Permits and Approvals
Submit architectural drawings and site plans to building authorities. Secure structural, electrical, and plumbing permits. Address impact fees and energy compliance documentation as needed.
Success check: Secure written approvals and stamped permits before construction commences.
4. Prepare the Site
Clear debris, vegetation, and uneven ground. Establish temporary fencing and erosion controls. Position foundation forms or adapt existing structures for conversions.
Caution: Excavation Hazard
Maintain distance from trenches and confirm underground utility locations prior to digging.
Success check: Foundation area levels appropriately for inspection.
5. Build Foundation and Frame
Pour concrete slab or footings, or strengthen garage slabs. Erect walls, roof, and openings for doors and windows. Apply sheathing and structural connectors.
Success check: Framing aligns plumb and square, passing initial inspection.
6. Install Utilities
Route electrical, plumbing, and HVAC lines prior to enclosing walls. Ensure connections adhere to codes and inspection criteria.
Warning: Electrical Hazard
Disconnect power at the main panel before circuit work. Employ a licensed electrician for service connections.
Success check: Rough-in installations clear inspection before proceeding to insulation.
7. Insulate and Finish Interior
Incorporate insulation to fulfill energy standards. Install, tape, and paint drywall. Fit cabinets, flooring, and fixtures.
Success check: Interior surfaces finish smoothly, matching design specifications.
8. Exterior Finishes
Install siding, roofing, trim, and paint. Mount windows, doors, and lighting. Integrate gutters and drainage.
Success check: Exterior achieves watertight integrity and weather resistance.
9. Final Inspections and Occupancy
Arrange building, electrical, and plumbing inspections. Acquire certificate of occupancy. Link utility meters and test systems.
Success check: ADU clears all inspections and prepares for occupancy.
Safety Warnings and Tips
- Caution: Fall Risk on roofs or ladders requires harnesses and stable platforms.
- Warning: Structural Load Risk in garage conversions demands engineer consultation for load-bearing alterations.
- Utilize eye protection, gloves, and hearing safeguards during cutting or drilling.
- Position fire extinguishers near soldering or power tool operations.
Troubleshooting and Quality Checks
Common issues:
- Uneven foundation: Correct leveling before framing.
- Moisture intrusion: Apply flashing and sealants at windows and doors.
- Electrical overload: Assess circuit capacities prior to appliance integration.
- Low water pressure: Inspect supply lines and valves for restrictions.
Quality checks:
- Verify walls and ceilings level without cracks.
- Confirm plumbing drains without leaks.
- Test outlets and lighting functionality.
- Ensure exterior repels water without accumulation.
Cleanup and Disposal
Segregate recyclables such as metal, concrete, and wood. Transport hazardous materials like paint or adhesives to designated facilities. Clean tools and eliminate debris before occupancy. Reestablish landscaping and amend soil disruptions.
Maintenance and Lifespan
Conduct annual inspections of roofing, siding, plumbing, and electrical components. Refresh exteriors with paint or finishes every five years to avert moisture issues. Replace HVAC, water heaters, and flooring every 10 to 20 years as required.
A properly constructed ADU endures alongside the main home through diligent maintenance and timely updates.
When to Call a Professional
Engage licensed contractors for:
- Structural or foundation tasks beyond personal expertise.
- Architectural or engineering drawings requiring stamps.
- Utility work involving trenching, panel upgrades, or sewer ties.
- Projects facing timeline or budget constraints.
Professional cost ranges:
- Design and architectural services: $5,000 to $20,000
- General contractor management: 10 to 20 percent of project total
- Licensed trades: $80 to $200 per hour
Contractor checklist:
- Confirm state license and insurance.
- Obtain written estimates with detailed scopes.
- Review references from comparable ADU work.
- Clarify warranties for labor and materials.
Pro Tips for Success
Anticipate evolving needs with adaptable spaces suitable for rentals, guests, or offices. Incorporate energy-efficient windows, insulation, and appliances to minimize ongoing expenses. Initiate inspections promptly to prevent delays. Maintain a comprehensive cost log for expenditure tracking and adjustments.
Grasping true costs and adhering to a defined process enables construction of an ADU aligned with property constraints and long-term value. Strategic planning paired with expert input sustains schedule and budget adherence.