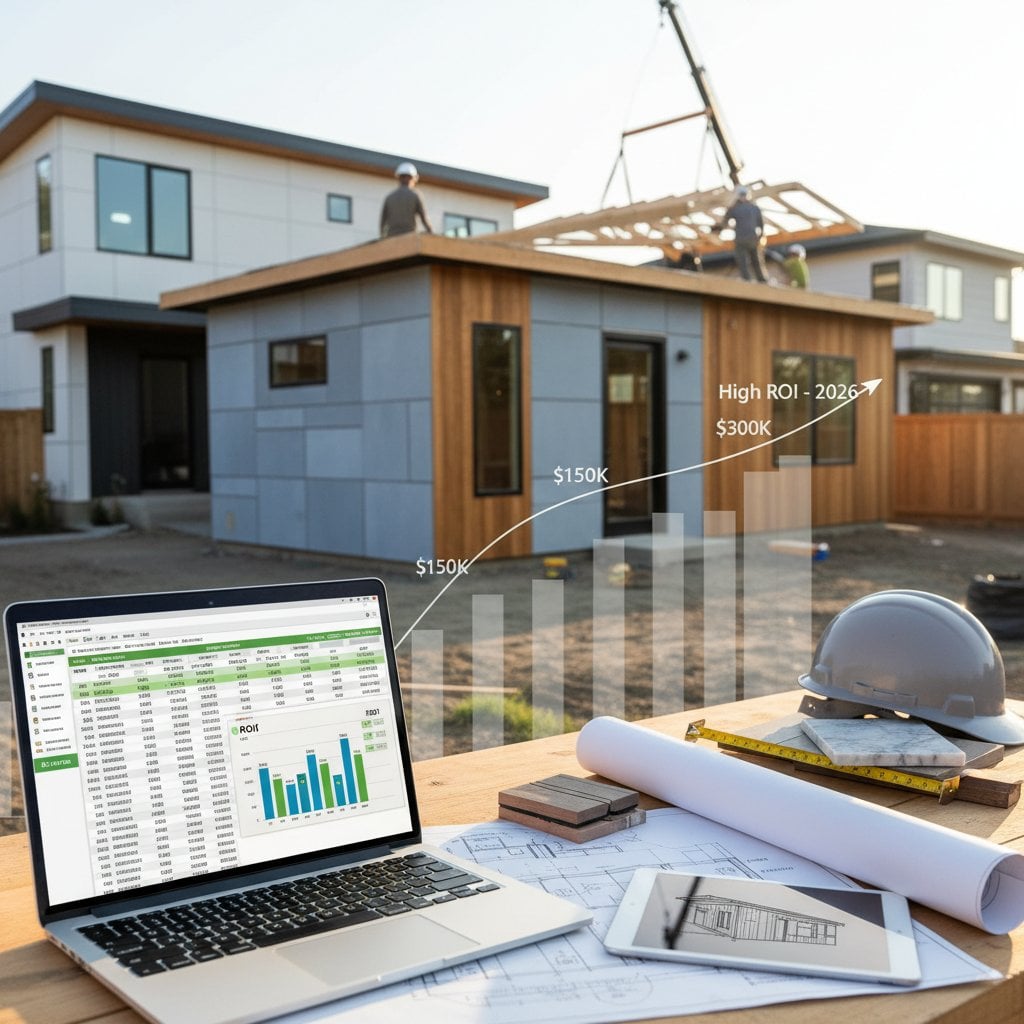
Granny Flat Costs Exposed: High ROI Awaits in 2026
Building a granny flat, also known as an accessory dwelling unit (ADU), is one of the most practical ways to increase property value and generate rental income. This guide explains the full cost breakdown, expected returns, and what you should know before starting construction.
Quick Overview
This article covers how much it costs to build a granny flat, what affects the price, and how you can expect a strong return on investment through rental income or property appreciation. You will learn where to save, when to hire a professional, and how to keep your build compliant and cost-efficient.
Cost and Time Estimates
Average Cost Range:
Expect to spend between $150,000 and $300,000 for a complete granny flat. The price depends on size, finishes, design complexity, and site conditions.
Cost Breakdown:
- Design and permits: $8,000 to $20,000
- Site preparation and foundation: $10,000 to $25,000
- Framing and structure: $40,000 to $80,000
- Plumbing, electrical, HVAC: $20,000 to $50,000
- Interior finishes: $30,000 to $70,000
- Landscaping and exterior: $5,000 to $15,000
Timeline:
- DIY build: 8 to 12 months
- Professional contractor: 4 to 6 months
Difficulty Rating: Advanced.
This project requires structural, electrical, and plumbing work that must meet local building codes.
DIY vs Professional Guidance
Building a granny flat yourself can reduce labor costs, but it demands skill, time, and access to tools. Hiring professionals ensures compliance, faster completion, and warranty coverage.
DIY Is Practical When:
- You have construction experience.
- The design is simple, such as a studio or one-bedroom layout.
- You can manage subcontractors for plumbing and electrical work.
Hire a Professional When:
- You need a two-story or detached design.
- Utility connections must tie into the main house.
- You need stamped drawings for permits and inspections.
Cost Comparison:
- DIY build: $100,000 to $180,000 (excluding specialized trades)
- Professional build: $180,000 to $300,000 (turnkey service)
Tools and Materials List
Tools:
- Circular saw, drill, and framing gun
- Measuring tape, level, and square
- Concrete mixer or wheelbarrow
- Safety gear including gloves, goggles, and hard hat
Materials:
- Framing lumber (2x4 or 2x6 depending on walls)
- Concrete for foundation (3,000 psi or higher)
- Roofing materials (asphalt shingles or metal panels)
- PEX or copper plumbing lines
- Electrical wiring rated for residential use
- Insulation (R-13 to R-30 depending on climate)
- Drywall, paint, and flooring materials
Step-by-Step Instructions
1. Plan and Design
Start with a scaled design that matches your property layout and local zoning rules.
- Check setback requirements and height limits.
- Include parking and access points.
Success Check: The design should fit within property boundaries and meet zoning limits.
2. Apply for Permits
Submit your plans to the local building department.
- Include site plan, structural drawings, and utility tie-in diagrams.
- Pay permit fees and wait for approval before breaking ground.
Success Check: You have a stamped permit package ready for inspections.
3. Prepare the Site
Clear the area and level the ground.
- Excavate for utilities and foundation.
- Install form boards and compact soil.
Caution: Excavation Hazard. Watch for buried gas or water lines before digging.
Success Check: The site is level, stable, and forms are squared.
4. Pour the Foundation
Use concrete rated for residential footing strength.
- Pour the slab or footings according to your plan.
- Insert anchor bolts for framing connection.
Success Check: The foundation cures level and free of cracks.
5. Frame the Structure
Build walls, floor joists, and roof framing.
- Use pressure-treated lumber where wood contacts concrete.
- Install sheathing and wrap the structure for weather protection.
Caution: Fall Risk. Use stable ladders and scaffolding.
Success Check: Walls are plumb and roof framing aligns with plans.
6. Install Utilities
Lay plumbing and electrical systems before insulation.
- Run pipes through framing cavities and connect to the main line.
- Pull electrical wires to outlets and light fixtures.
Warning: Electrical Hazard. Turn off power at the main panel during work.
Success Check: All rough-ins pass inspection before closing walls.
7. Insulate and Drywall
Install insulation to meet energy codes.
- Use fiberglass batts or spray foam.
- Hang drywall, tape joints, and prepare for paint.
Success Check: All walls are smooth and ready for finishing.
8. Complete Interior Finishes
Install flooring, cabinets, and fixtures.
- Paint interior walls.
- Mount doors, trim, and baseboards.
Success Check: All finishes are clean, level, and fully installed.
9. Add Exterior Features
Apply siding, roofing, and trim.
- Paint or stain the exterior.
- Add gutters and downspouts for drainage.
Success Check: Exterior is weather-sealed and aesthetically consistent with the main home.
10. Final Inspections
Schedule inspections for electrical, plumbing, and occupancy.
- Correct any deficiencies before final approval.
Success Check: You receive a certificate of occupancy.
Safety Warnings and Tips
- Warning: Electrical Hazard. Only licensed electricians should connect service panels.
- Caution: Fall Risk. Secure ladders and wear non-slip shoes when working at height.
- Protective Gear: Use gloves, goggles, and ear protection during all phases.
- Utility Shutoffs: Locate and mark water, gas, and electrical shutoffs before starting.
- Fire Safety: Keep extinguishers nearby when using power tools or heating equipment.
Troubleshooting and Quality Checks
Common Problems:
- Uneven foundation: Re-level forms and re-pour sections if needed.
- Plumbing leaks: Test all joints with water pressure before closing walls.
- Electrical shorts: Check breakers and grounding.
- Condensation or draft issues: Recheck insulation coverage and air sealing.
Quality Checks:
- All walls and floors are level within 1/8 inch.
- Windows and doors operate smoothly.
- Water drains away from the structure.
- HVAC system maintains even temperature across rooms.
Cleanup and Disposal
Remove construction debris as you go.
- Rent a roll-off dumpster for wood, drywall, and mixed waste.
- Recycle scrap metal, cardboard, and clean wood.
- Check local disposal rules for concrete and hazardous materials like paint or adhesives.
- Clean tools and store them in a dry, secure place.
Maintenance and Lifespan
A well-built granny flat can last 50 years or more with proper care. Inspect annually for roof leaks, plumbing issues, and pest activity.
Routine Maintenance:
- Clean gutters twice per year.
- Repaint exterior every 8 to 10 years.
- Replace HVAC filters every 3 months.
- Test smoke and carbon monoxide detectors monthly.
Typical Replacement Intervals:
- Roofing: 20 to 30 years
- Water heater: 10 to 15 years
- Flooring: 15 to 25 years depending on material
When to Call a Professional
Call a licensed contractor when:
- Structural framing or roof trusses need engineering approval.
- Utility connections require trenching or code inspection.
- You need help managing subcontractors and permits.
Professional Cost Ranges:
- Full design-build contractor: $180,000 to $300,000
- Structural engineer services: $2,000 to $6,000
- Licensed electrician or plumber: $80 to $150 per hour
Checklist for Choosing a Contractor:
- Valid state license with no disciplinary actions.
- General liability and workers’ compensation insurance.
- Written contract including scope, payment schedule, and warranty.
- References from recent ADU projects.
Maximizing ROI and Long-Term Value
A granny flat typically delivers a return on investment of 20 to 30 percent based on rent and property appreciation. You can boost ROI by choosing energy-efficient materials, smart layouts, and low-maintenance finishes.
Ways to Increase ROI:
- Add solar panels to cut utility costs.
- Use durable flooring and moisture-resistant paint.
- Design for flexible use such as a rental, home office, or guest suite.
- Include separate entry and privacy fencing to attract tenants.
Rental Income Potential:
A well-located ADU can generate $1,200 to $2,500 monthly depending on size and local demand. This can offset mortgage costs or provide steady passive income.
Resale Benefits:
Homes with legally permitted granny flats often sell faster and at higher prices. Buyers see them as move-in ready income units or multi-generational solutions.
Pro Tips for Success
- Keep a detailed budget spreadsheet and track every expense.
- Order materials early to avoid supply delays.
- Schedule inspections ahead of time to prevent project slowdowns.
- Photograph progress for records and future maintenance reference.
- Review local ADU incentives or grants that may cover design or permit fees.
FAQ
How big can a granny flat be?
Most areas allow between 400 and 1,200 square feet depending on lot size and zoning rules.
Do I need a separate address or utility meter?
Some cities require separate meters for rentals, while others allow shared connections. Check with your local building department.
Can I finance my granny flat?
Yes. Options include home equity loans, cash-out refinancing, or construction loans from your lender.


