2026 Prefab ADU Costs and Timelines
A prefab accessory dwelling unit provides a factory-built secondary residence on an existing property. Total expenses typically range from 180000 to 350000 dollars once permits, site preparation, and utility connections are included. Project duration spans four to nine months from initial design through final occupancy. Licensed professionals must complete electrical, plumbing, and foundation tasks, while homeowners can manage coordination and basic site checks.
Verify Property Eligibility First
Contact the local planning department to confirm whether an accessory dwelling unit is permitted on the lot. Request details on height restrictions, maximum square footage, and required setbacks from property lines. Obtain written zoning clearance before proceeding with any design or purchase decisions.
Arrange Project Funding
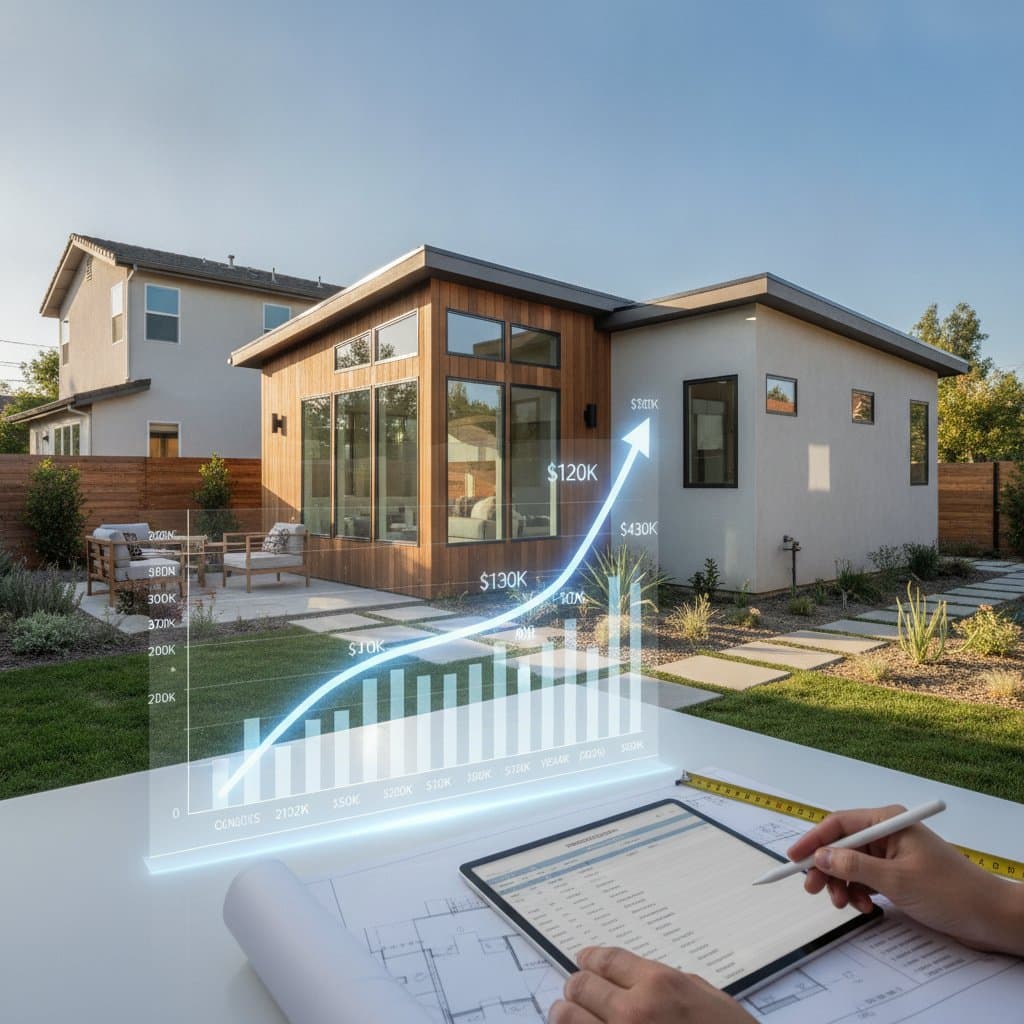
Budget for the full range of 180000 to 350000 dollars, which covers the unit itself plus delivery, foundation, and permits. Common financing options include construction loans, home equity lines, or personal savings. Secure lender pre-approval prior to signing any supplier contract to prevent funding gaps.
Select an Appropriate Model
Choose a unit sized between 250 and 1000 square feet that satisfies both site dimensions and local building codes. Request complete specifications along with energy compliance documents and stamped architectural plans ready for permit submission.
Complete Site Preparation and Foundation
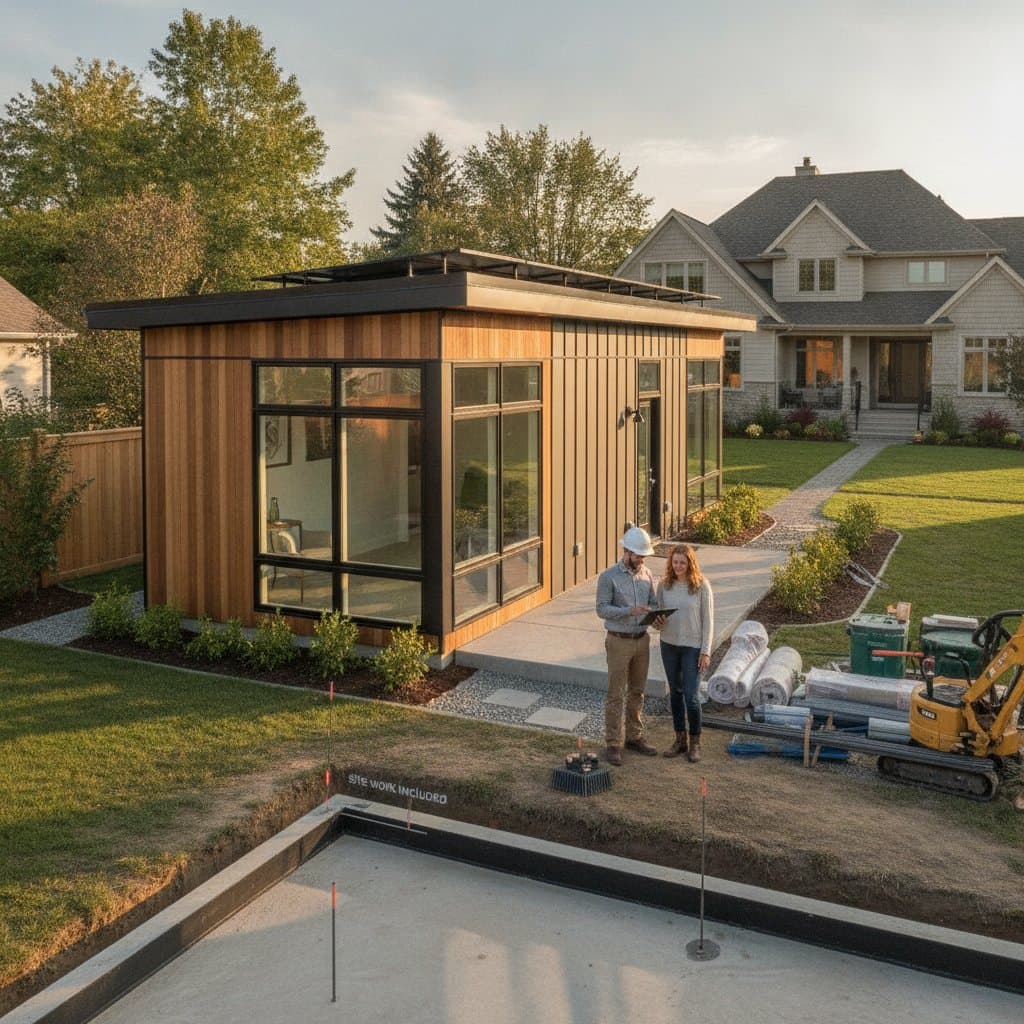
Level the building area, install utility conduits, and pour a code-compliant foundation. Engage a licensed contractor for all concrete and anchoring work to meet structural requirements. Schedule and pass a foundation inspection before the unit arrives on site.
Submit Permit Applications
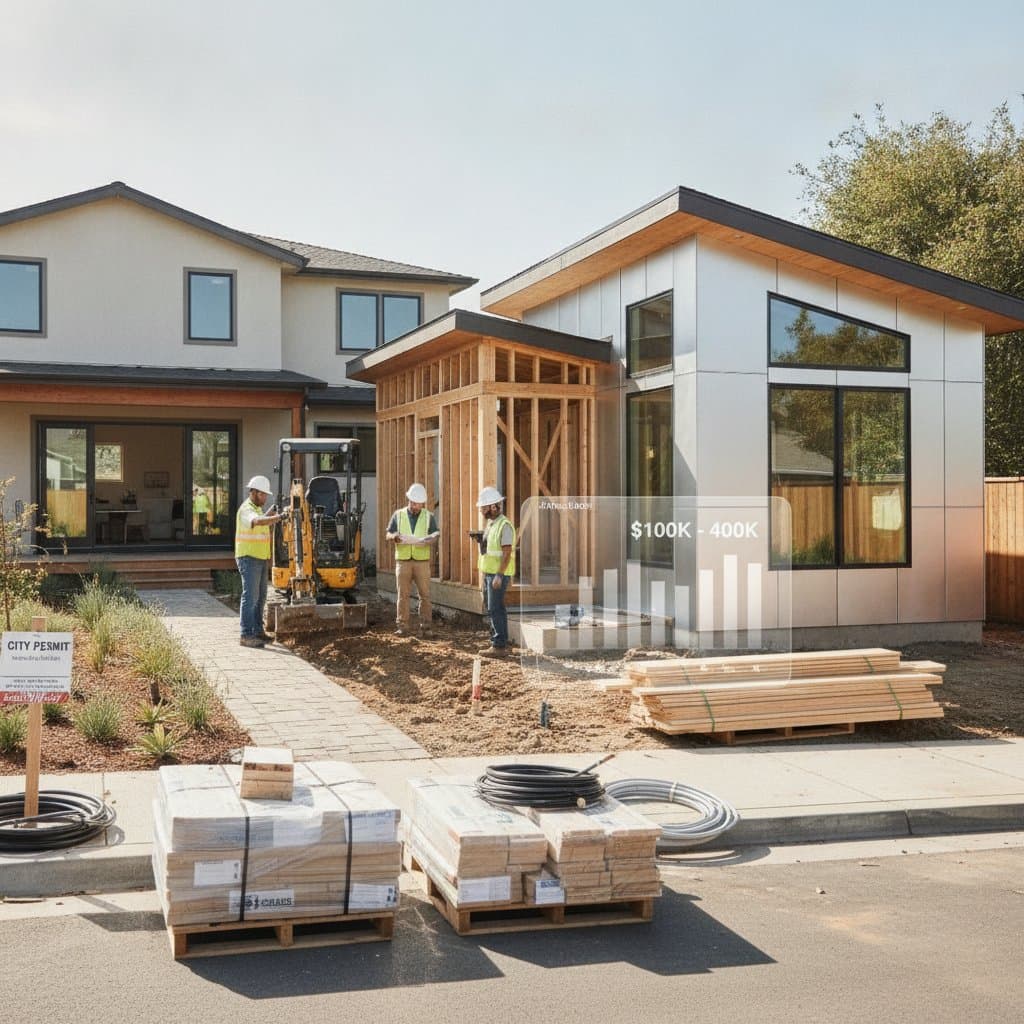
Assemble architectural drawings, site plans, energy calculations, and utility layouts for review. Expect municipal processing to require four to twelve weeks depending on jurisdiction workload. Maintain a complete written log of every submission and approval received.
Schedule Delivery and Placement
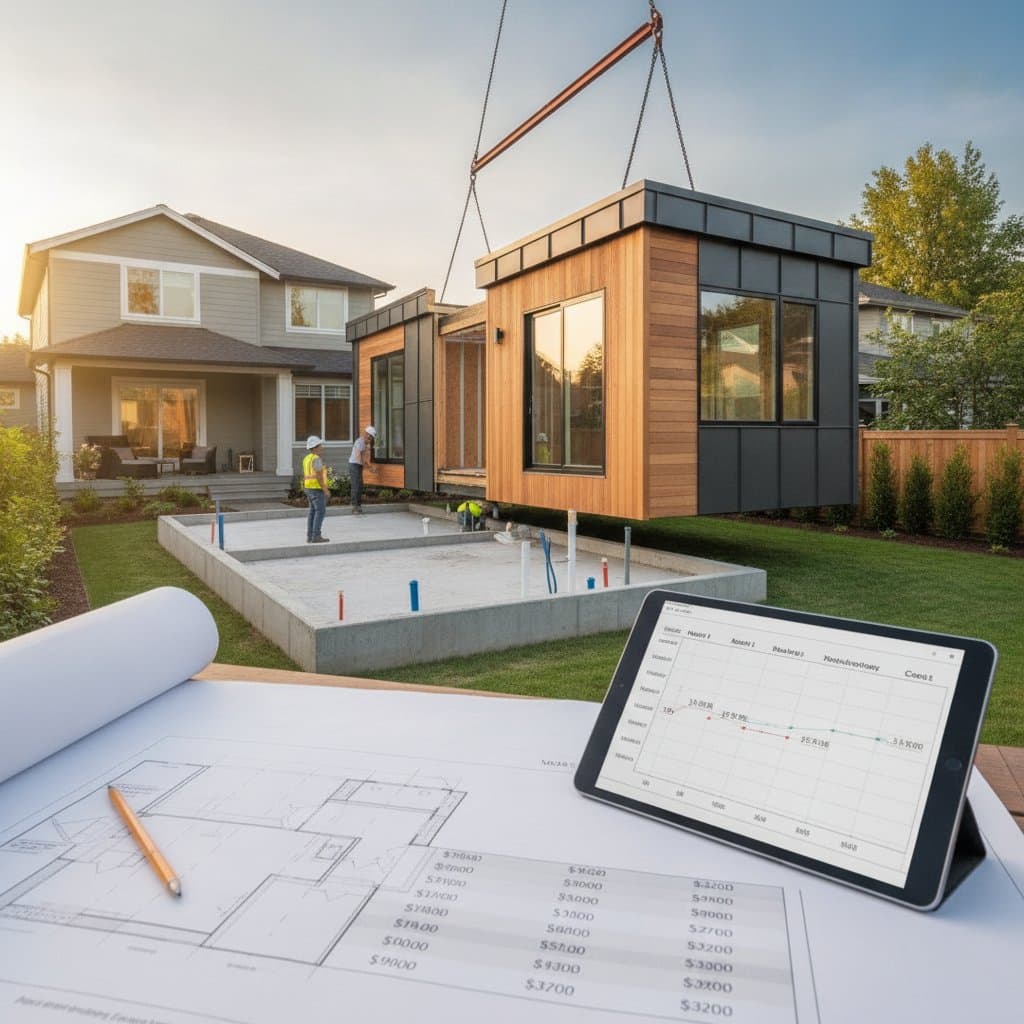
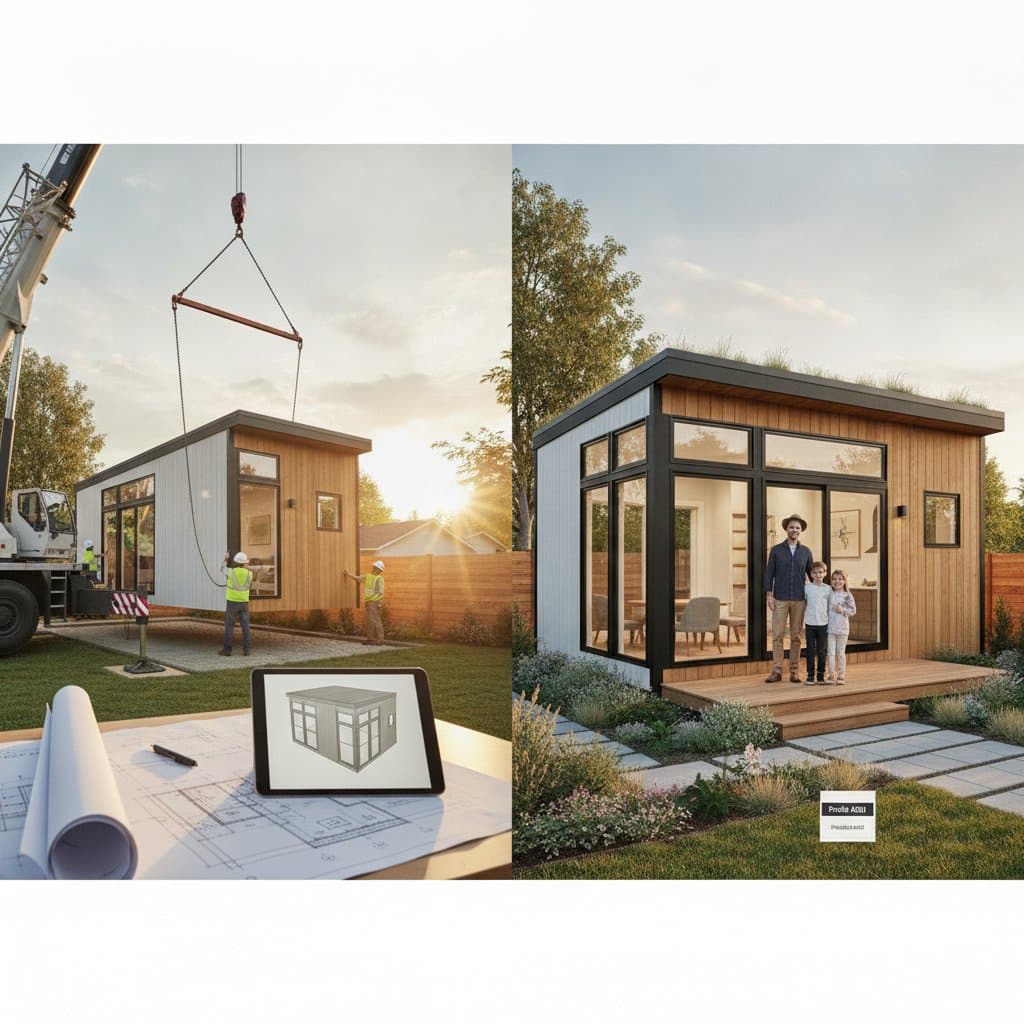
Coordinate unit arrival only after permits and foundation approval are secured. Use certified installers and appropriate lifting equipment to set the module without damage. Verify that the placed unit remains level and is anchored exactly per manufacturer specifications.
Finalize Connections and Inspections
Licensed trades complete electrical, water, sewer, and gas hookups followed by interior finishes and exterior grading. Pass all required inspections to receive the certificate of occupancy that authorizes legal use of the space.
Address Common Installation Issues
- Confirm foundation levelness immediately if floors appear uneven after placement.
- Ensure site grading directs water away from the structure to prevent moisture accumulation.
- Inspect waste line slope and venting before backfilling any trenches.
Stop work and consult a licensed tradesperson at the first sign of recurring electrical or plumbing problems.
Engage Licensed Professionals
Reserve electrical panel work, gas piping, HVAC installation, and structural tasks exclusively for qualified contractors. Hourly rates generally fall between 80 and 150 dollars depending on trade and location. Verify current licensing, insurance coverage, and references, then obtain a written estimate that itemizes labor, materials, and fees.
Practical Planning Recommendations
Order a soil test before foundation design to identify any ground conditions that could affect costs. Request a delivery requirements checklist from the supplier that specifies crane access and clearance needs. Retain spare siding and flooring materials for future maintenance. Book each inspection at least one week in advance and photograph every stage of work for warranty documentation.
Careful sequencing of eligibility checks, financing, model selection, and professional coordination produces a code-compliant unit that adds usable living space and property value with minimal long-term disruption.