Transform Your Bathroom for Aging in Place: Cost Breakdown
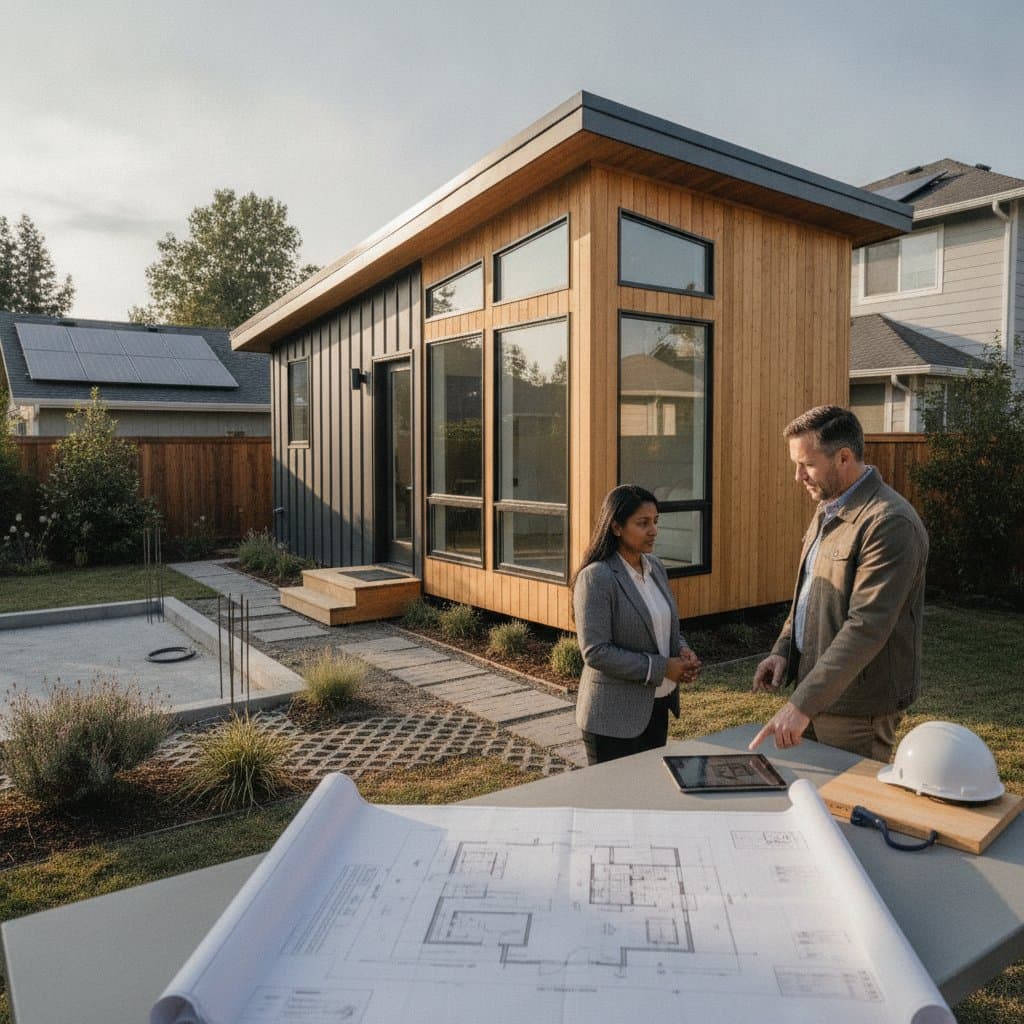
A bathroom designed for aging in place promotes independence, safety, and comfort within the home. This guide details anticipated costs, timelines, and practical choices for remodeling to enhance accessibility over the long term.
Quick Overview
Strategic updates can convert an existing bathroom into a secure, navigable environment. Key modifications include walk-in showers, grab bars, non-slip surfaces, and user-friendly fixtures. These elements minimize fall hazards, support mobility, and maintain usability as requirements evolve.
Cost and Time Estimates
Expenses for an aging-in-place bathroom remodel vary based on room dimensions, material selections, and involvement of specialists. Typical ranges include:
- Basic accessibility enhancements: $3,000 to $8,000 (grab bars, non-slip flooring, comfort-height toilet)
- Mid-range remodel: $9,000 to $20,000 (curbless shower, wider doorways, handheld showerheads)
- Full accessible remodel: $20,000 to $40,000 or higher (complete layout redesign, custom cabinetry, barrier-free design)
Labor typically comprises 40 to 60 percent of the overall expense. Permits range from $200 to $1,000, influenced by local regulations. Professional projects span 1 to 3 weeks, while partial DIY efforts require several weekends. Difficulty levels from moderate to advanced apply, with plumbing and electrical tasks demanding licensed experts.
DIY vs Professional Approaches
Suitable DIY Tasks
Individuals can manage certain superficial modifications safely, such as:
- Securing grab bars into wall studs with appropriate anchors
- Swapping faucets for lever-style versions
- Applying non-slip coatings or mats
- Updating lighting fixtures without altering wiring
Essential Professional Interventions
Experts must address:
- Plumbing alterations for walk-in or roll-in showers
- Relocation of electrical outlets to meet safety codes
- Expansion of doorways or modification of wall framing
- Leveling of floors or application of waterproofing
Cost Comparison
- DIY enhancements: $500 to $2,000 in materials
- Professional remodel: $9,000 to $40,000, scaled to layout and finishes
Engaging certified contractors guarantees adherence to accessibility standards, including ADA-inspired guidelines and municipal codes.
Tools and Materials List
Tools
- Power drill and masonry bits for grab bars
- Stud finder and level
- Measuring tape
- Safety goggles and gloves
- Caulking gun and waterproof sealant
Materials
- Grab bars (1.25-inch diameter, stainless steel preferred)
- Non-slip flooring (textured tile or vinyl)
- Comfort-height toilet (17 to 19 inches seat height)
- Handheld showerhead with 60-inch hose
- Curbless or low-threshold shower base
- Adjustable-height shower seat
- Lever-handle faucets
- Lighting fixtures at 3000K color temperature for optimal visibility
Step-by-Step Implementation
1. Assess the Space
Measure doorways, floor areas, and fixture positions. Ensure a minimum 5-foot by 5-foot clear floor space for wheelchair maneuverability. Verify water supply and drain placements prior to any reconfiguration.
Success Indicator: Dimensions are precise, and fixture layout plans are defined.
2. Enhance Entry Accessibility
Install a doorway at least 32 inches wide. Consider pocket or barn-style doors to conserve space over traditional swing models. Maintain thresholds below 0.5 inches in height.
Success Indicator: Entry facilitates seamless passage with mobility aids.
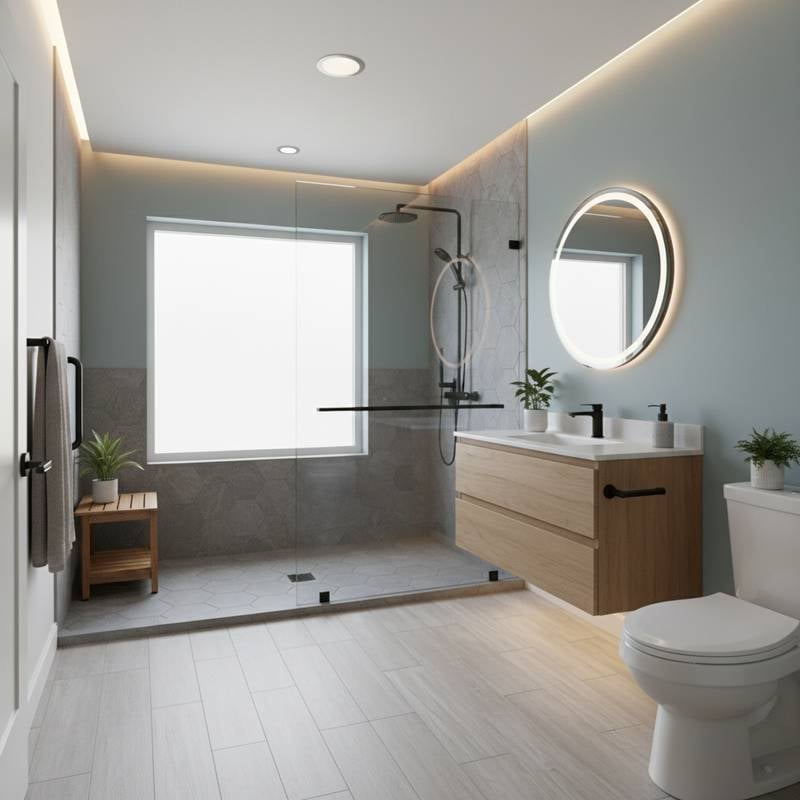
3. Upgrade the Shower Area
Incorporate a curbless or walk-in shower design. Select slip-resistant tile with a minimum DCOF rating of 0.42 or vinyl sheet flooring. Include a folding or fixed shower seat, and position grab bars horizontally and vertically for support.
Success Indicator: Shower floor slopes gently to the drain, preventing water accumulation.
4. Replace the Toilet
Install a comfort-height toilet to simplify transfers. Position grab bars or an integrated support frame adjacent to it. Provide at least 18 inches of clearance from walls or barriers.
Success Indicator: Toilet offers stability and unobstructed side or front access.
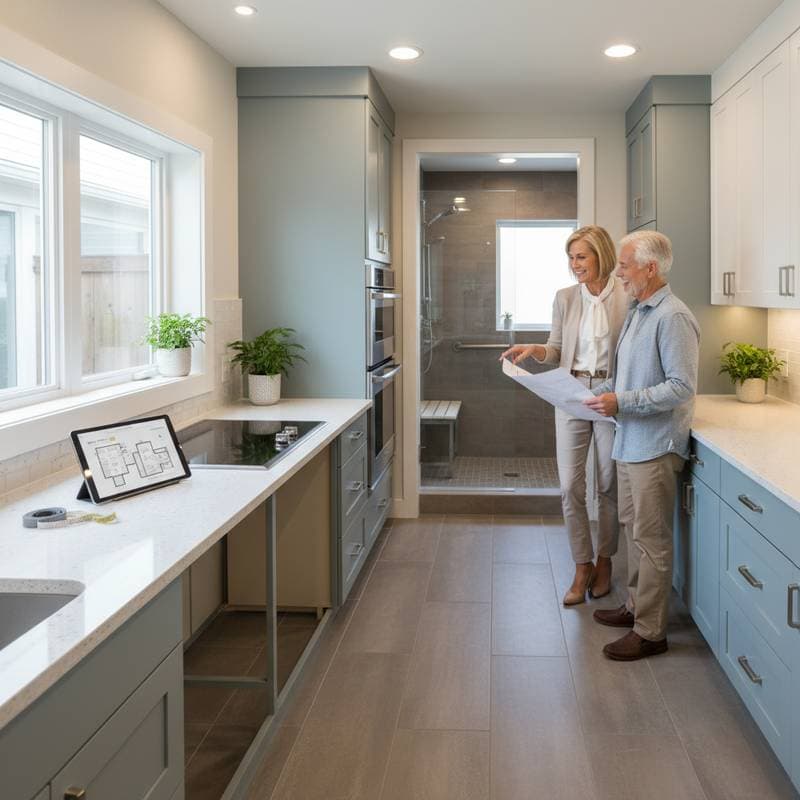
5. Adjust Sink and Counter Heights
Choose a wall-mounted or open-base vanity to permit wheelchair approach. Limit counter height to 34 inches. Equip with lever or touchless faucets for effortless operation.
Success Indicator: Sink allows comfortable access without barriers.
6. Improve Lighting and Visibility
Place bright, uniform lighting near mirrors and shower zones. Employ LED fixtures with clear diffusers to avoid glare. Integrate motion sensors or night lights for added security.
Success Indicator: All areas receive even illumination without shadowed spots.
7. Install Grab Bars and Handholds
Mount grab bars beside the shower, toilet, and tub. Select stainless steel or powder-coated options rated for 250 pounds or more. Anchor securely to studs, avoiding reliance on drywall.
Success Indicator: Bars remain firm under firm pressure.
Safety Considerations
Electrical Hazard Warning: Disconnect power sources before handling lighting or outlets. Install GFCI-protected circuits in all moisture-prone zones.
Fall Risk Caution: Use slip-resistant footwear during work and protect exposed tile edges.
Practical Tip: Simulate entry and exit movements to validate grab bar positions prior to permanent installation.
Troubleshooting Common Issues
Issue: Water pooling at shower entry
Resolution: Confirm floor slope directs water to the drain. Modify threshold or incorporate a trench drain as required.
Issue: Grab bars loosening over time
Resolution: Strengthen backing or deploy wall anchors suited for damp conditions.
Issue: Mirrors fogging post-shower
Resolution: Enhance ventilation via a higher CFM exhaust fan or add a mirror defogger.
Quality Verification:
- Confirm fixture stability and level alignment.
- Ensure proper drainage without leaks.
- Validate even lighting coverage in essential areas.
Cleanup and Disposal Practices
Transport old fixtures and tiles to designated recycling or waste sites. Contribute functional cabinets or doors to community reuse programs. Adhere to regional guidelines for discarding ceramic or porcelain items. Clean surfaces using mild detergent, followed by thorough rinsing before sealing or painting.
Ongoing Maintenance
Examine grab bars, caulking, and flooring semiannually. Renew silicone caulk every 5 to 10 years. Refinish or reseal tile grout periodically. Monitor lighting and ventilation to prevent moisture accumulation.
A properly constructed accessible bathroom endures 20 years or longer with routine upkeep before major revisions become necessary.
Indicators for Professional Assistance
Seek a licensed contractor for:
- Plumbing reconfiguration or wall relocations
- Electrical system upgrades
- Waterproofing or drainage overhauls
- Permit acquisition or structural inspections
Professional Expense Range: $9,000 to $40,000, contingent on design intricacy and material quality.
Contractor Evaluation List:
- Confirm licensing and insurance status.
- Obtain detailed written estimates and schedules.
- Inquire about warranties for labor and materials.
- Review references from prior accessibility projects.
Strategies for Optimal Results
Anticipate future requirements like wheelchair compatibility beyond immediate needs. Select matte finishes for tiles and fixtures to reduce glare. Position storage within 15 to 48 inches of reach height. Emphasize slip resistance above aesthetic preferences. Evaluate lighting efficacy during nighttime to ensure clear visibility and ease.
An intentional aging-in-place bathroom remodel safeguards autonomy and well-being for decades. Durable materials and safety-oriented design foster adaptability to changing circumstances, enabling continued residence in a cherished home with assurance.