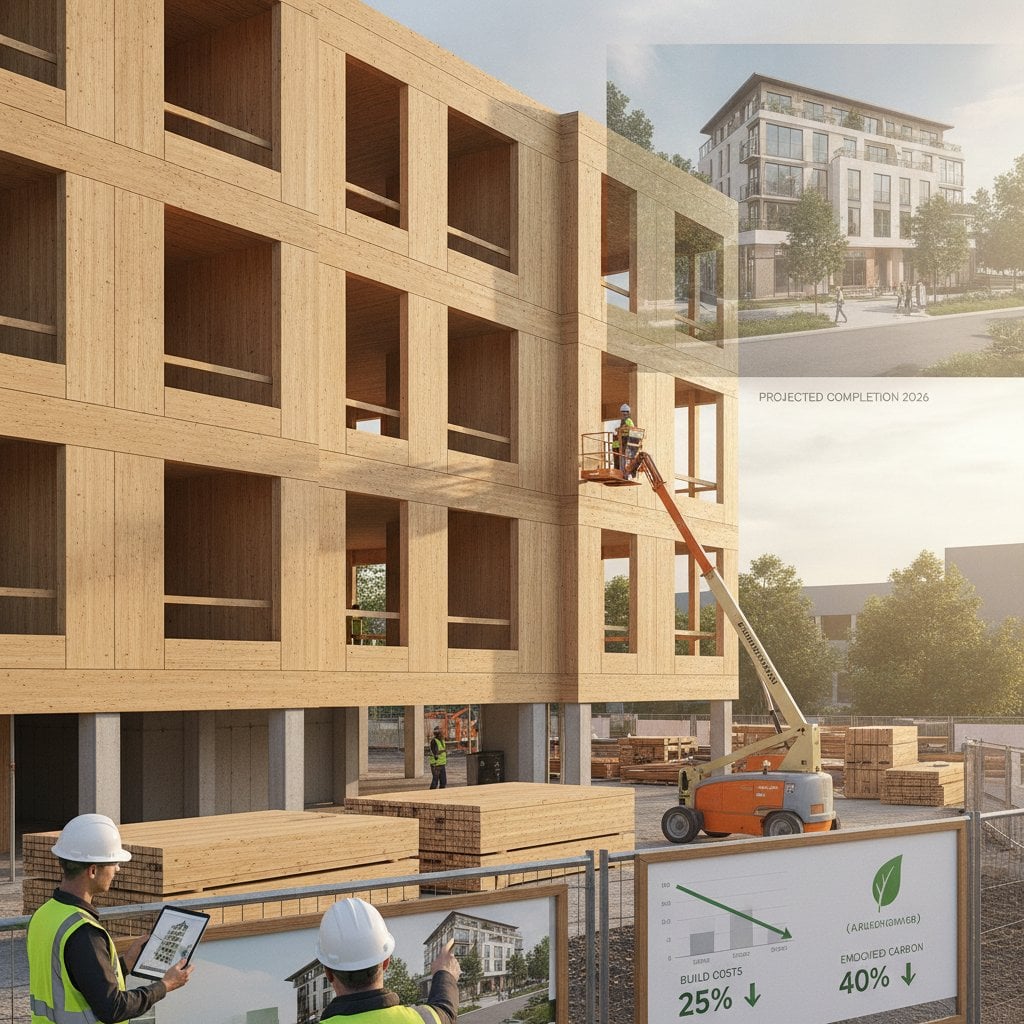
Mass Timber Construction Reduces Project Costs
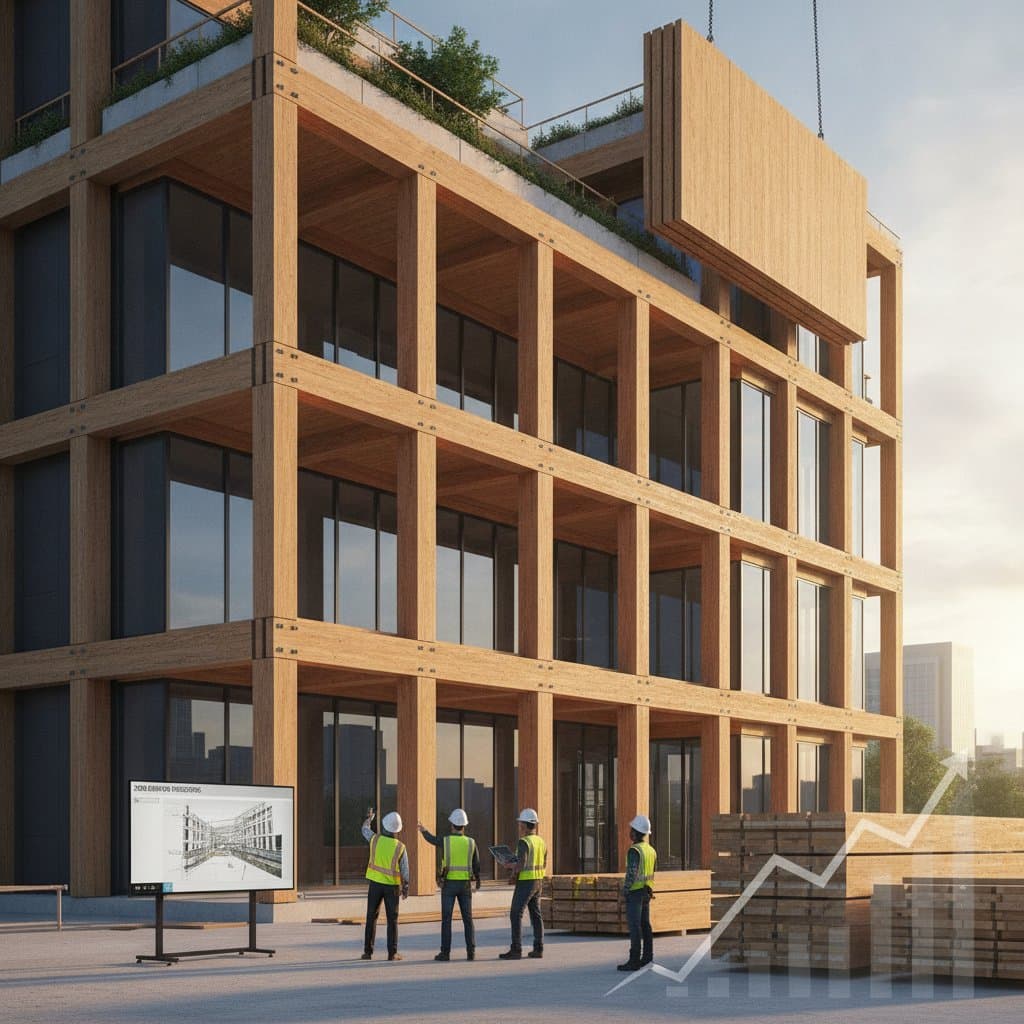
Mass timber construction replaces steel and concrete with large engineered wood panels in mid rise and high rise buildings. Developers, architects, and contractors gain cost savings along with lower carbon emissions on suitable projects. Typical builds achieve savings between 5 and 25 percent on total costs while cutting embodied carbon by as much as 40 percent. Shorter construction schedules, cleaner sites, and simpler material logistics add further advantages.
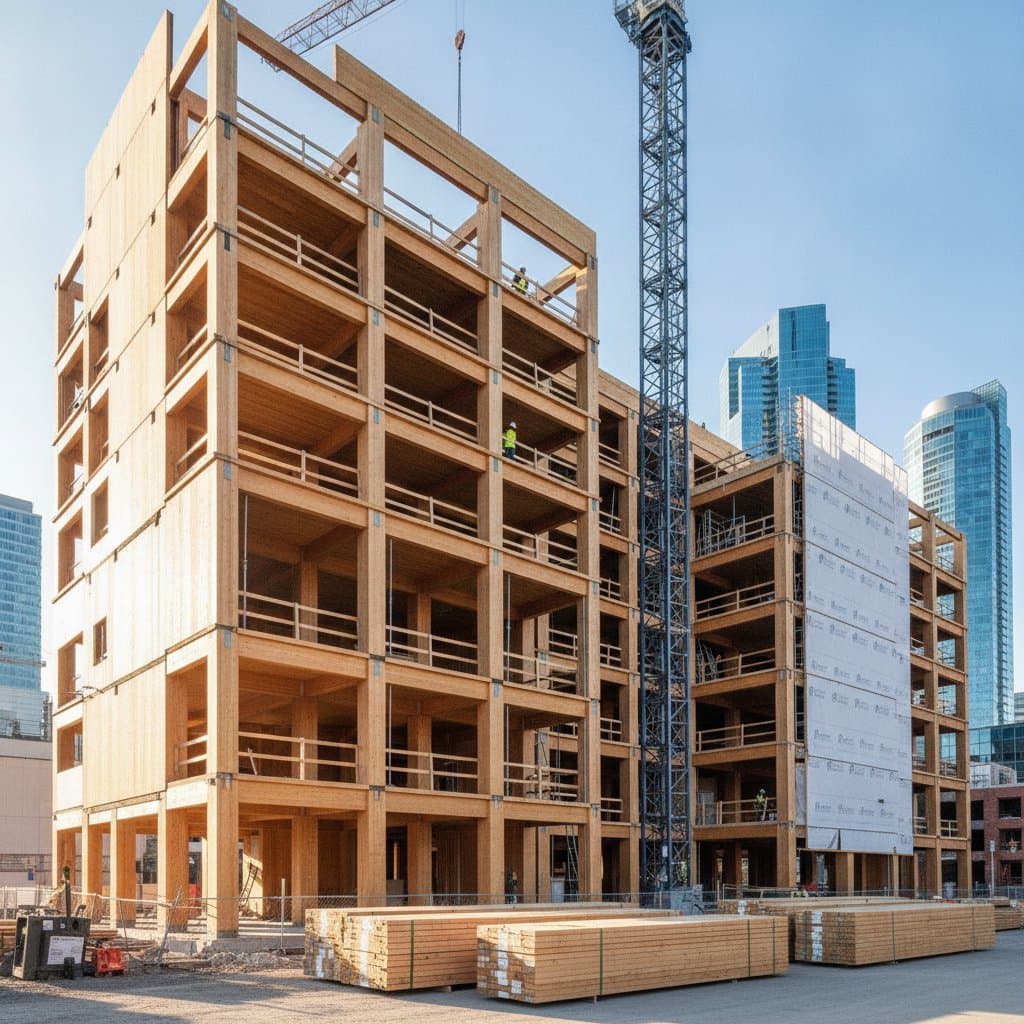
Structural design requires oversight from a licensed engineer. Skilled crews complete panel installation rapidly with standard lifting equipment.
Evaluate Project Suitability
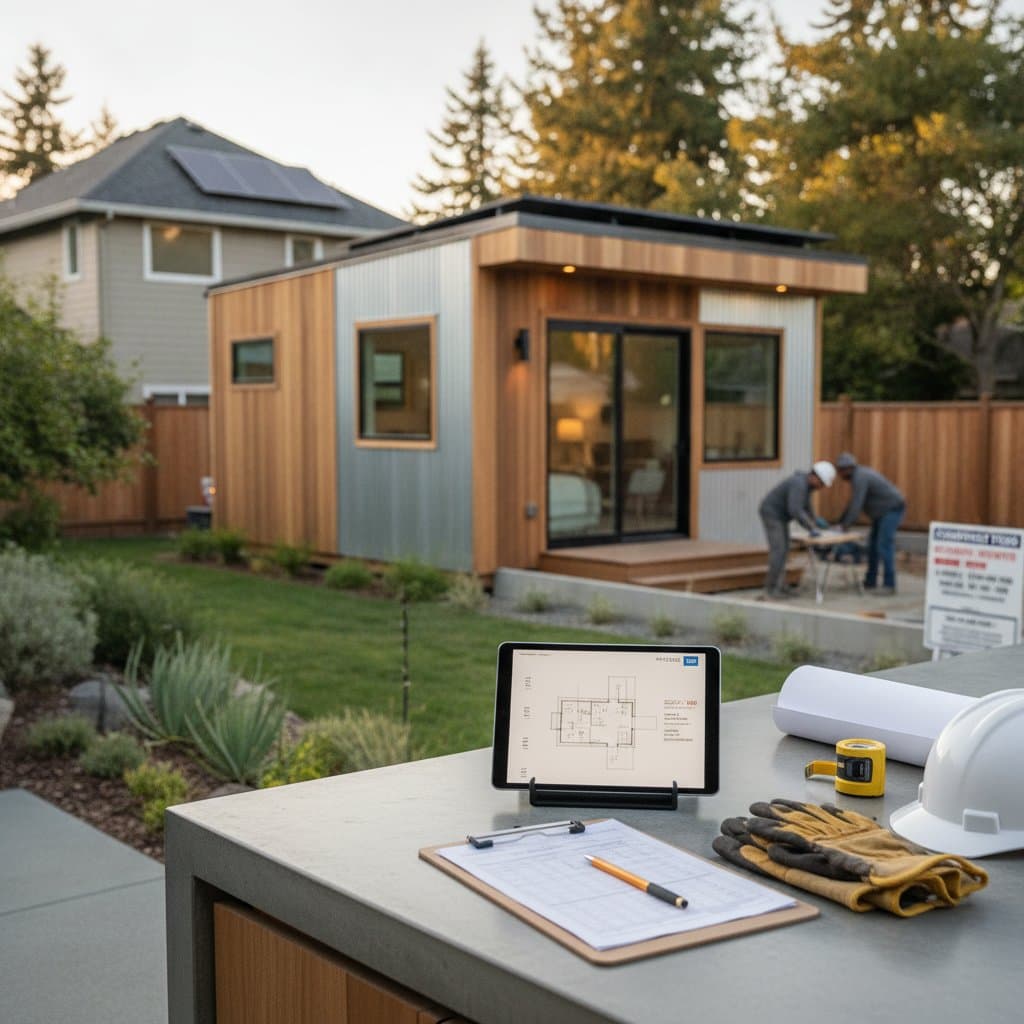
Review loads, spans, and fire ratings at the outset. Mass timber performs well in residential, office, and light commercial buildings up to roughly 12 stories. Engage an engineer experienced in timber design early. Confirm that the proposed height and occupancy comply with local code limits.
Compare Framing Systems
Request a side by side analysis of reinforced concrete, steel, and mass timber options. The comparison must account for material costs, labor hours, and overall schedule impact. Include floor thickness, sound insulation requirements, and mechanical routing paths in the calculations.
Specify Certified Materials
Select cross laminated timber or glued laminated timber from sources certified by the Forest Stewardship Council or equivalent programs. Verify that panel dimensions align with approved shop drawings before production begins.
Prepare Foundations and Staging Areas
Ensure the foundation remains level and anchor bolts sit in precise locations. Protect the staging zone from standing water. Maintain foundation tolerances within 3 millimeters to support accurate panel alignment.
Handle and Store Panels Correctly
Place panels on raised supports beneath weather protection. Keep moisture content below 16 percent. Inspect every panel for shipping damage upon arrival.
Follow the Installation Sequence
Lift panels using rated slings at designated points. Position each panel according to the erection plan, align joints, and secure with structural screws or steel connectors. Confirm that panels sit flush with adjacent units and that fasteners meet specified torque values.
Protect Joints and Integrate Systems
Apply approved sealant or tape at every joint to block air and moisture. Coordinate plumbing, electrical, and HVAC penetrations with the structural layout. Obtain engineer approval before cutting or drilling large openings.
Address Fire and Acoustic Requirements
Install gypsum layers or fire rated coatings as specified. Add acoustic mats or insulation between floors. Verify that all assemblies satisfy tested fire and sound ratings.
Apply Final Finishes
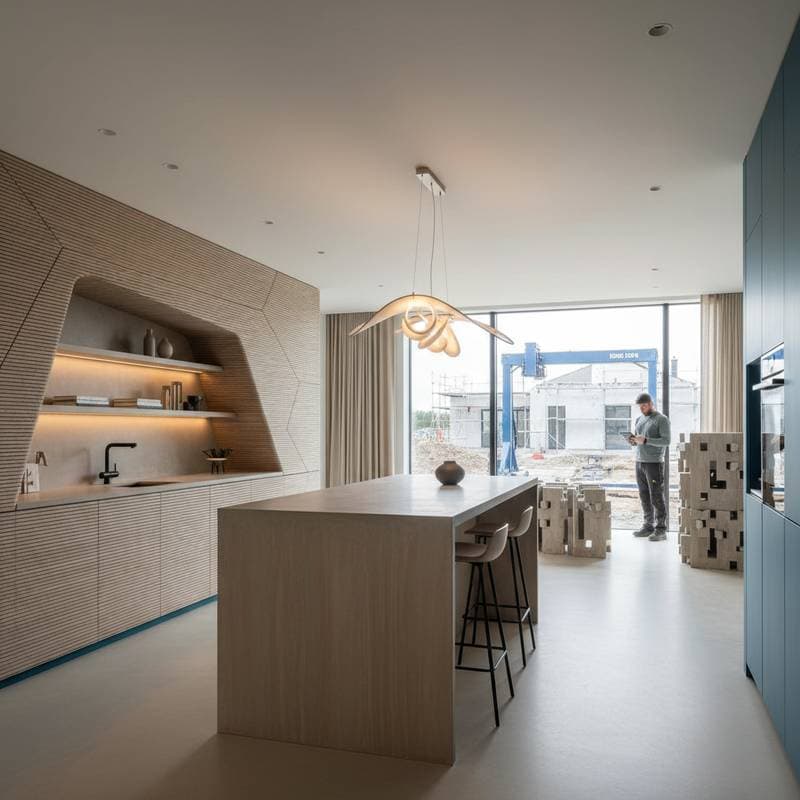
Coat visible wood surfaces with a clear sealer for ultraviolet and moisture protection when an exposed finish is desired. Confirm uniform appearance across all panels.
Address Common Issues
Panel misalignment often stems from uneven foundations or improper lifting order. Moisture staining results from inadequate covering. Loose connectors require torque verification after 24 hours. Creaking floors improve with added acoustic insulation or tightened mid span joints. Fill minor surface splits with approved epoxy. Replace any panel that shows structural cracks or delamination.
Engage Specialists When Needed
Retain a licensed structural engineer for design, load analysis, and modifications. Use certified crane operators for all lifts. Consult a fire protection engineer before altering coatings or assemblies that influence fire performance. Design fees typically range from 2 to 6 percent of project cost.
Coordinate Teams and Track Conditions
Schedule early meetings among structural, architectural, and mechanical disciplines. Maintain panel coverage until the roof is sealed. Deploy moisture sensors throughout construction. Pre drill connection holes to avoid splitting. Photograph every joint and connector for quality records.
Mass timber delivers measurable savings and environmental benefits when projects receive proper engineering and careful installation.